The project
For one of this year‘s Bingo prompts, meaningful location, I am converting the warehouse featured in so many of my pictures into a museum. (Because a museum is a meaningful place, generally, and for me in particular. And here’s my chance to own one.) The project will focus on three alterations:
- Replacement of the building’s grey walls with either white or bare brick walls.
- Restructuring of the space through walls displaying pictures.
- Modification of the ceiling so it better serves its new purpose.
All these changes should be reversible in case I decide to go back to the rougher look.
The starting point
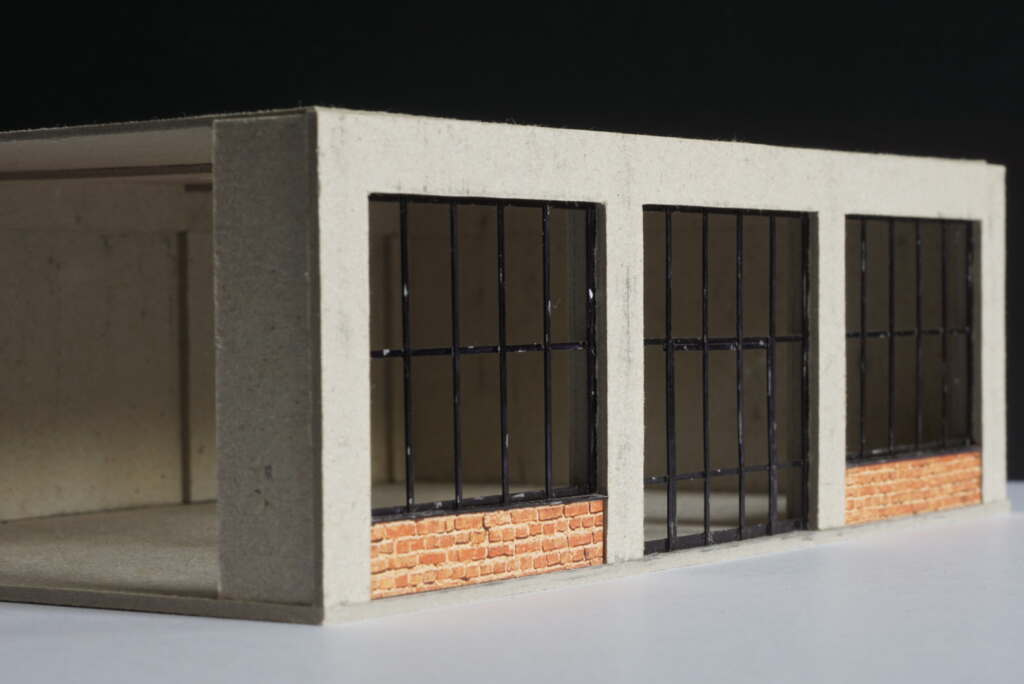
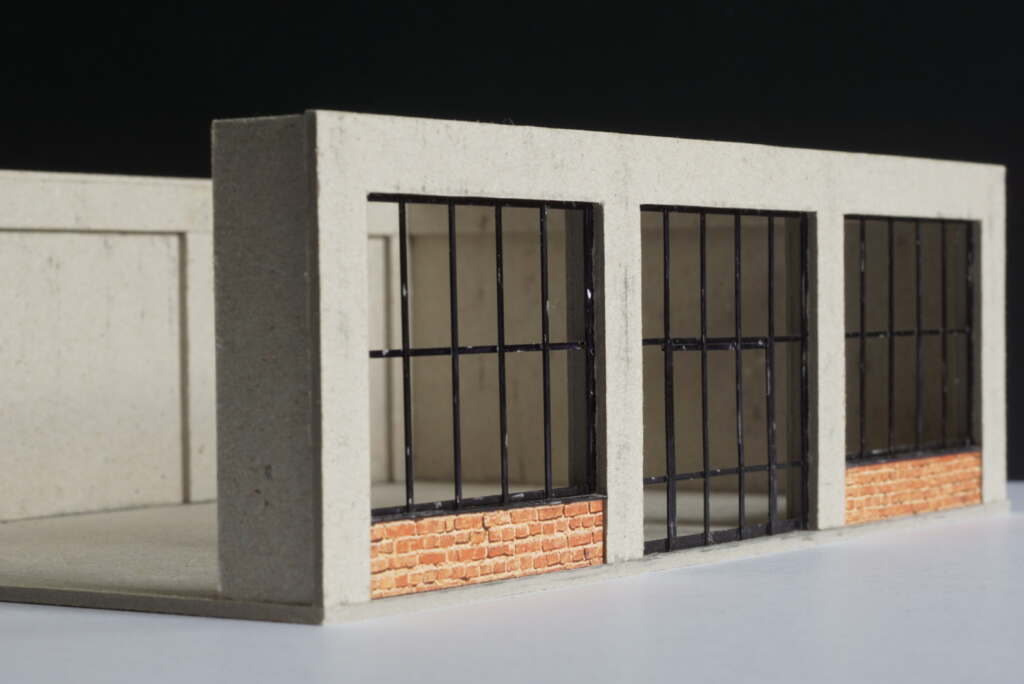
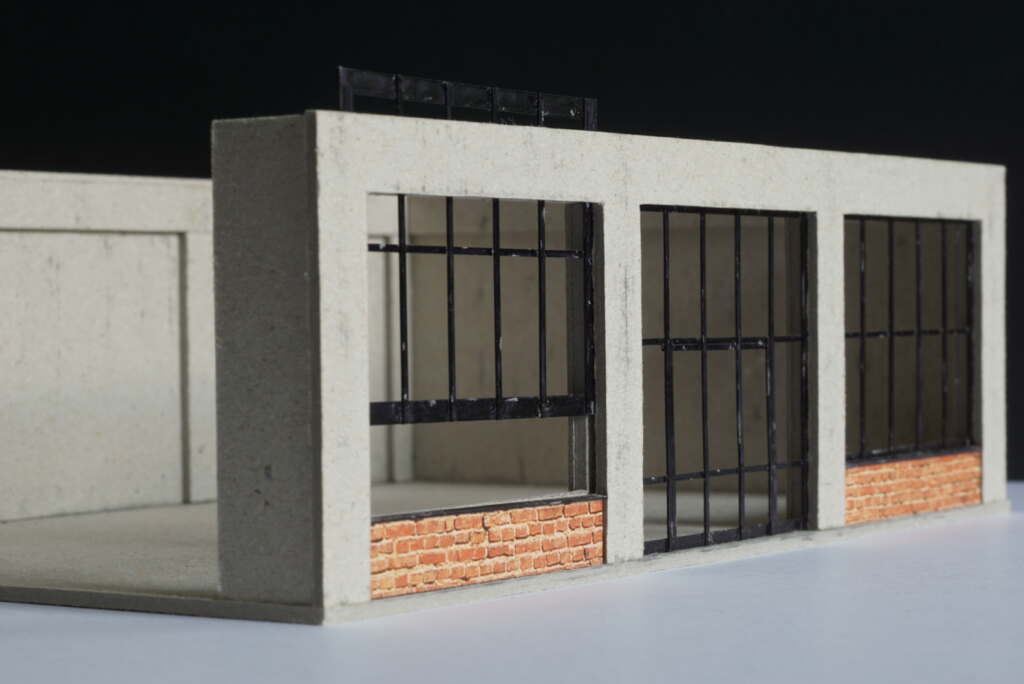
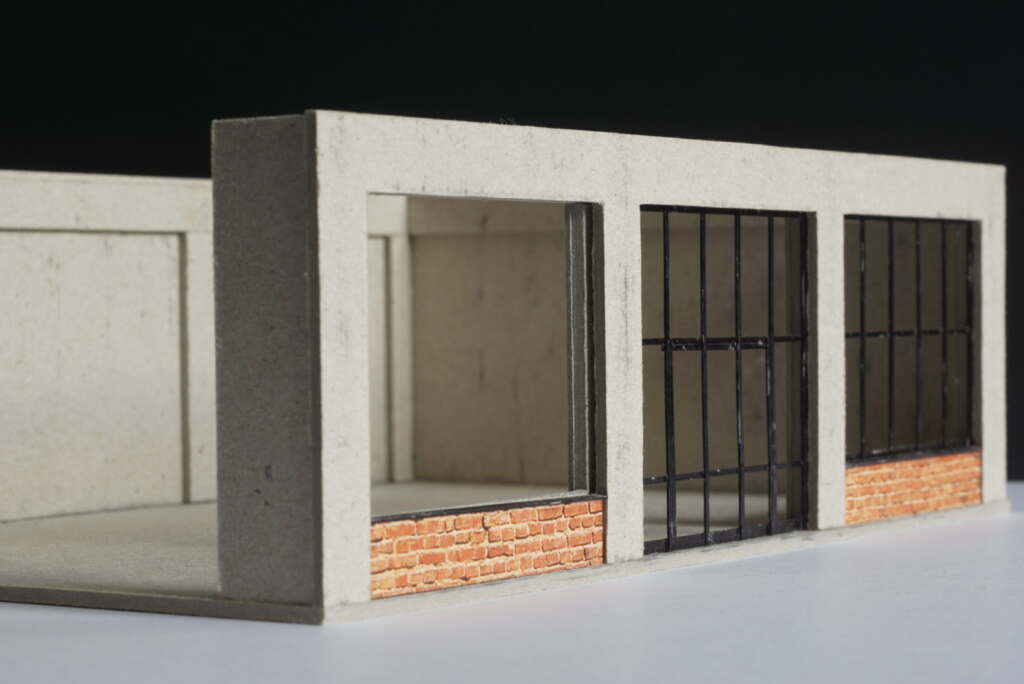
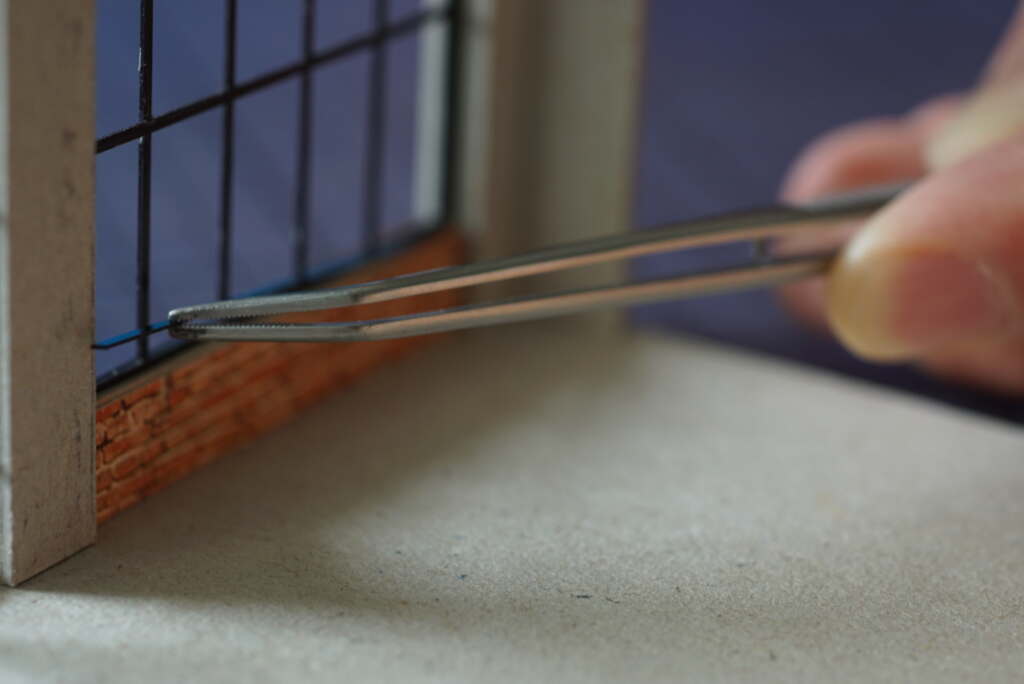
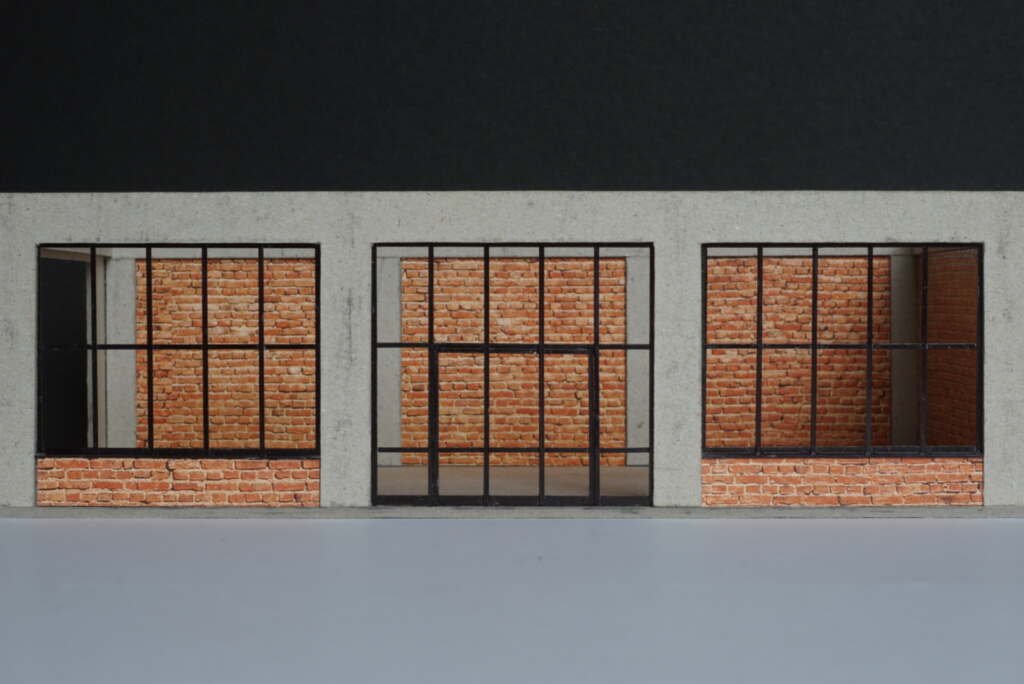
Like in most of my dioramas, the walls are made of 1 to 2 mm cardboard and brick print paper while the windows are assembled from 1 by 0,5 mm plastic strips. To place the windows in the walls, I used a sandwich technique that lets me slide in the windows without using any glue.
It is not just cleaner that way; this construction allows for removal of the windows in case I need an unobstructed view of the interior from the front (or to reuse the windows in a different building). For the same reason, I left one side open – that’s how I had camera access for this post’s first picture.
It is equally important that the roof is removable so I can easily position the figures and everything else.
A new interior
In terms of making some additional walls, the task is pretty straightforward. However, the overall look is to be considered before construction work can begin. Do I want the building to feel like a modern space – or do I want my audience to understand that, indeed, an industrial space has been converted into a museum?
There’s a wonderful blueprint for the latter in Lille, France. I think I’ll run with that option because La Gare Saint-Sauveur, a freight station converted into a cultural space, inspired both my original diorama and the museum idea.
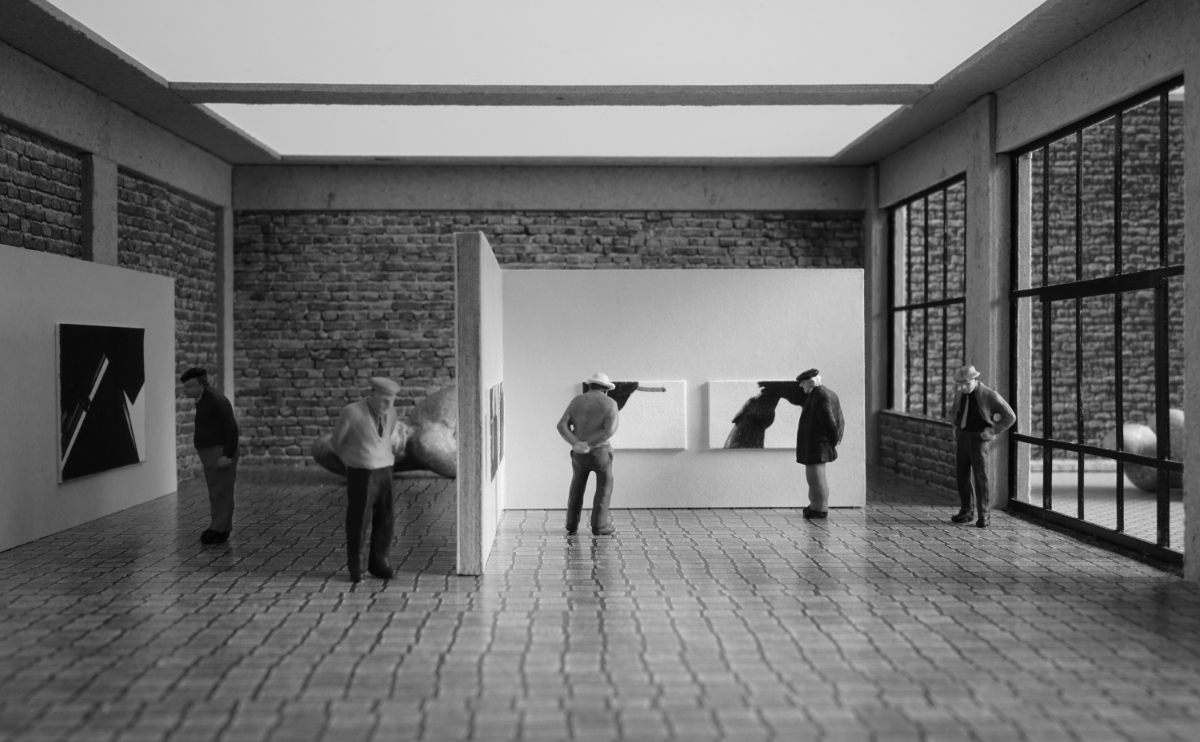
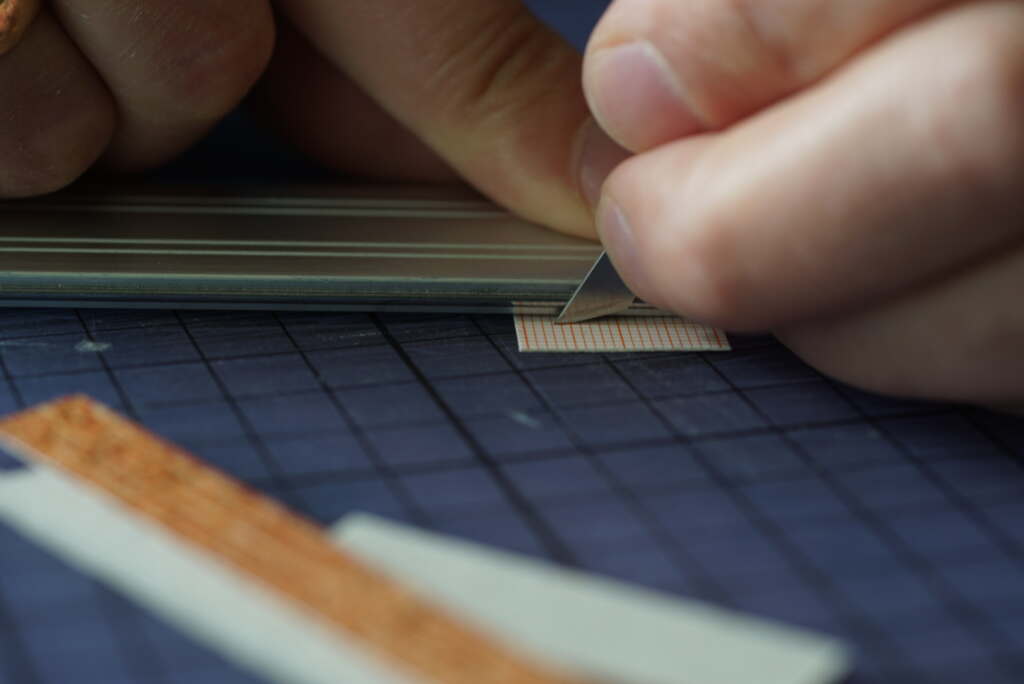
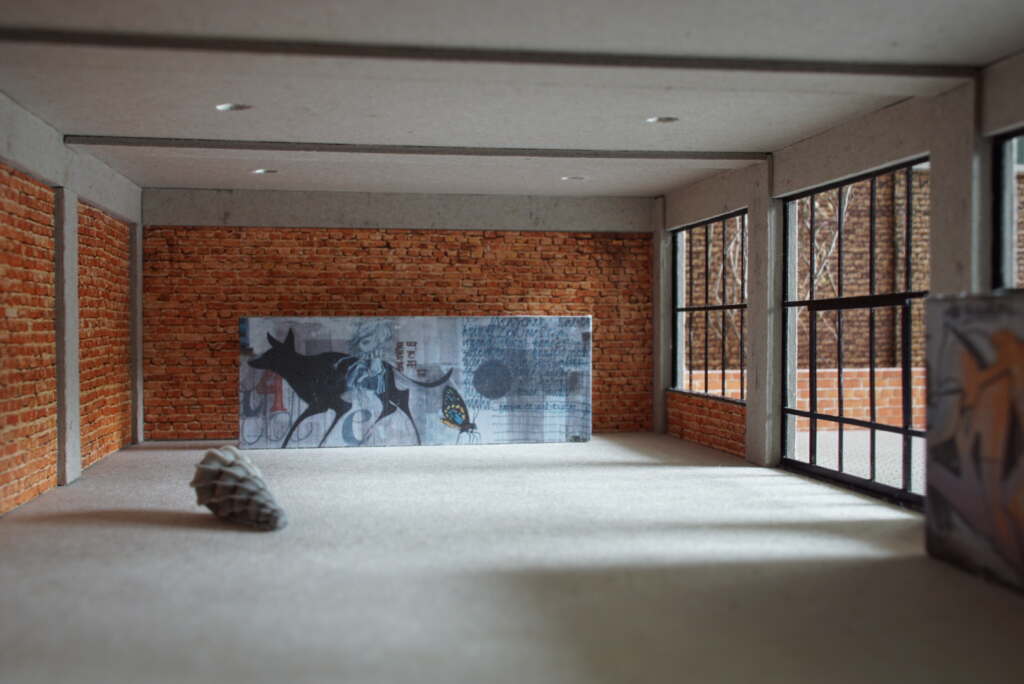
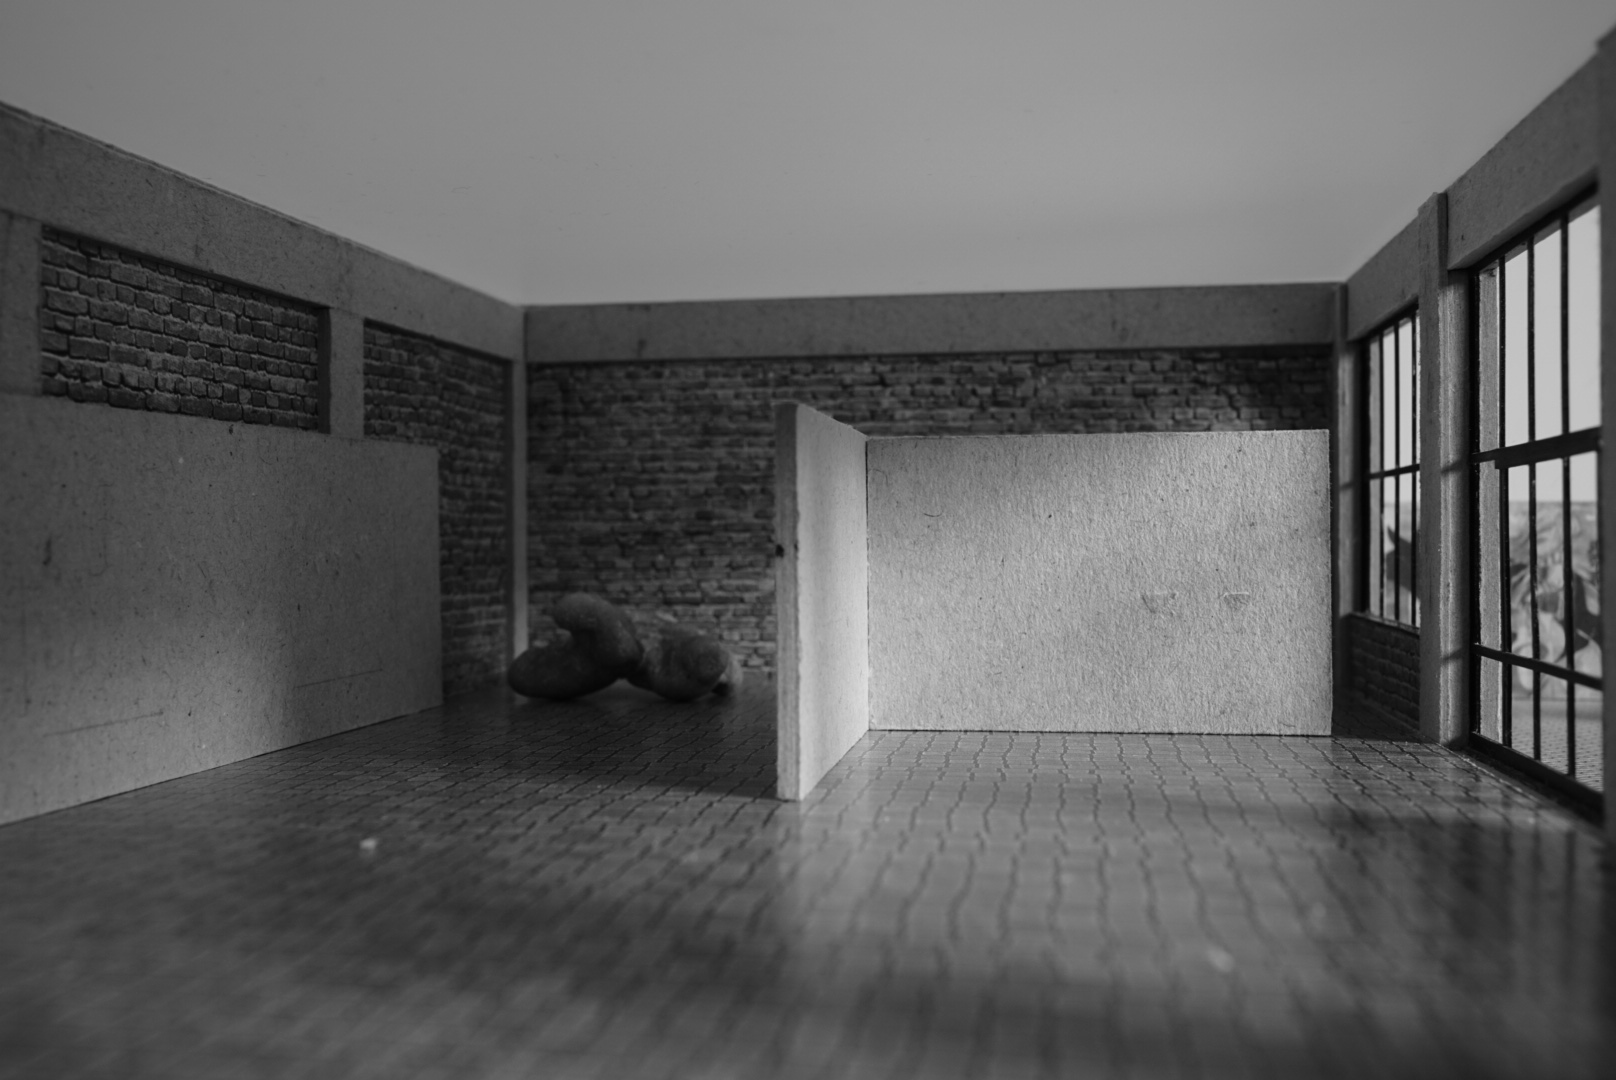
Now all I have to do is choose the right type of wall, measure carefully, taylor the brick walls and fit the interior window sills. To check the look, I set up two graffiti walls and a ‘sculpture’. I think it’s promising.
The exhibits
To avoid any copyright issues, I use some of my own photos of meaningful locations. The pictures displayed in the exhibition show
- airplane details from the Airlift Memorial (Luftbrückendenkmal) at Frankfurt Airport
- impressions from a tiny airfield in Mainz (with kind permission from air traffic control)
- details of public monuments in Wiesbaden
I printed them in small scale (10 x 15 mm and 20 x 30 mm), mounted them on 0,03 mm cardboard and glued them directly to the walls. The ‘sculptures’ are pebbles I collected on the beach, expecting to use them with this miniature museum.
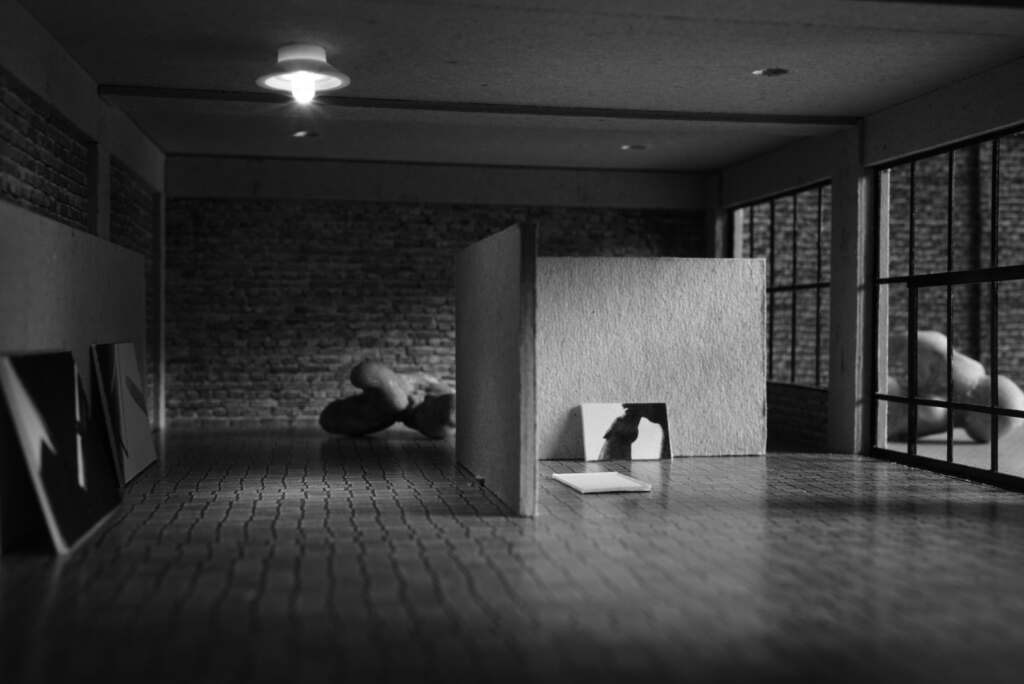
As you can see from the test shot, I also experimented with a new floor, and I built some walls to hang the pictures. They were supposed to be white, but for the test shot I went for the rougher ‘concrete’ look. Though I quite like the contrast between these walls and the white parts of the pictures, I think the walls look a bit too rough for the purpose. I’ll look into that later, because they’ll also have to go with the roof and the lighting.
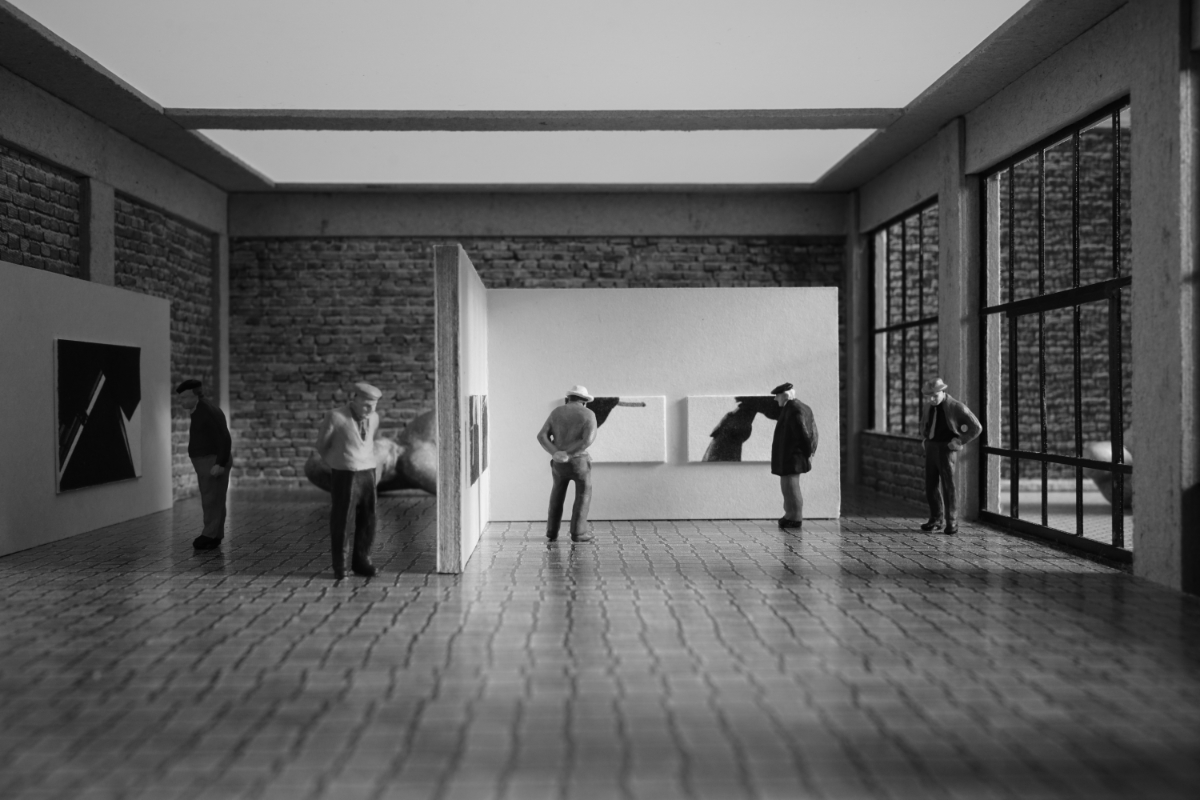
The roof
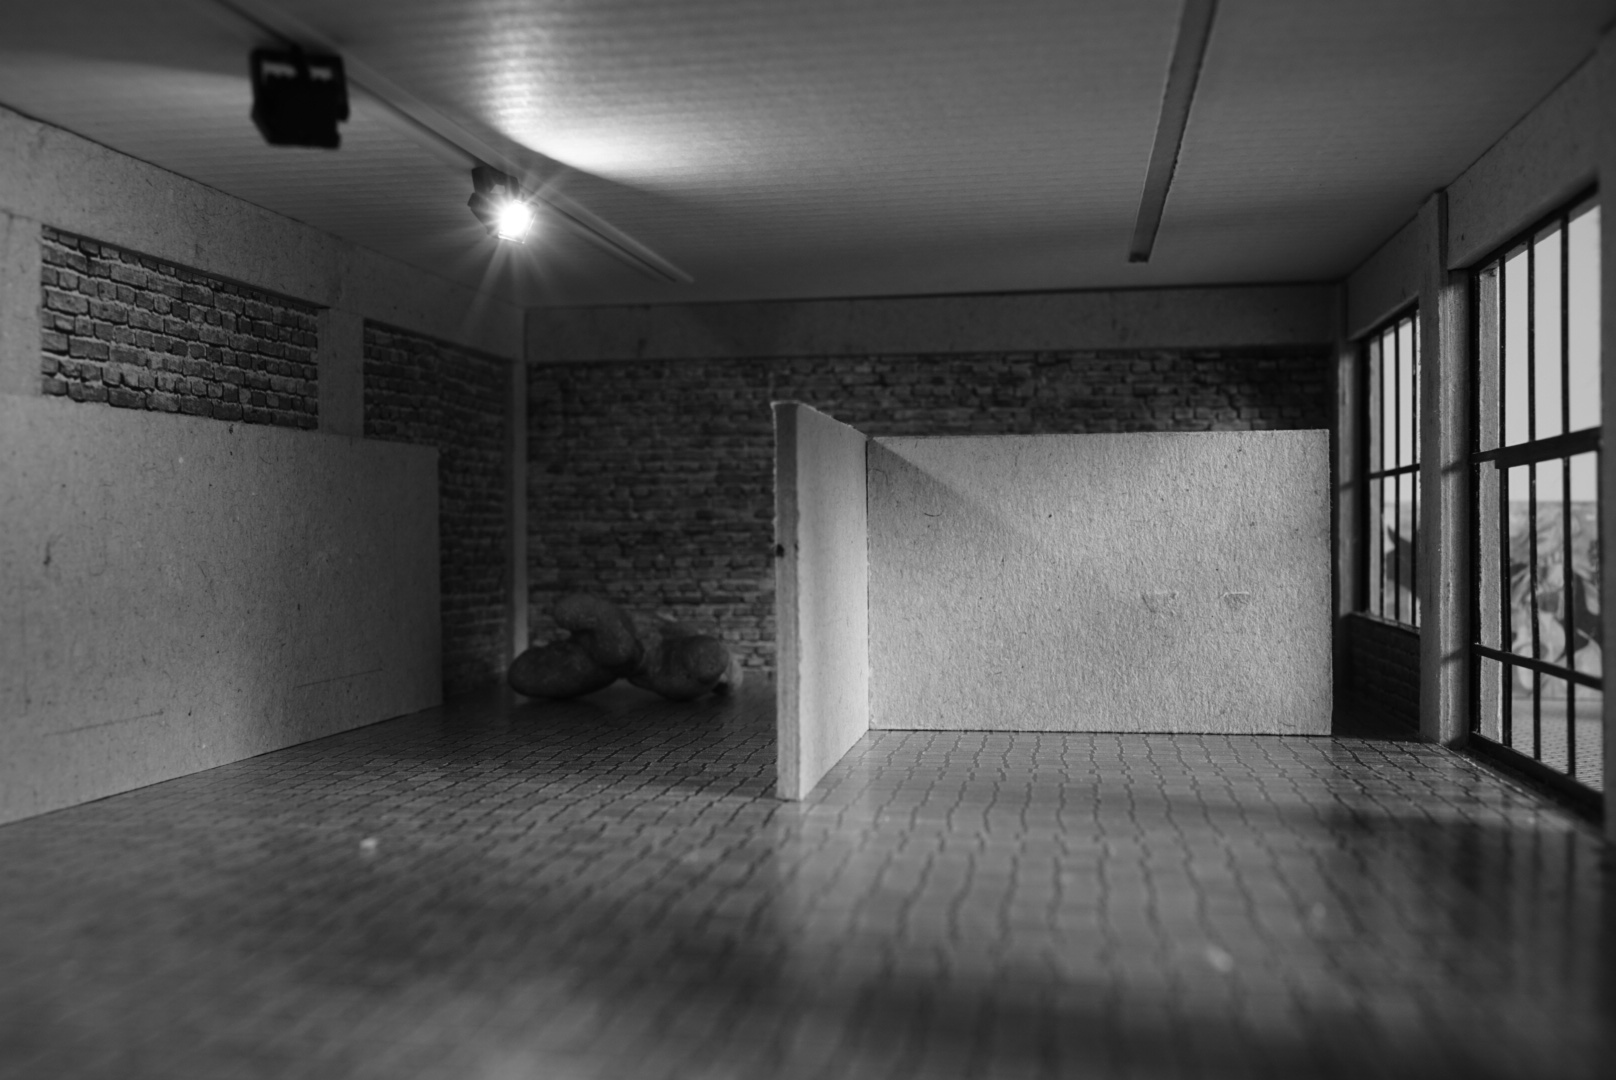
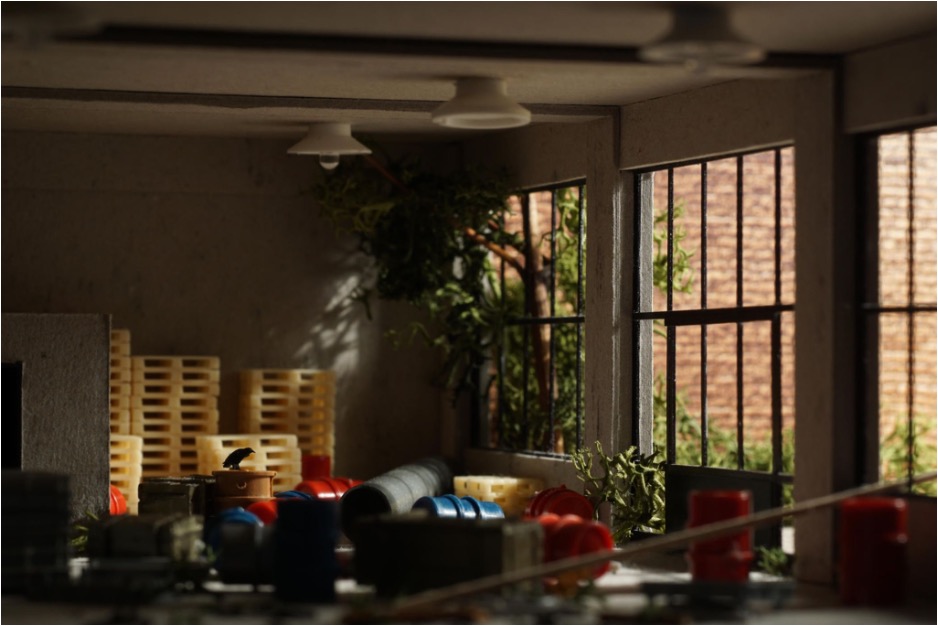
I had originally envisioned a roof featuring skylights because the original space only gets natural light from the huge windows in front. While redoing the walls with brick I realize I quite like the old roof with the two support beams. So I ask myself if I should also keep the old lamps. With most of the pictures on the walls now, there is no better way to answer this question than with the help of another test shot. However, the first of the above pictures confirms what I had gathered from the test shot I’d taken before. The downward light does not do much for the pictures.
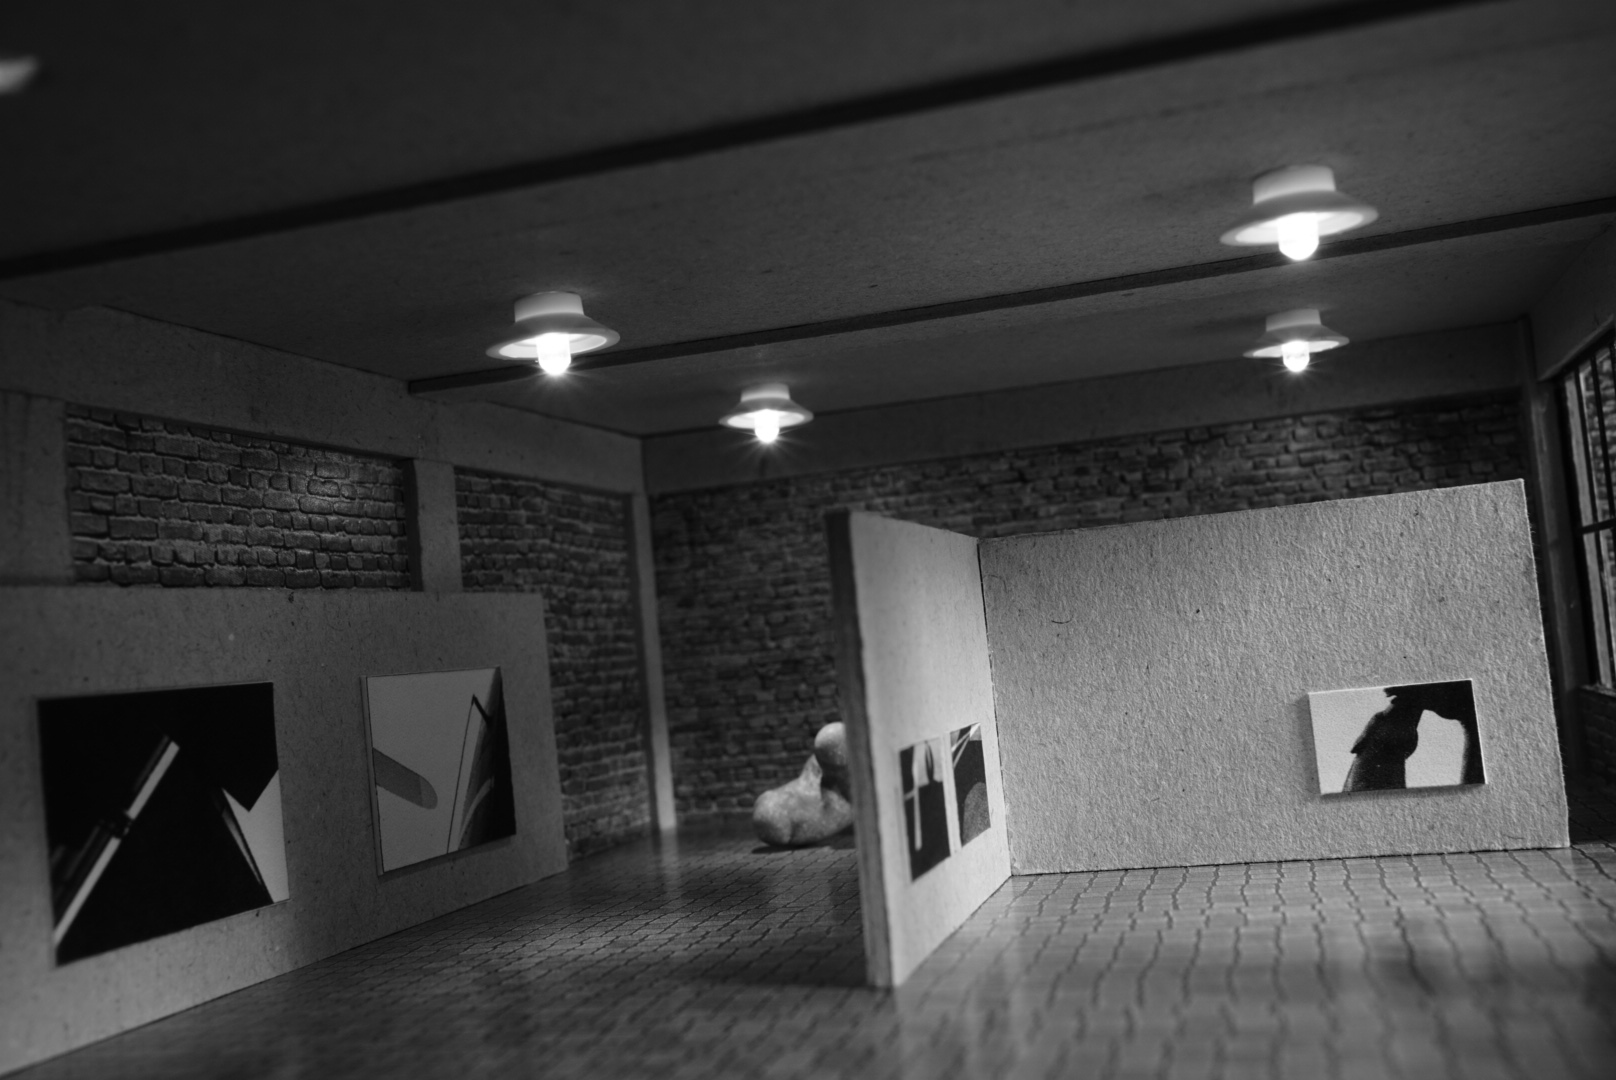
To be able to mount alternative lighting, I now have to build a new roof. A flexible arrangement of spots calls for some kind of bus bar. Hard to build at that scale but worth a try. The new roof is easily built: A piece of carton cut to size and two slots for positioning the floodlights. Again, the solution fails to convince me. I do not care for the flare of the lights shining in the direction of the camera, not in this context. They seem too distracting.
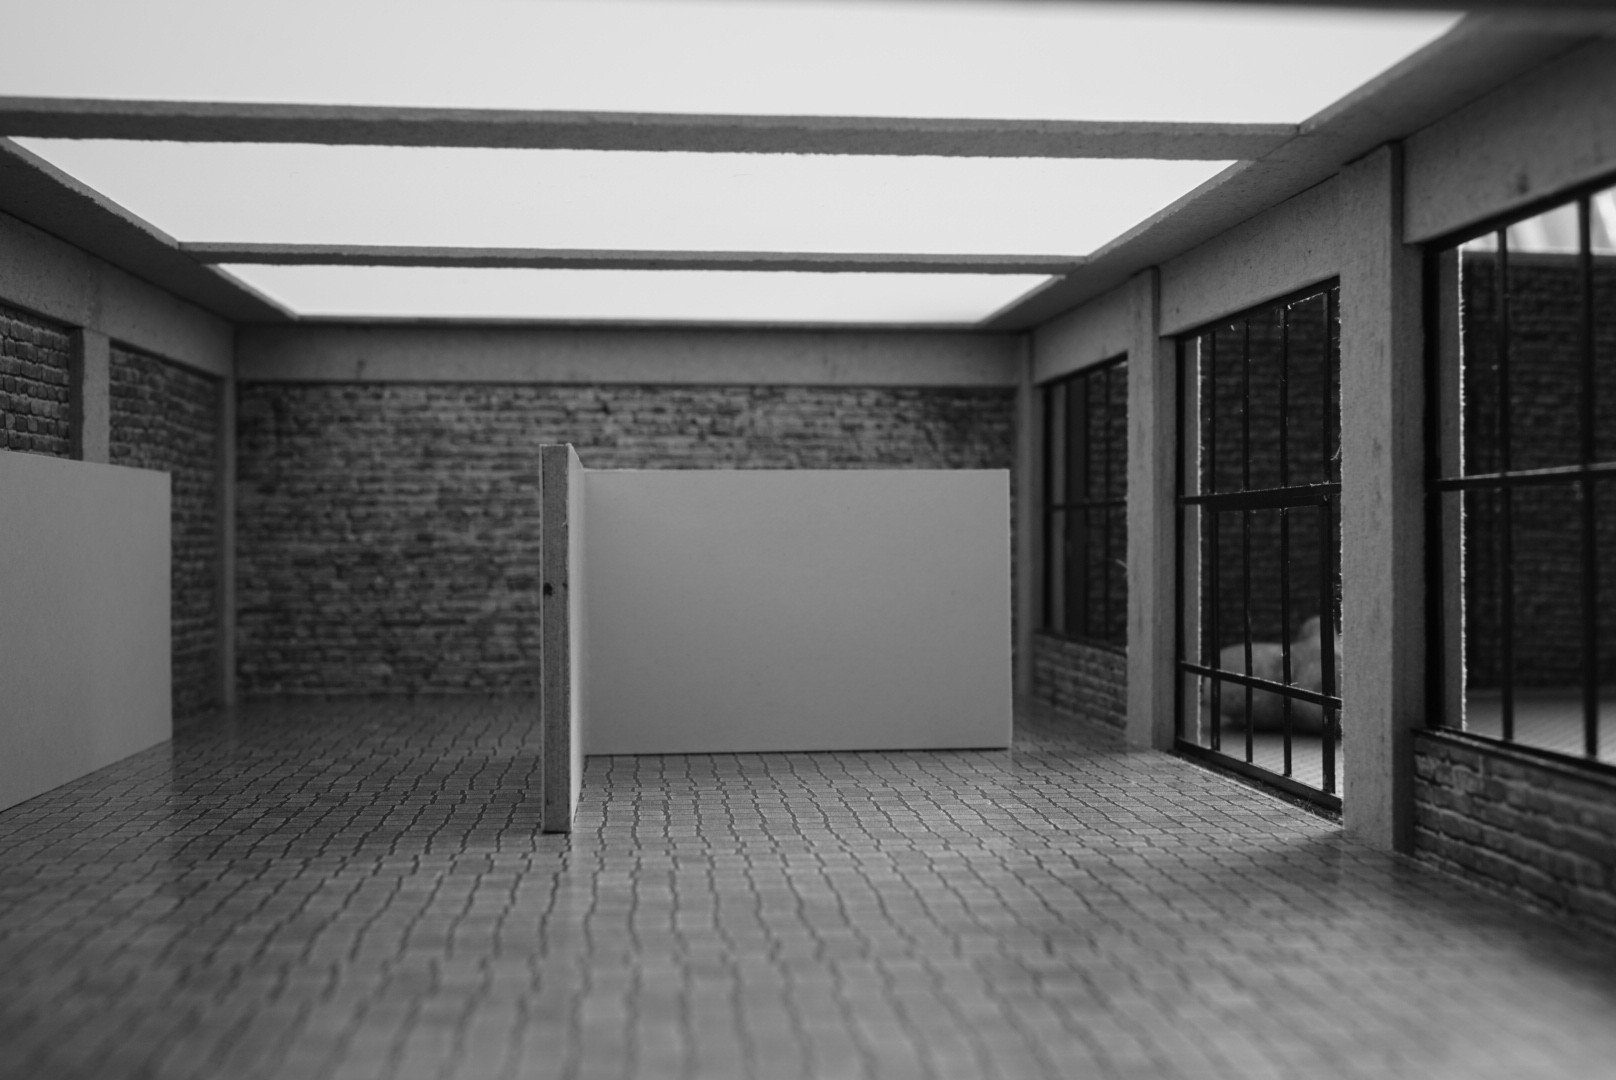
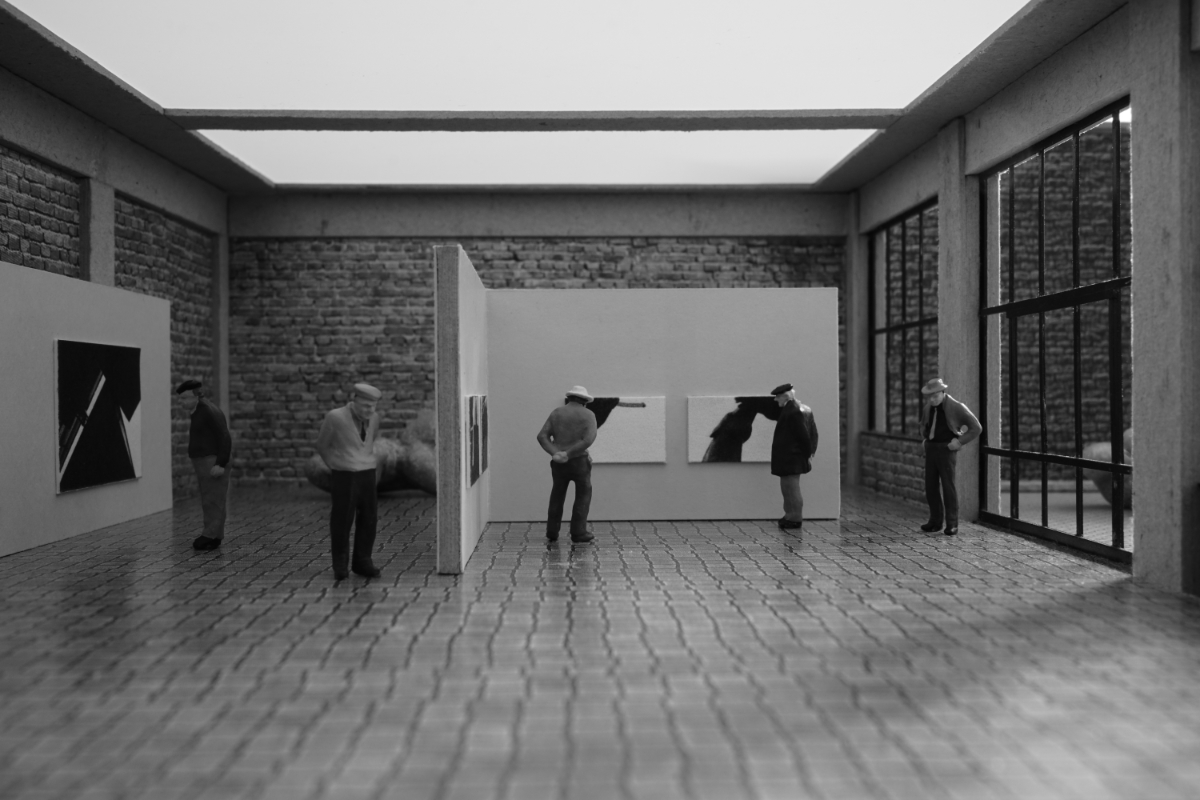
Visualizing other museums I’ve visited, I remember those glass ceilings I like so much – I’d seen such ceilings in Hamburger Kunsthalle, in Kunstpalast Düsseldorf, and in Belvedere 21 in Vienna. So what about a simplified version of one of those? Just trying a translucent white plastic sheet seems promising enough, so I quickly build a third version of the roof. Now the last of the four pictures above looks good to me.
At this point, the remodeling of the place is done. You can already see the smoother walls. All that’s left to do is hang the pictures. Now I only have to make the Meaningful Location picture I had in mind.
It’s all about light!
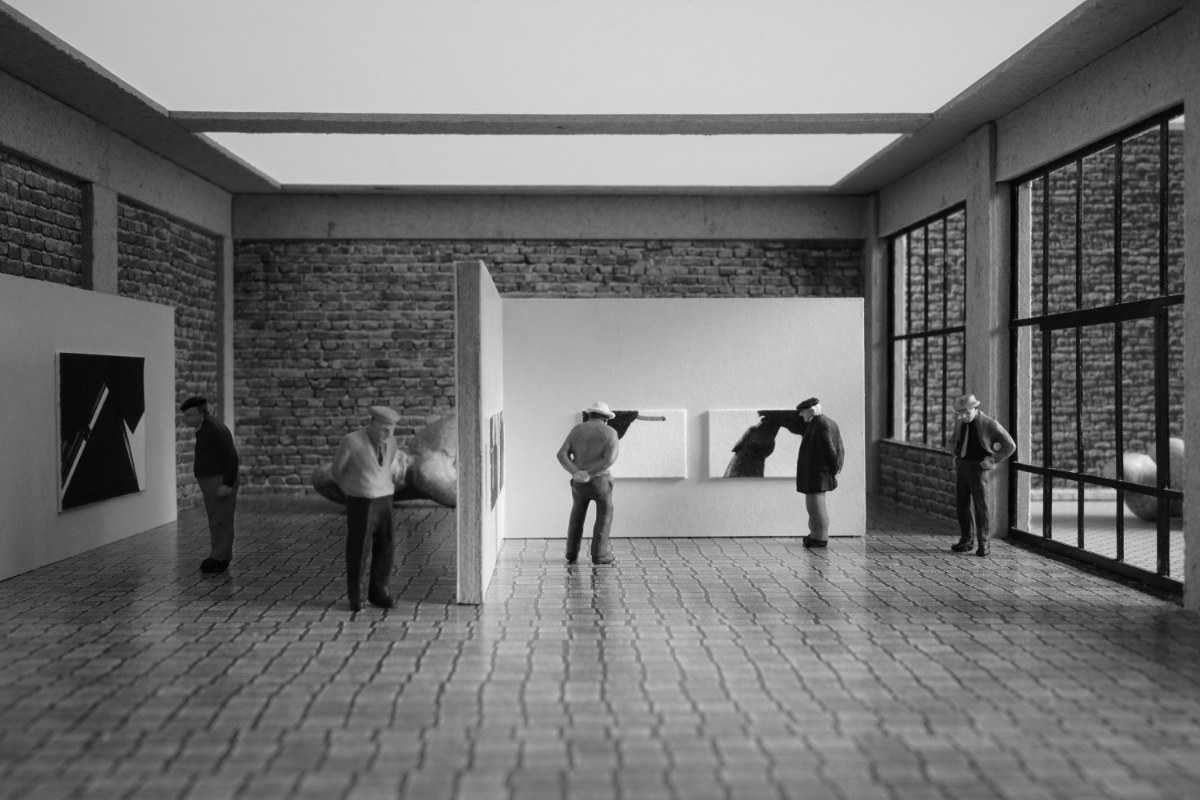
Finally making that picture confirms what the experiments with the roof have already shown: When you build dioramas for the sole purpose of photographing them, a lot of planning and experimenting goes into lighting. You start creating the picture at that point. And if your objective is toy photography, your creations can / will / should always be a compromise between “what it would look like in reality” and “what makes a good picture”.
In that spirit, here are some of the results, shot in the afternoon (top) and early one cloudy morning with nothing but the light from my window.


Leave A Comment