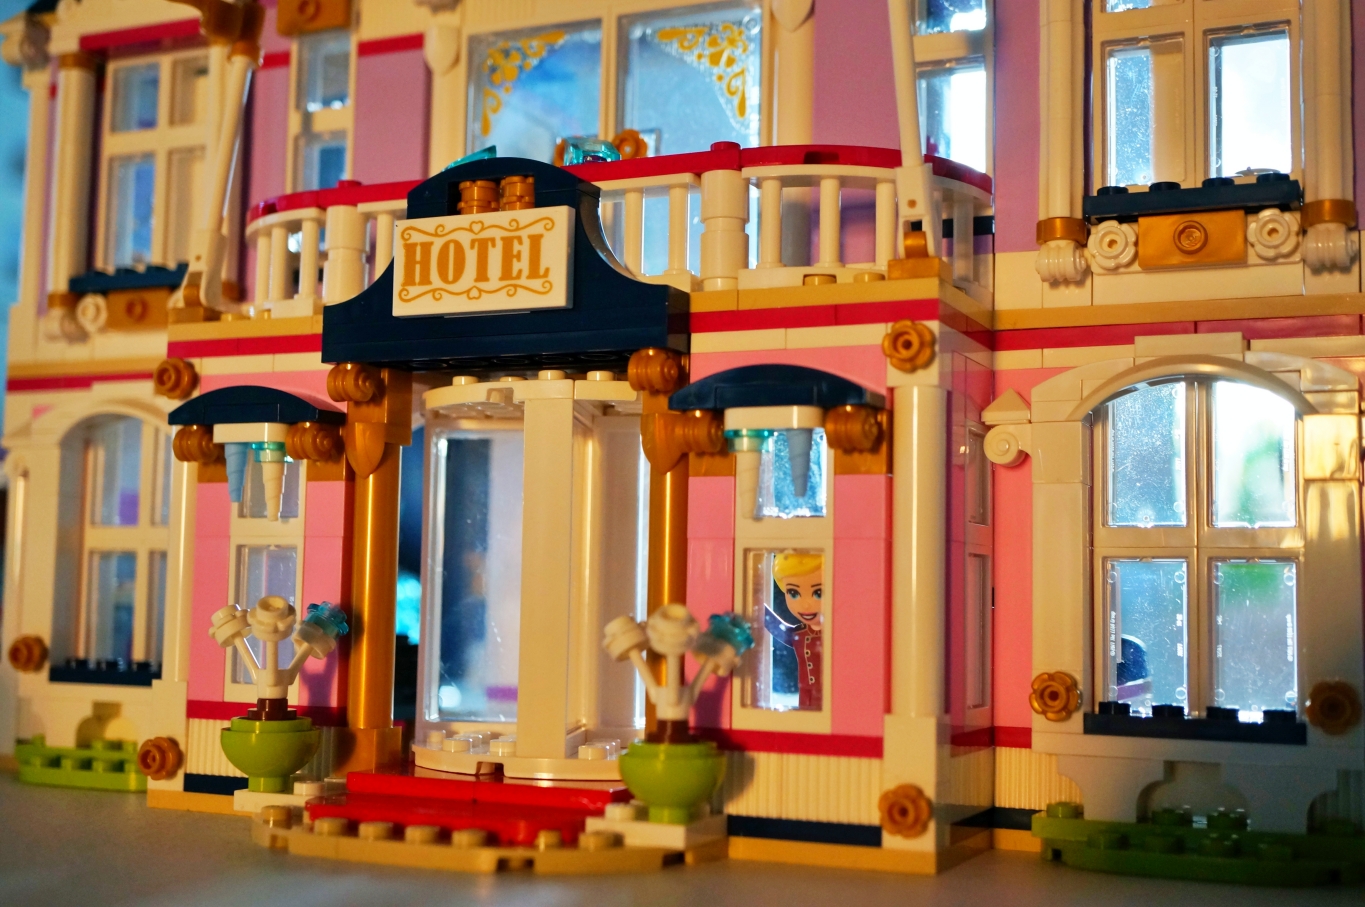
Today I’m going to show you through the Heartlake City Grand Hotel. As it’s name suggests, it’s a really grand hotel. It is fairly big, but it is completely open from the back and the floors are easily separated.
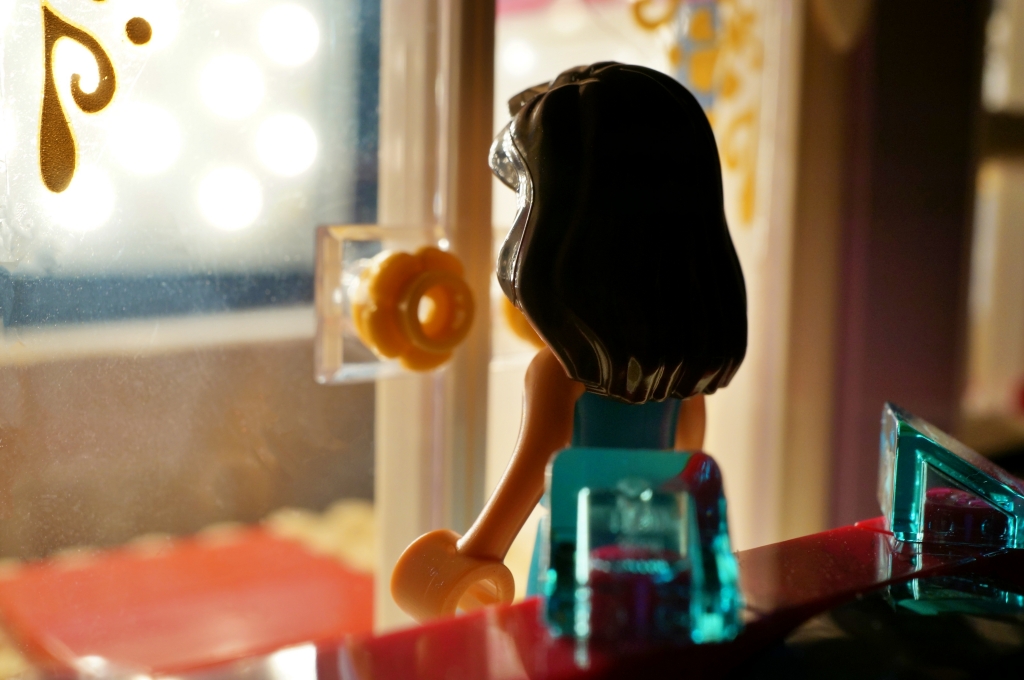
The building process was fun, I love all the little details, even though some of them were stickers. As much as I dislike stickers, this set contained a reasonable amount and reasonable sizes, so I was not too frustrated. Good job, Lego!
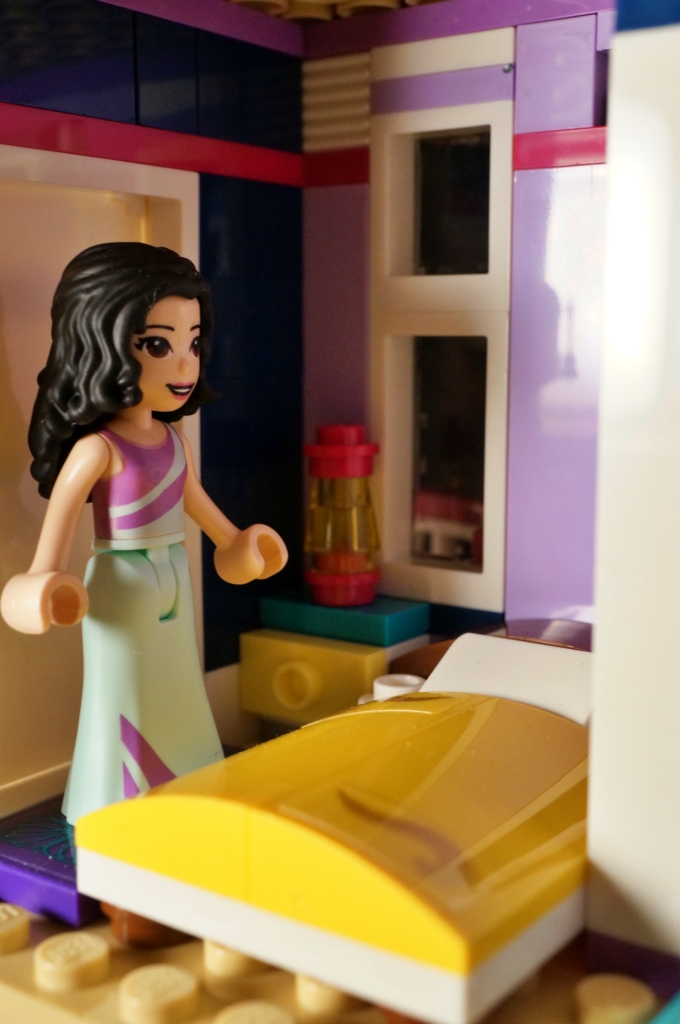
I had some ideas based on the pictures on Lego site, but when I actually finished building the set and tried to set up and put my camera to work, I realized that it’s not as easy as I thought! This hotel is full of little nooks and crannies, has wonderful details and lots of windows and furniture… but everything is so cramped and tiny! The angles for a camera are limited. Also, I realized once again, I really do not like using studio lighting. I don’t know how to use it so it looks natural for the scene. Whatever I do, when I look at it on my computer screen, I don’t really like it. It feels very artificial and very amateur. I’m thinking that I should order some brick LEDs that people are using, because my way is very frustrating. Also, the glares! Lego is very reflective! Why do I keep doing this to myself? I tried using a polarizing filter on my light, but I couldn’t get the angle right, so it didn’t really help much. I would appreciate it if someone made a blogpost about lighting a Lego room so it looks like an actual room with inside lighting and not like a Lego room that I put on my table and just turned the lights on in my human room 🙂 Any volunteers? 🙂
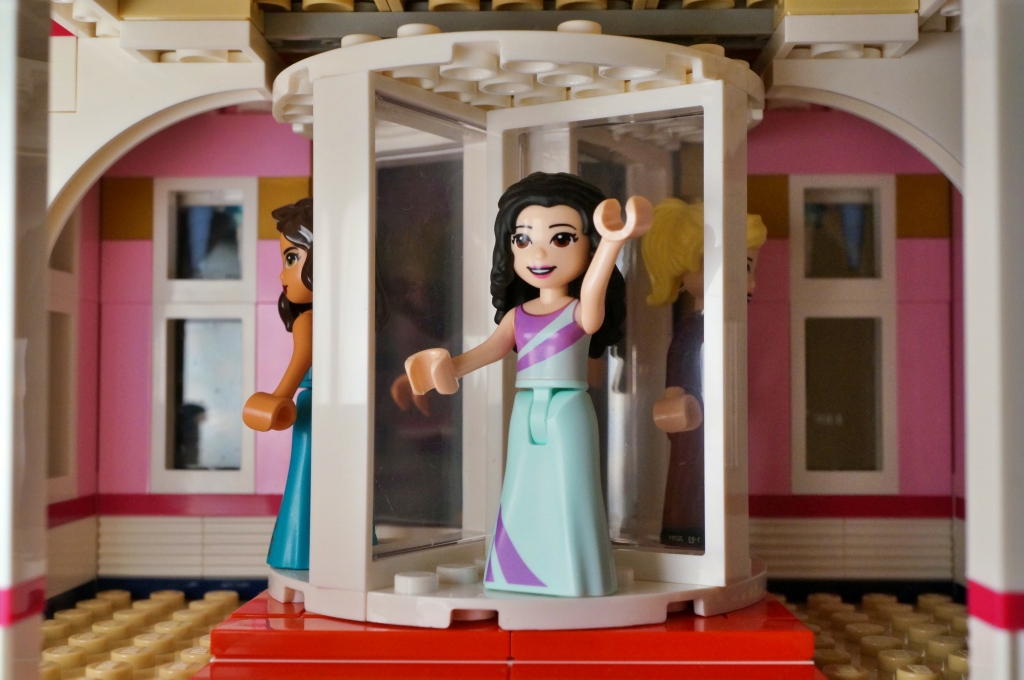
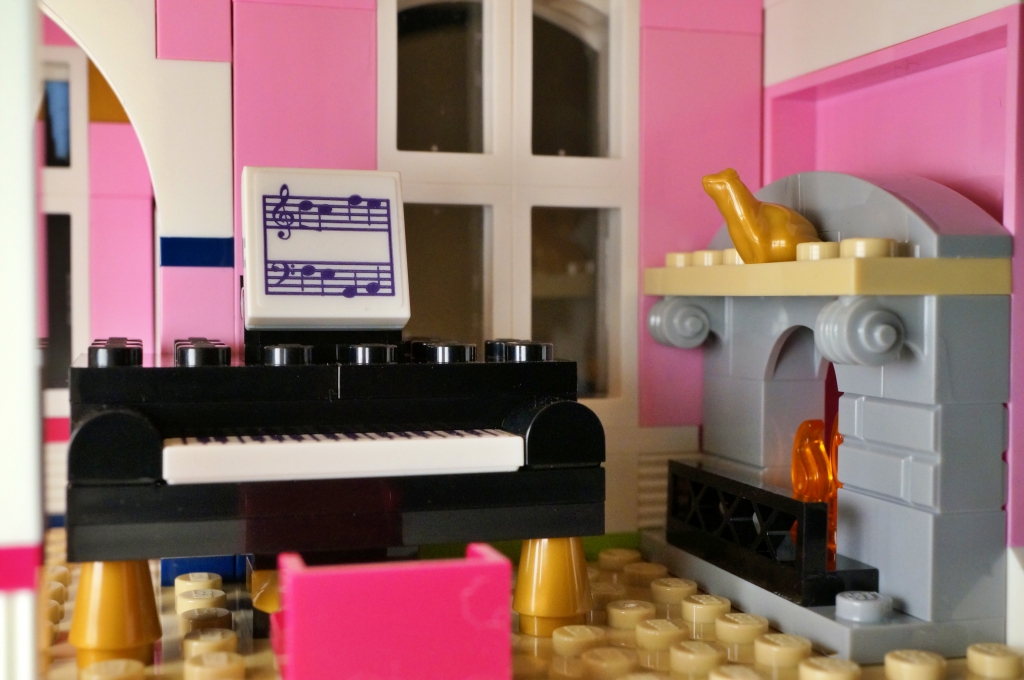
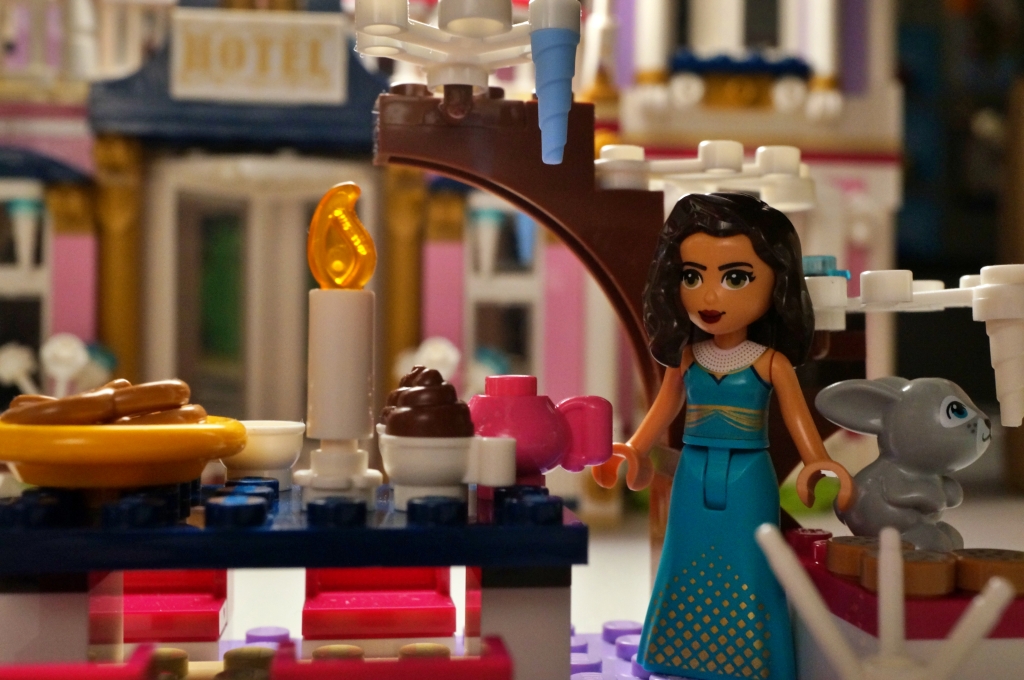
So I slept on it. And then the sun came out during the day after several cloudy days. So I tried to use it. Since the hotel is quite big, I didn’t feel confident taking it out, so I just moved around the house to catch the sun from windows. That was fun 🙂 I think I prefer chasing the light to commanding the artificial one 🙂


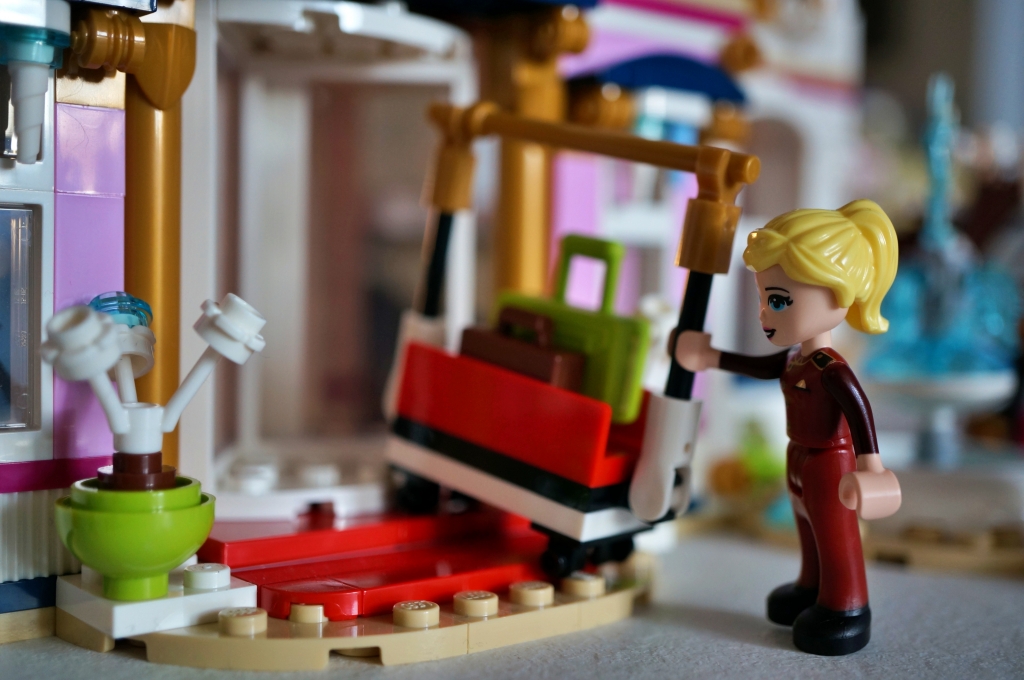
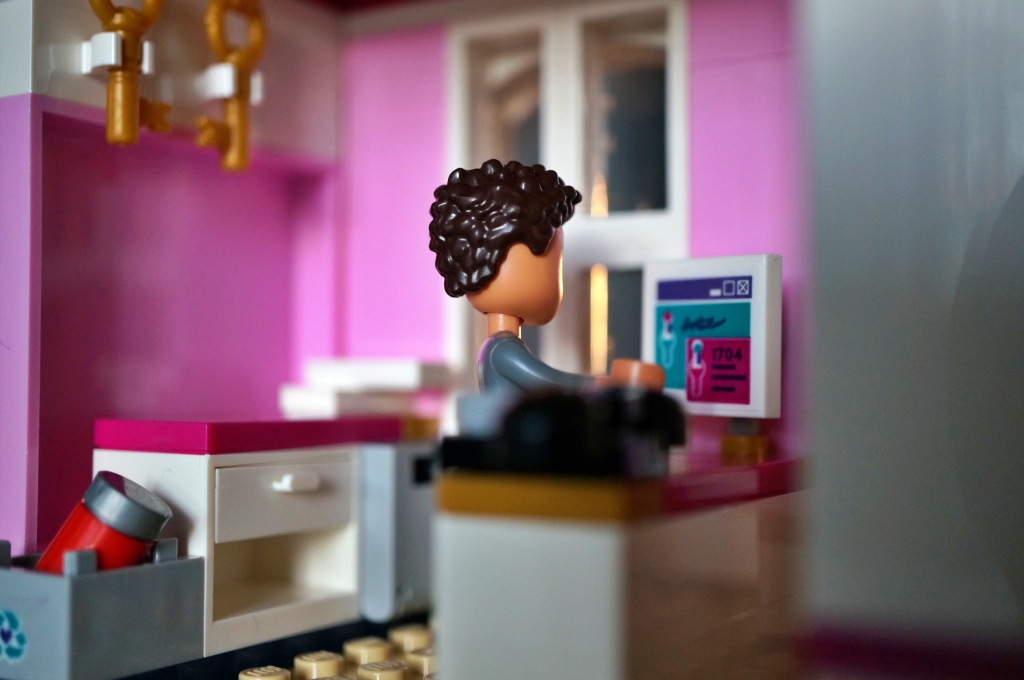

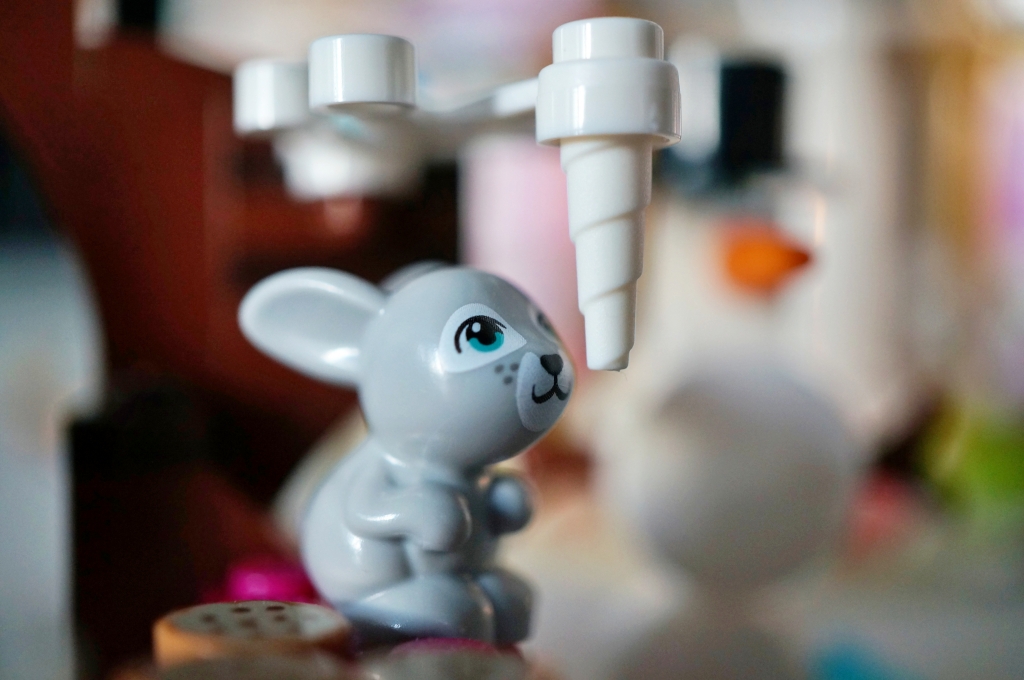
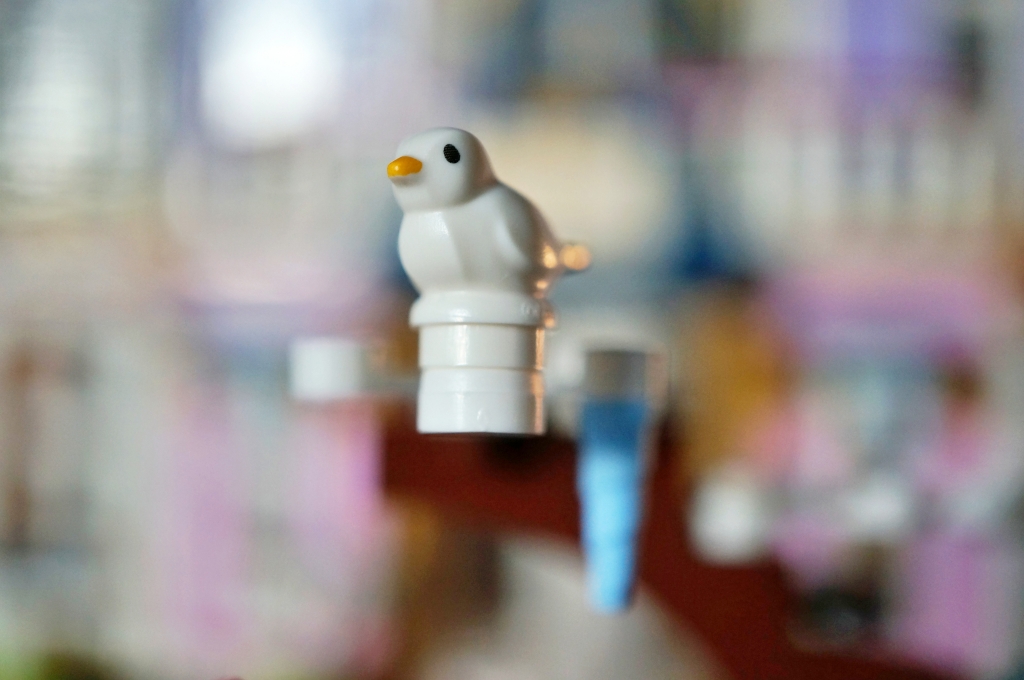
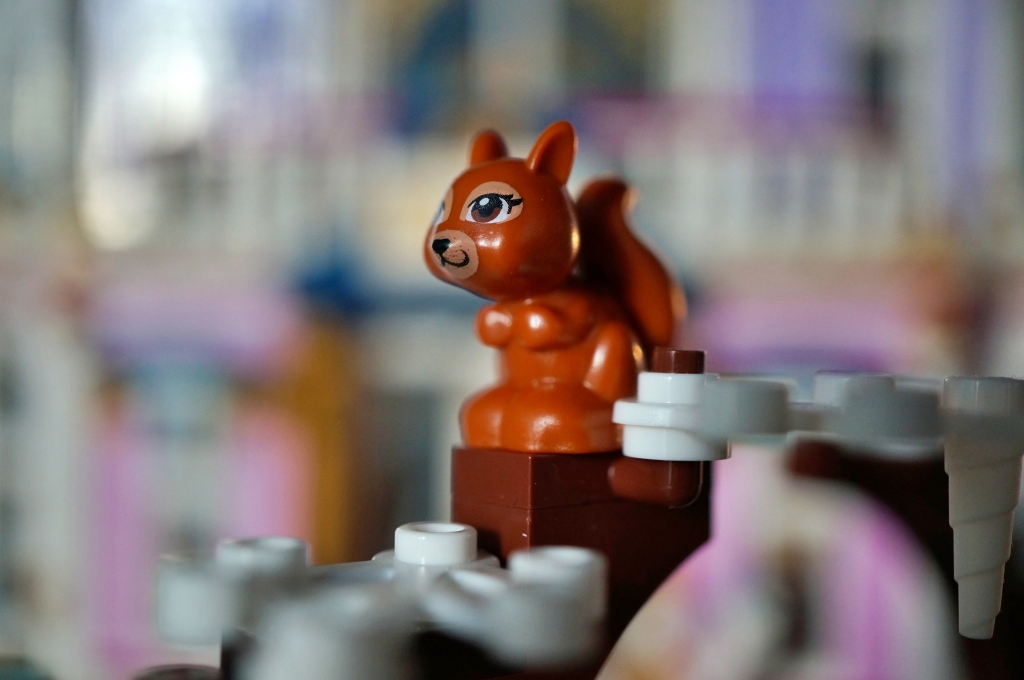
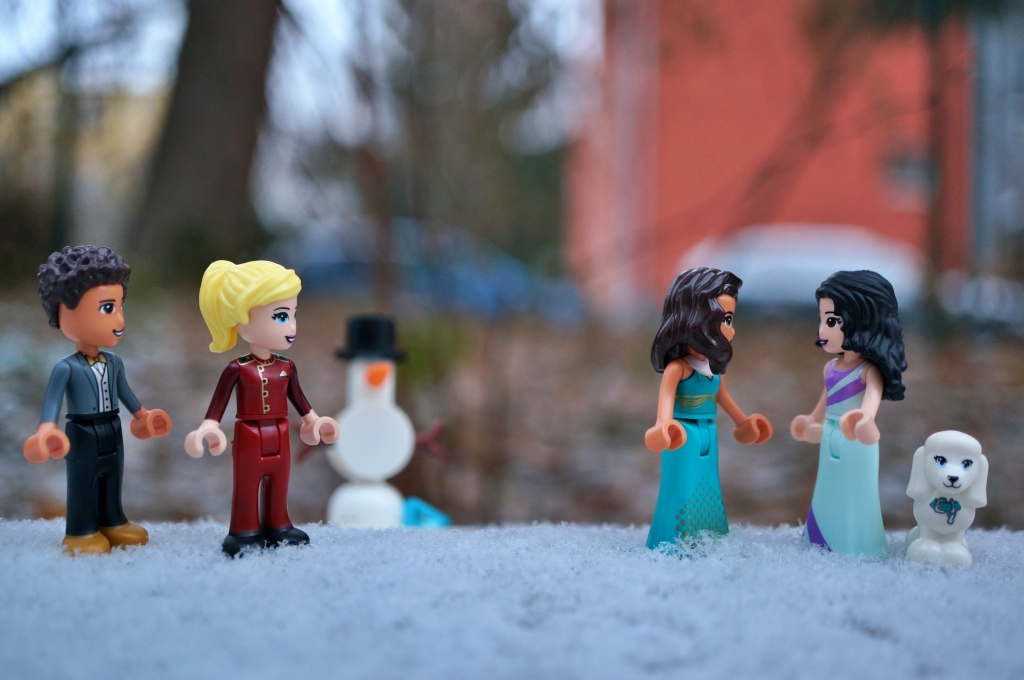
I thought I was pretty much done with the review unless some special weather presented itself. And it did! It started snowing! And since this set has three sets of decorations for different seasons (spring/summer, fall, winter), I had some seasonal accessories to use. I decided on a snowman and a white poodle dog, to keep it simple and quick. I’m still nervous when I go out shooting by myself in a city 🙂 So I shot a small scene with all the minidolls interacting in some way. This could easily happen in front of the hotel, right?
I think this is a great set for toy photography if you know how to light super tiny rooms and find good angles for your camera. There is also the great outside of the hotel, all the accessories, minidolls, animals, smaller builds that make this set awesome and give lots of opportunities for shots. This was a fun review for me, so I hope you like it too. I would like to thank Lego and this blog for the opportunity to review this set 🙂





Thanks for the review, Jana! I love that it’s got an open back. Does that help at all with those tiny corners for photos. One of the reasons I get the occasional Friends set is the detail they have, And those animals almost had me running out to spend money! Thanks again for the review. And I second your request for more lighting ideas that won’t break the set or the bank.
It helps with photos, but it’s not enough I think. All those corners and rooms are too tiny 😀 Maybe I need a different lens? I have 30mm macro, so maybe with longer lens or something? I don’t know 😀 As much as I love all the Lego animals, I don’t photograph them often 😀 Saying that, I just ordered 2 Lego sheep because why not 😀 Thank you, I’m glad you like my review 🙂
It is always hard to use the LEGO sets in actual photos, sometimes. I love the HYGGE piano. It looks like a fun set.
It’s definitely fun 🙂 Maybe my fingers are too big though? 😀 The size makes the rooms look cute, so I guess that’s important 😀