One of the ways to add energy to a photo is to introduce a sense of motion. Sometimes it is possible to move a toy thru a frame and capture motion that way. However for more complicated shots that is a lot harder. So I often add motion blurring in post production.
Even though a photograph is a two-dimensional object, the things we take photos of are three dimensional. There are three axis of dimension: the X-axis, or movement horizontally (going left to right, or right to left). There is the Y-axis, which is movement up and down (going top to bottom, or bottom to top), and the Z-axis, which is front to back, or back to front. The Z-axis is the easiest one to overlook as its the one that disappears in the two dimensional photos. However we humans still think in 3D so we can’t ignore it when adding motion blur.
Adding motion blur in Photoshop on the X and Y axis is easy. Simply add the motion blur filter to your image, pick your angle and intensity, and you’re done. The Z-axis is a little harder. Doubly hard when the image is a composite
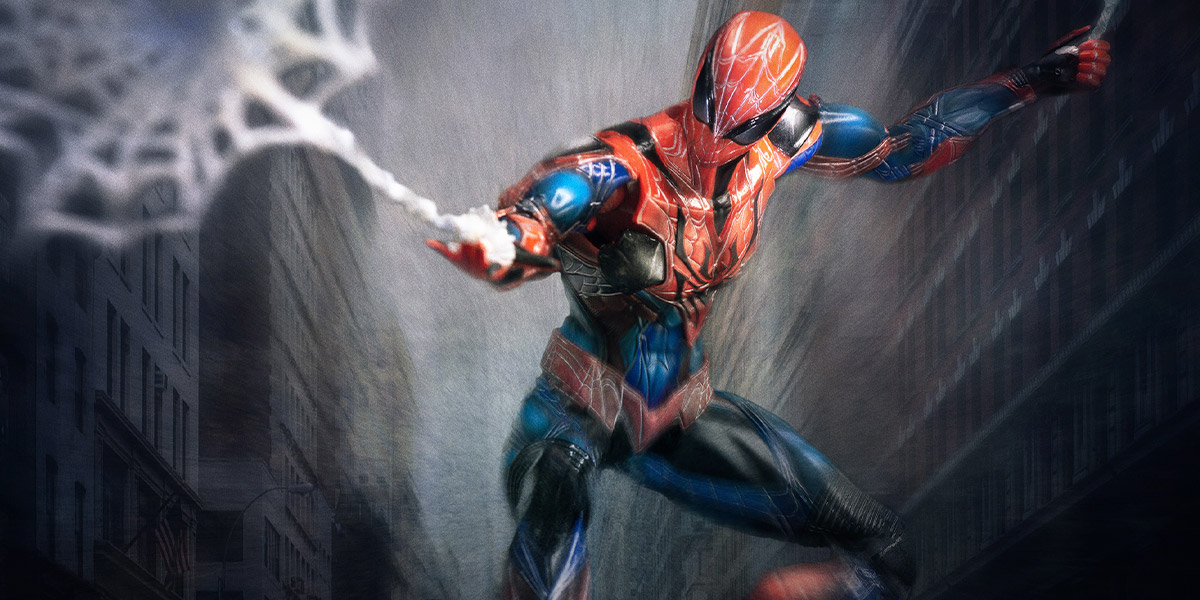
The rest of this post describes how I added Z-axis motion blur to a composite image. Specifically an image of Spider-Man.
The Base Images
So the image I had in mind was having Spider-Man swinging thru the city, just at the moment when he runs out of his current web, and is shooting a new web out to keep going. It is meant to be a dynamic looking shot.
I shot the Spider-Man image in my studio, perched on the closest thing I had available (a jar of sand, as luck would have it), with my camera cocked at 45 degrees to give Spidey a more dramatic sense of movement. The in-camera shot looked like this:

Looks a bit odd, but this is a composite, so I’m gonna ditch the background. The image with out the background looks like this:
Its not a perfect selection, but it doesn’t have to be. The dirty little secret of compositing is that things don’t have to be perfect. They just have to be good enough to, as Joel Grimes puts it, “sell the fake”.
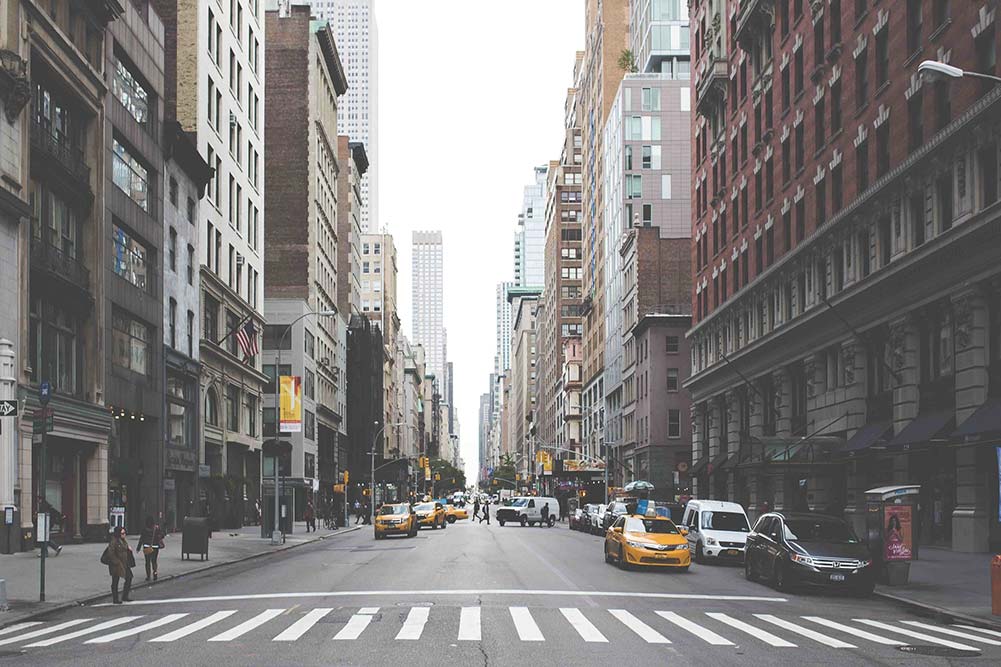
While we are here, lets look at the background (which I got from a creative commons license from a stock photography site):
Add The Motion Blur To The Background
Z-axis motion blur is done using the Radial Blur filter in Photoshop. (There are also ways to do this in GIMP if that is your weapon of choice). The radial blur control looks like this:
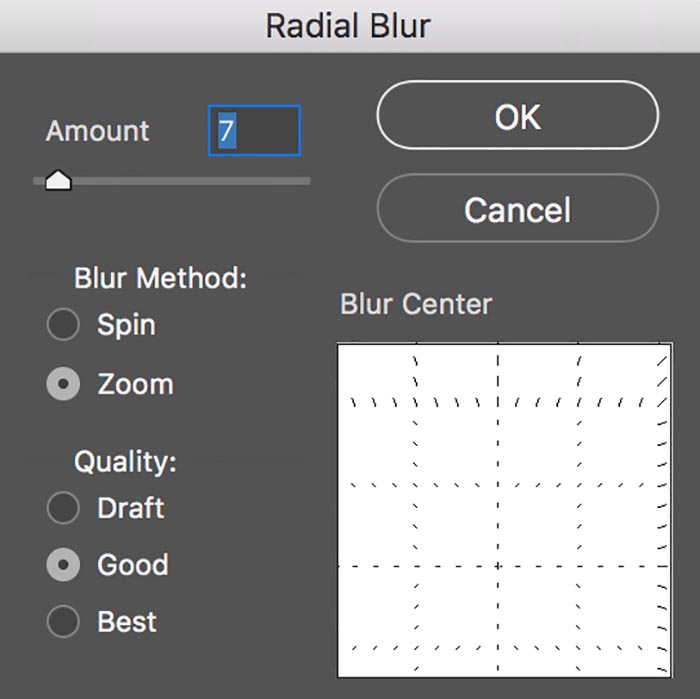
The secret is to use the Zoom feature to the blur. Also move the blur center point to match the motion of the object. For this shot I changed the background to a Smart Object, which both allows me to adjust the zoom at any time I wish, but also allows me to mask out part of the zoom. This effect is applied universally across an image, but in real life motion blurs are not universal, so masking allows me to control where the blur goes.
My layers panel for the background looks like this: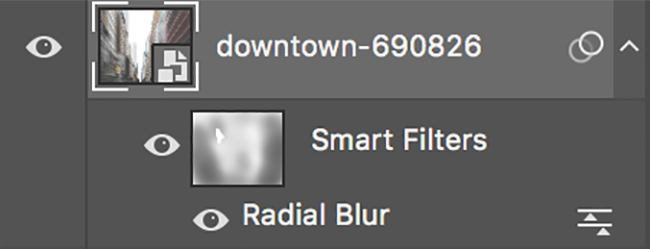
And the background ended up looking like this: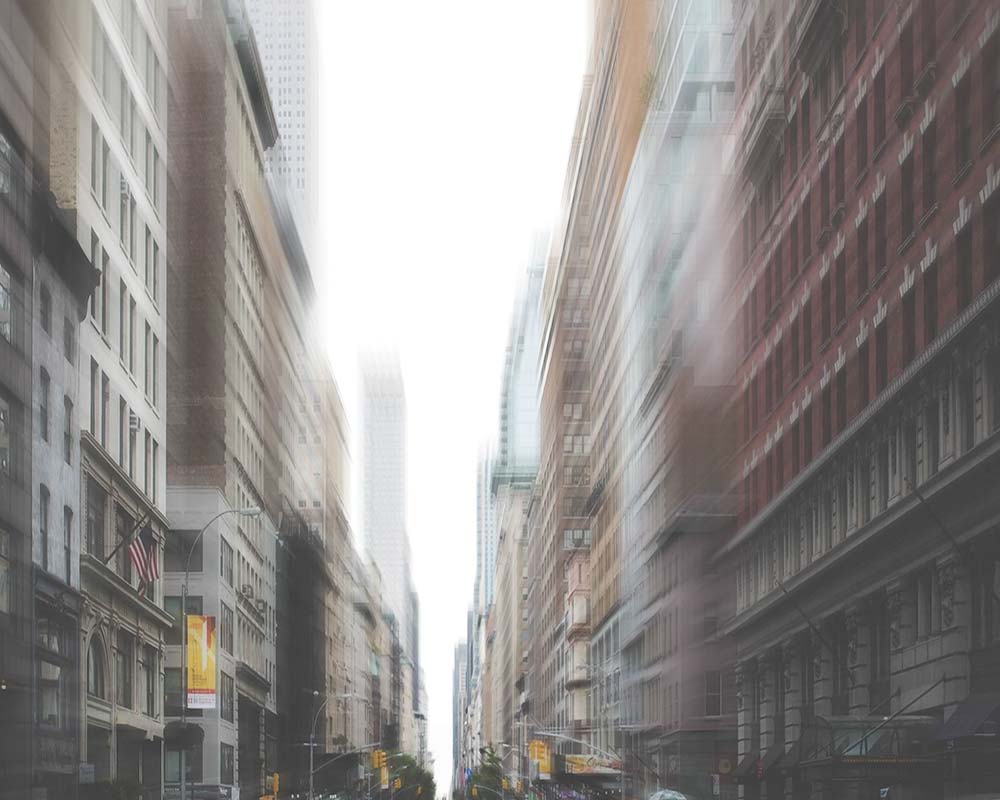
Note that I had cropped in the background to use only the parts I wanted. I cut out the street level as Spidey is swinging well above street level.
Apply Motion Blur To Spidey
Adding motion blur to Spidey is basically the same process. Turn Spidey’s layer into a Smart Object, then apply a radial blur set to zoom, and mask it to add the motion blur to just the parts of Spidey that needs it. Note that I used the same settings for the radial blur that I used for the background, especially the center point. It is important the motion directions match up.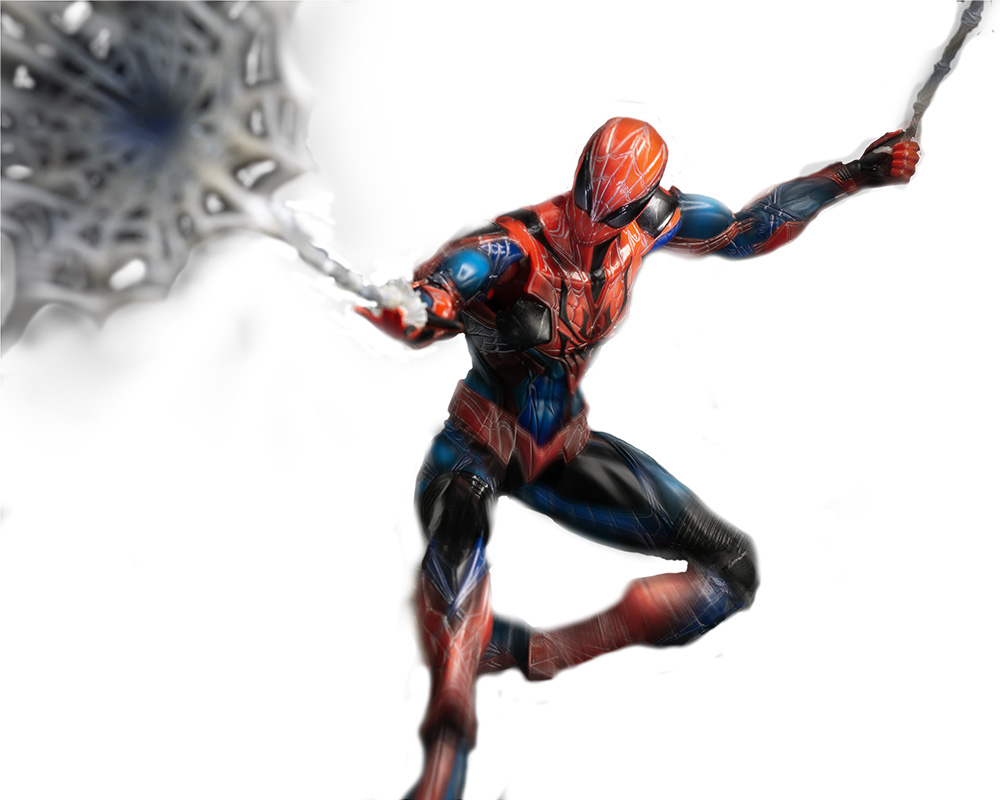
I masked out Spidey so his face and body are not blurred, and the outside edges (legs, arms) get progressively more blurred.
Merge The Layers
The next step is the easiest. Add the Spidey Smart Object layer over the background layer.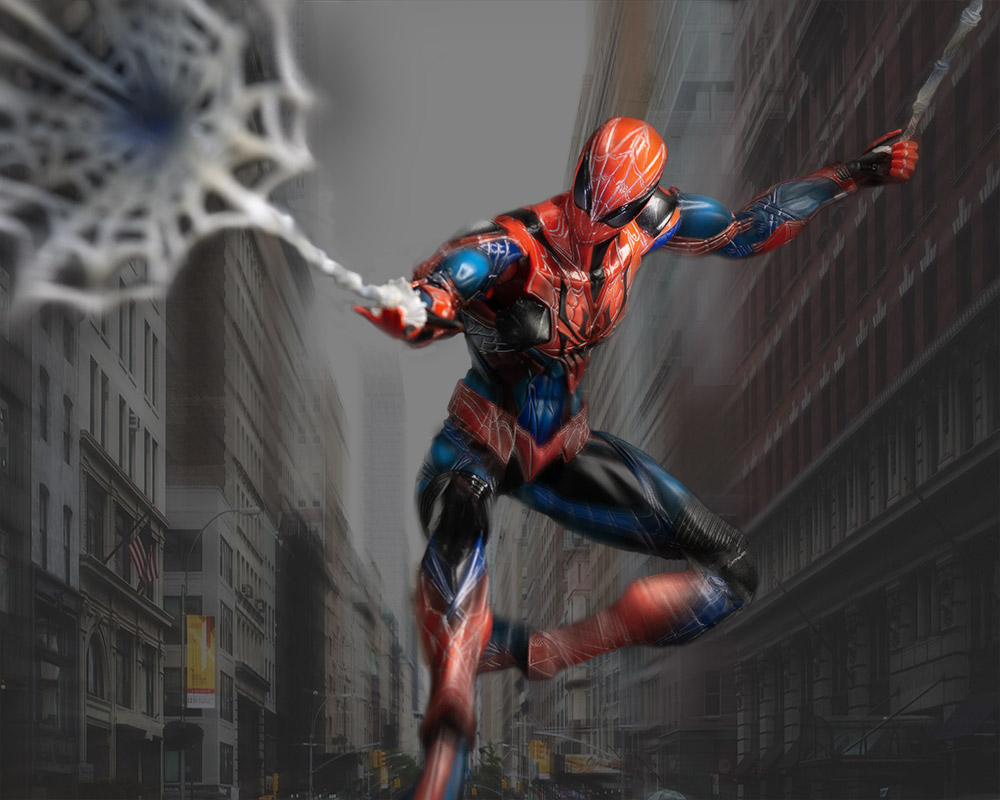
Colour Correction And Textures
The rest of the image is adding simple colour corrections and textures to get the rough and ready look I like to have in images I create. Since this is image and artistic vision specific, I am not going to go thru every step. The salient detail for the Z-axis motion blur is that I added the same radial blur with the same center point to the textures I added to the image to ensure everything in the image has the same motion feel.
The final image looked like this: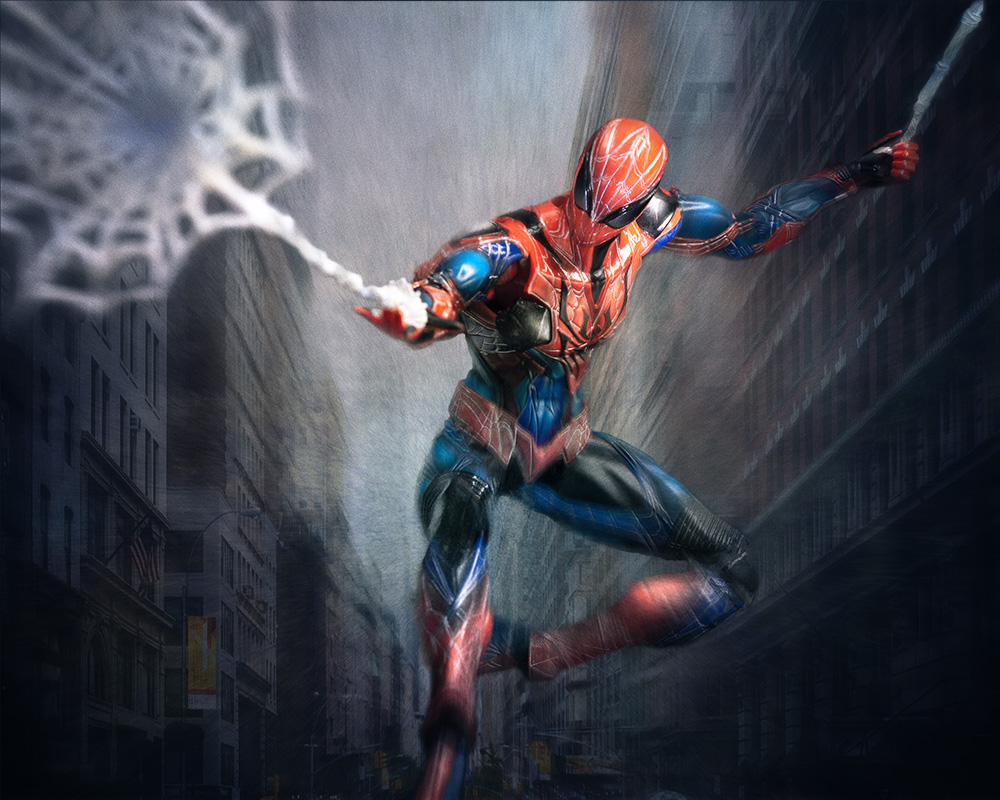
So that is the basic technique for adding Z-axis motion blur.
One last thing before I go. Z-axis blur can also be used to add a dynamic feel to parts of an image, like this image where I added Z-axis blur to the sky to make it feel more dynamic and add energy, even tho the subjects are stationary: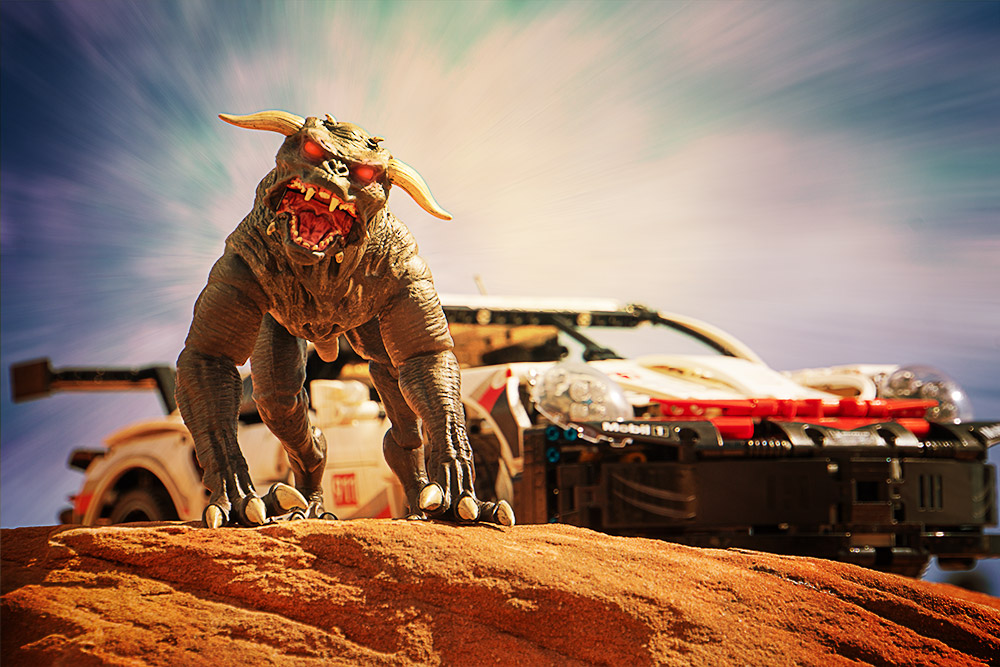
Conclusion
That should do it. Z-axis motion blur isn’t needed for every image, but for those images where it can be used, it is a powerful tool to keep in the post-processing toolbox.
Question For The Readers
When I write these behind-the-scenes type posts, I try to balance the practical setup and the post production work. I am happy to go for a deeper dive into either aspect of these. Do you want to see more practical setup behind the scenes, or more detailed Photoshop behind the scenes? Want more about the design decisions? Let me know what you would like to see in the comments below!
[dave]
Want more toy photography goodness? Subscribe to our weekly email round up so that you never miss a post. You can also listen to episodes of the podcast!


Great post Dave!
For me the details here were enough to get me started. So, I’m not sure if others would want more detail. I’d be interested in knowing how you come up with your ideas or more setup info.
Thanks Wade – That is useful feedback 🙂
Cheers mate.
Thanks Dave! Great post. I could have used this information a few weeks ago for a little hunt that I’m part of. But appreciate it going forward.
You are welcome Paul. If you have questions, you know where to find me.
Ohhh, so that’s how you get that effect! Thanks! I’ve been wondering how to do something like this.