Through the generosity of The LEGO Group, our Toy Photographers blog got a chance to review the LEGO Minecraft™ BigFig sets that were released on January 3, 2019. I’m not much of a “product reviewer” but I can tell you what I thought about these sets from the perspective of a toy photographer. Please note: you will not see everything from the sets in this post, so check out the links to the LEGO website for full details on set contents.
The sets:
- LEGO 21148 Minecraft™ Steve BigFig with Parrot
- LEGO 21149 Minecraft™ Alex BigFig with Chicken
- LEGO 21150 – Minecraft™ Skeleton BigFig with Magma Cube
Photography Pros
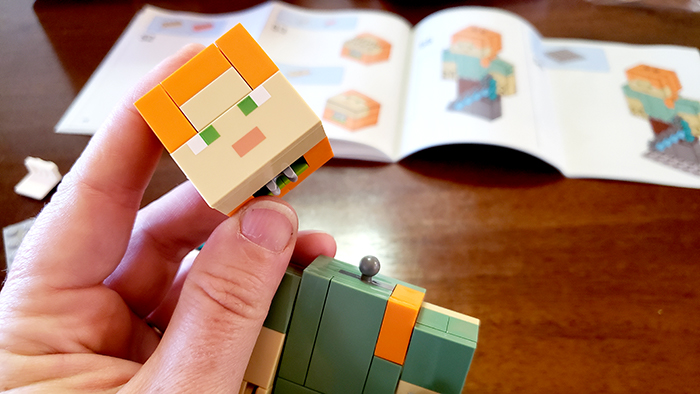
These sets are an easy build. Once built, they are sturdy and hold together well during play or posing. The heads are on a ball joint, which makes them very posable for maximum body language and tilt.
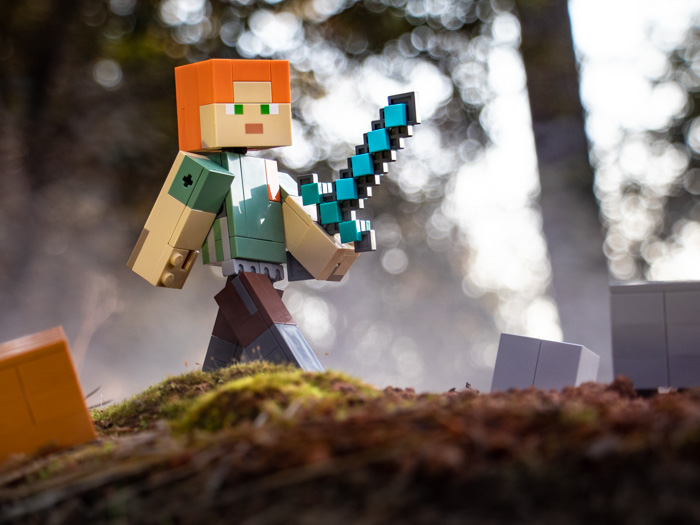
They balance well when standing, even on various surfaces (forest floor with leaves, dirt and pebbles, concrete sidewalk, indoor carpet, etc).
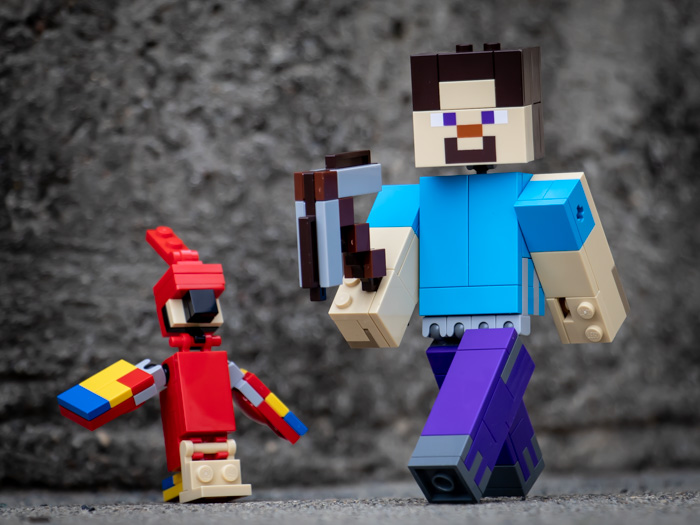
I found these bigger figures similar to 6-inch action figures in terms of not needing a macro lens to capture their details. The bright colors show up well on camera.
Photography Challenges
Any fan of Minecraft or the LEGO bigger figures (like the 11″ Star Wars line of buildable figures or the bionicles) would probably enjoy these sets. Younger fans of LEGO might also find them appealing because of their bigger “action figure” size. So the cons of this “pros and cons” review are very specific to the challenges I experienced in the context of toy photography. Because I overcame all these challenges, I don’t really consider them a con so much as something to be aware of while shooting.
Challenge #1: Face paintjob is deliberately soft, which can come across as out of focus on camera.
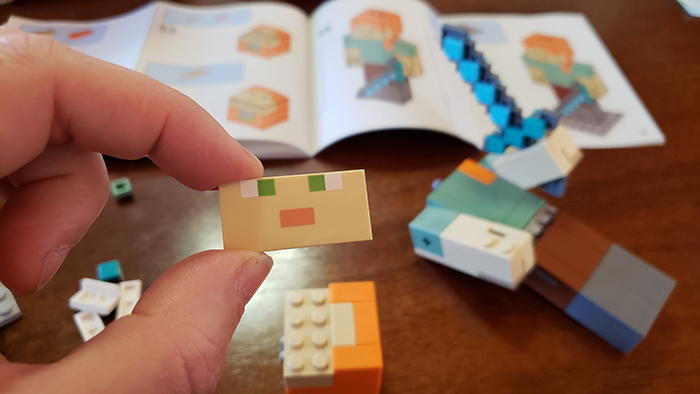
Suggestion for #1: Add contrast or darken the colors of mouth and eyes in post-production. Sometimes careful focus or just the right angle of light works, too, but I touch them up in the Snapseed app or Lightroom if the face doesn’t stand out enough for me. Facial expression and eyes are so important in photography, and no less in toy photography.
Challenge #2: Smooth plastic surfaces are highly reflective.
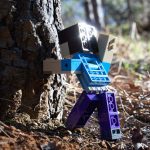
Those smooth, reflective surfaces require some consideration when choosing your camera angle and working with sources of light. Below are some photos of Steve, presented with #nofilter for purposes of demonstrating the challenge. The third image is much better balanced in terms of light on body and face. From here, we can pull it into a photo editor and work with it.
- Steve’s face is in shadow.
- Steve’s face is catching the light — too much.
- Much better!
- Reflections obscure Steve’s facial expression
- Reflections all over front of figure
- Light flare from sun angle on plastic edges
Suggestion for #2: Always check the face for being in shadow or overlit/reflective. Tilt the head down a bit when outside with the sun above. The ball joint in the next neck is super handy for this part!
Challenge #3: Skeleton’s bow tends to shoot during handling for posing.
That thing is on a hair trigger!
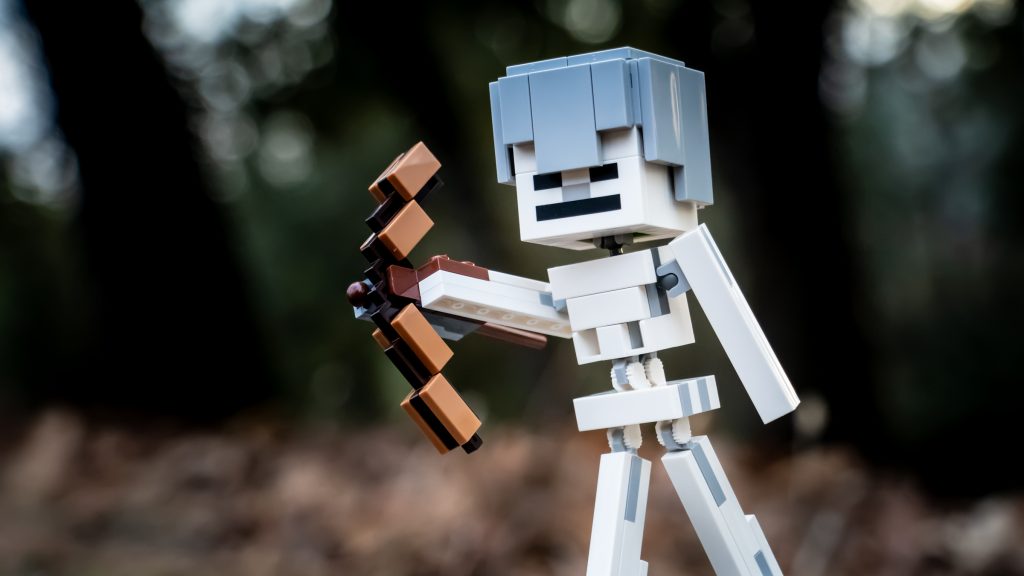
At least once during a photoshoot, Skelly fell over and the bow went off. The arrow flew at least six feet away under the tire of a nearby parked car. I was searching for at least five minutes before I finally did another test shot just to figure out how far it might have gone. Once I realized the range on it, I expanded my search and found the missing arrow.
On the one hand, this is a great play item because the power and range is so impressive. But it’s really inconvenient sometimes!
Suggestion for #3: When you’re in the woods (or other places where it might be difficult to find or retrieve the arrow), either don’t use the arrow at all, or don’t snap it into place completely. If you don’t snap it into place, it may slide out during handling but at least it won’t shoot ten feet away!
Challenge #4: The back of the figure isn’t very photogenic. At all.
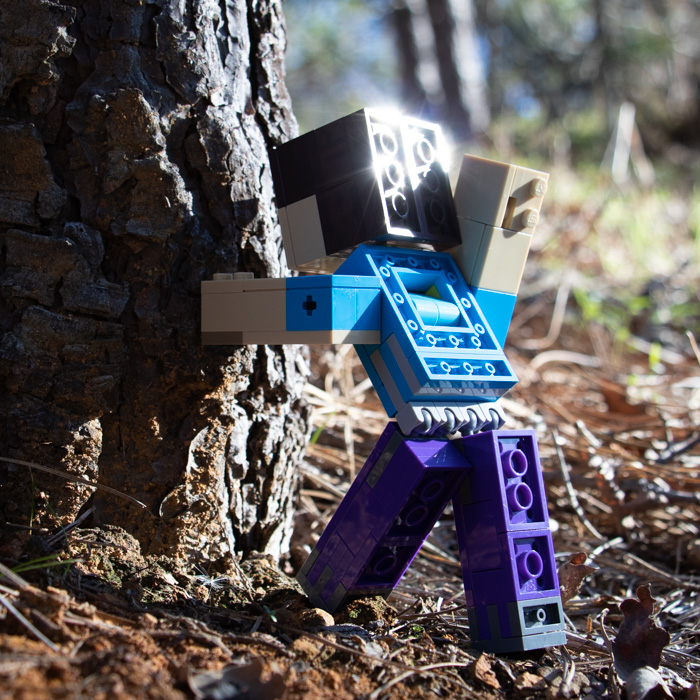
Suggestion for #4: Don’t take pictures of them from the back. Hahaha!
That’s a Wrap!
Those are a few thoughts about taking photos of these fun new BigFigs. If you have a set, or any questions or ideas sparked by this post, please share your thoughts in the comments below!
P.S. Check out our other recent LEGO set reviews!
- Review: Overwatch LEGO
- Licensed to Build – a review of the LEGO Aston Martin DB5
- Lego City – Outdoor Adventures (60202) Review









The skeleton looks the best to me, plus he has a bit more mobility in the joints. Good review!
He does have more joint mobility. He’s a little top-heavy, but it’s just a matter of balance. The only other issue is that he’s so white that it’s important to pick the right background and watch the exposure.
Fantastic post Teddi! I have these as well to photograph but the moment I saw the backs I was immediately put off! I’ll have to break them out and see how it goes!
It does limit the direction of the photos a bit, but most LEGO photography I do is front shots anyway.
Great post and excellent gallery! Thank you for sharing the details of the sets and your impressions, Teddi!
You’re welcome, Ann! 🙂
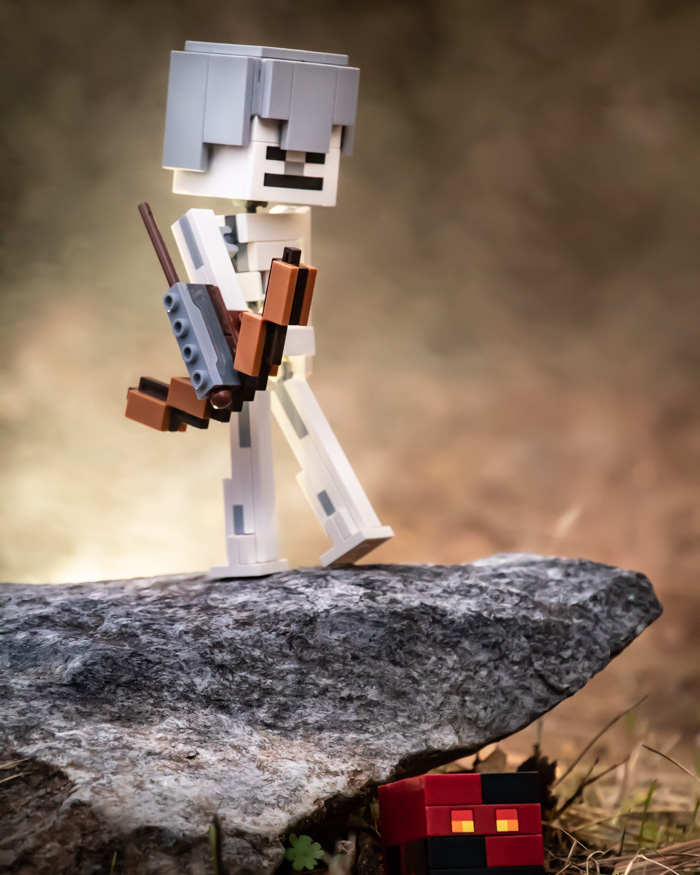
Wonderful images Teddi! I especially love skeleton on the rock one. I’m so impressed by the photos you created with these BigFigs.
Much appreciate the feedback, Brett. It was a fun challenge.
Great informative review and awesome photos Teddi!
Thanks, Leila! It was a really fun project.