Self portraiture is an art form where a photographer puts themselves into a scene. This isn’t a duck-lipped bathroom mirror Instagram selfie, but true and proper art. The kind of art that hangs in an art gallery, except the photographer uses themselves as a model.
Self portraiture is the type of images I love to make when I’m not shooting toys (you can see some of my self portraits on my website, studiodave.ca). However my first photographic love remains toys. Combining them, therefore, should be twice the love (I’ve done the math on this). Based on this logic, I have occasionally combine my two photographic loves, putting myself and toys into the same image.
Just to clarify what I mean by combining these two styles, here is a recent example I created for a challenge in the Art Of Self Portraiture community. The theme was Alice in Wonderland: Growing or Shrinking:
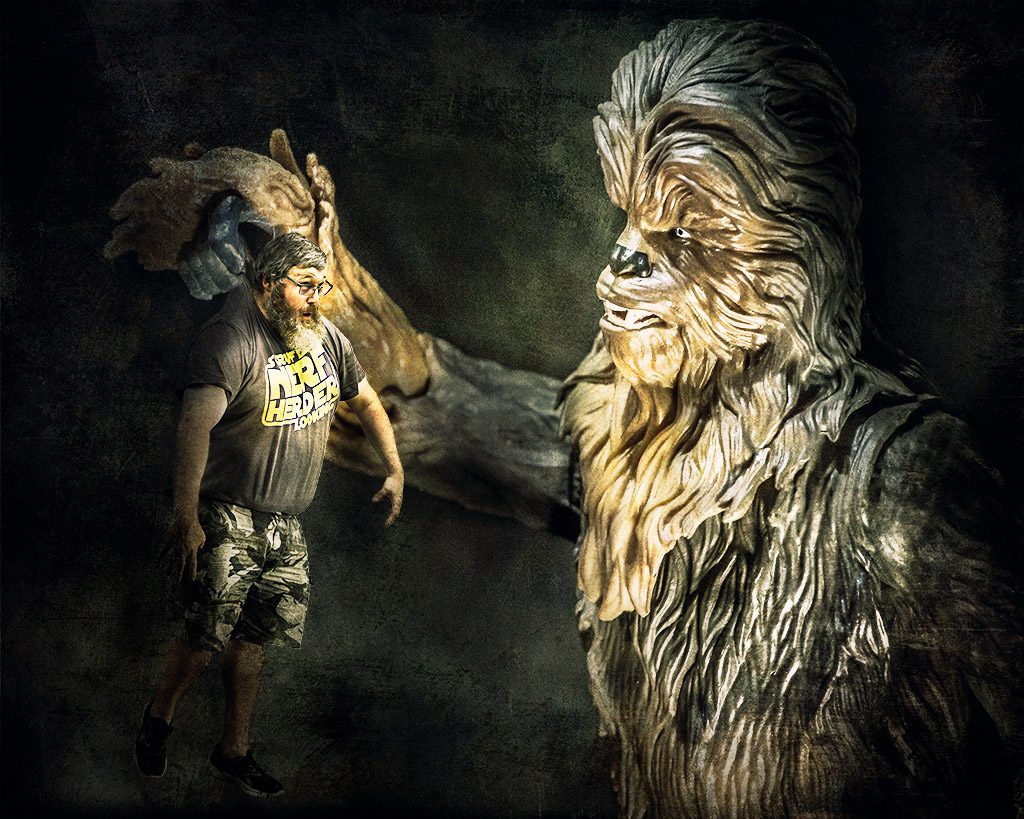
Yours Truly being examined by Chewbacca
The rest of this post are some tips for making self portraits with toys. I’ll do it by breaking down how I created the above image. It is not intended to be a blow-by-blow breakdown, but rather a quick look to give you some tips to use for your own attempts at this type of photography.
These tips actually apply to any composite work.
Tip #1: Shoot The Least Flexible Thing First
One of the keys to pulling off a self portrait with toys is to ensure all of the pieces fit together. One quick way to ruin the illusion is to have the components of the image shot at the wrong angles. Since humans are more flexible than action figures, it is much easier to let the toy define the angles, and fit the human pose to match.
The Chewbacca I used is the Black Series 6″ model from the Solo movie. This is the photo of Chewbacca I started with:
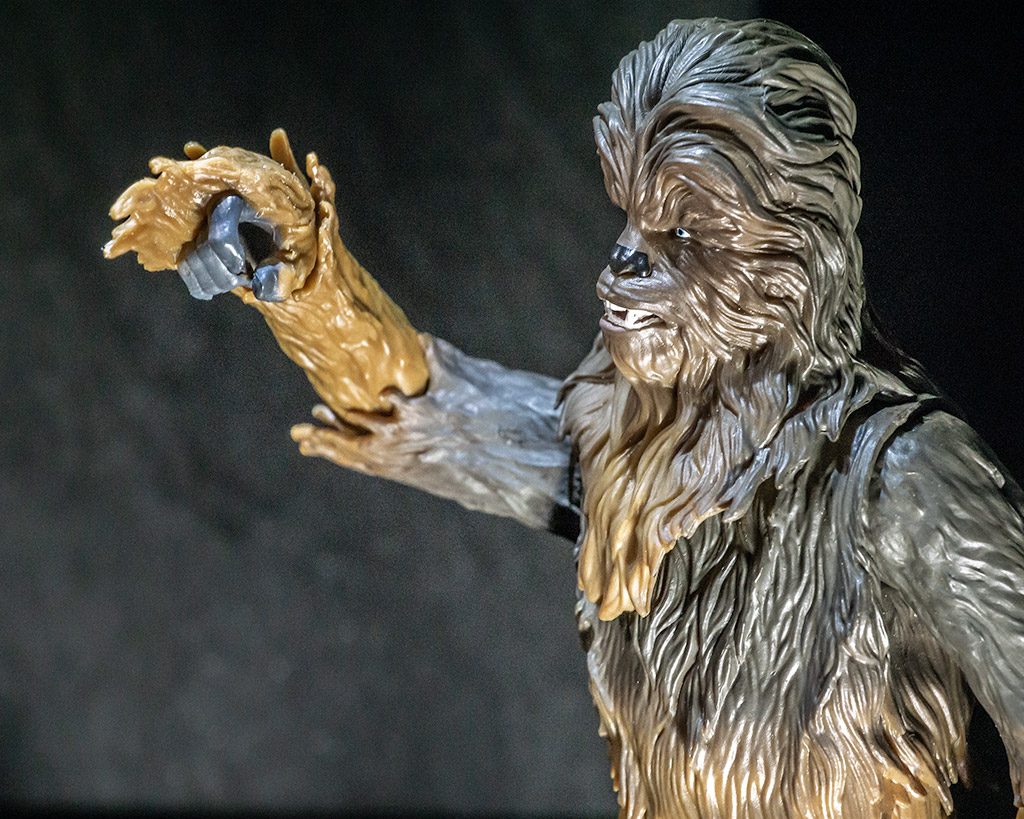
The base Chewbacca image. This defines the angles for the rest of the shoot.
Tip #2: Match The Light
All elements of the image need to be light in the same way. It is hard to fake light in post-production, so at least shoot all components with the light coming from the same direction. I shot Chewbacca with the light straight on at approximately 45 degrees.
Tip #3: Pose Yourself To Match The Toy
I shot myself in my back yard, facing my house. I had a soft-box speedlight positioned in front and at 45 degrees to match the light I used on Chewbacca. The concept I had in mind had me being picked up by a giant Chewbacca, dangling helplessly. To sell that effect I jammed a stick down the back of my t-shirt to prop up the back of it. This gives Chewies fingers something to grab onto and sells the hanging effect.
The other thing I did to sell the dangling effect was to shoot myself on tip-toes. When someone dangles their feet, their toes drop. Standing on my tip-toes was the closest I could get to this dangling foot effect with the tools I had on hand.
The shot of me looked like this:
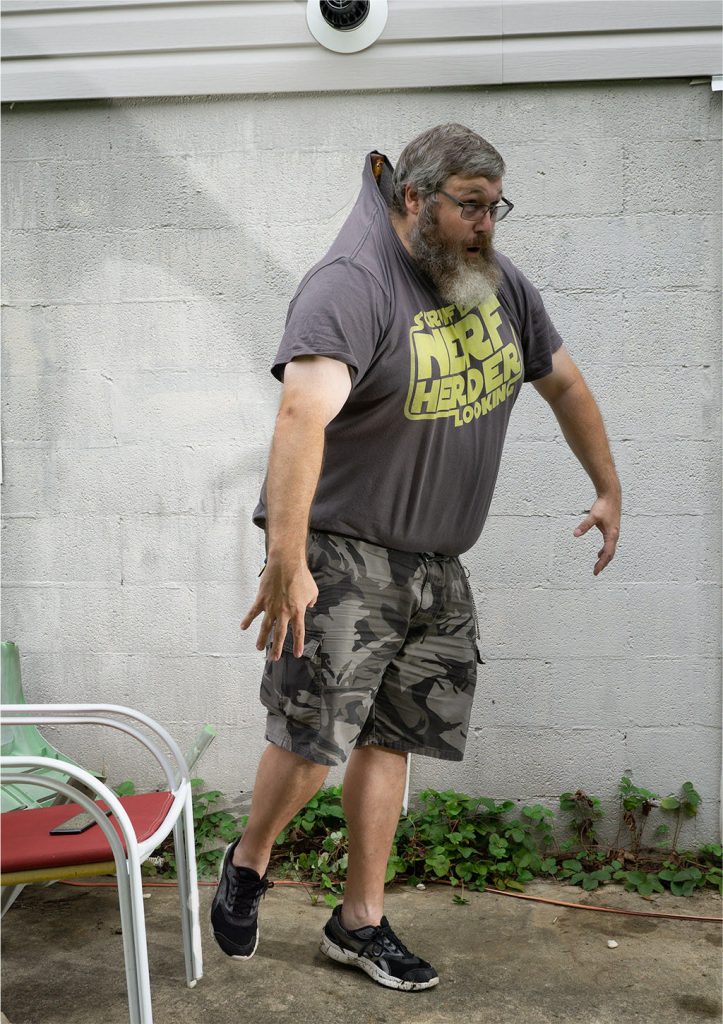
The raw image of Dave, intended to look like he’s being dangled by his t-shirt.
Next step is to add both images as layers in Photoshop, and apply layer masks to combine Dave and Chewie.
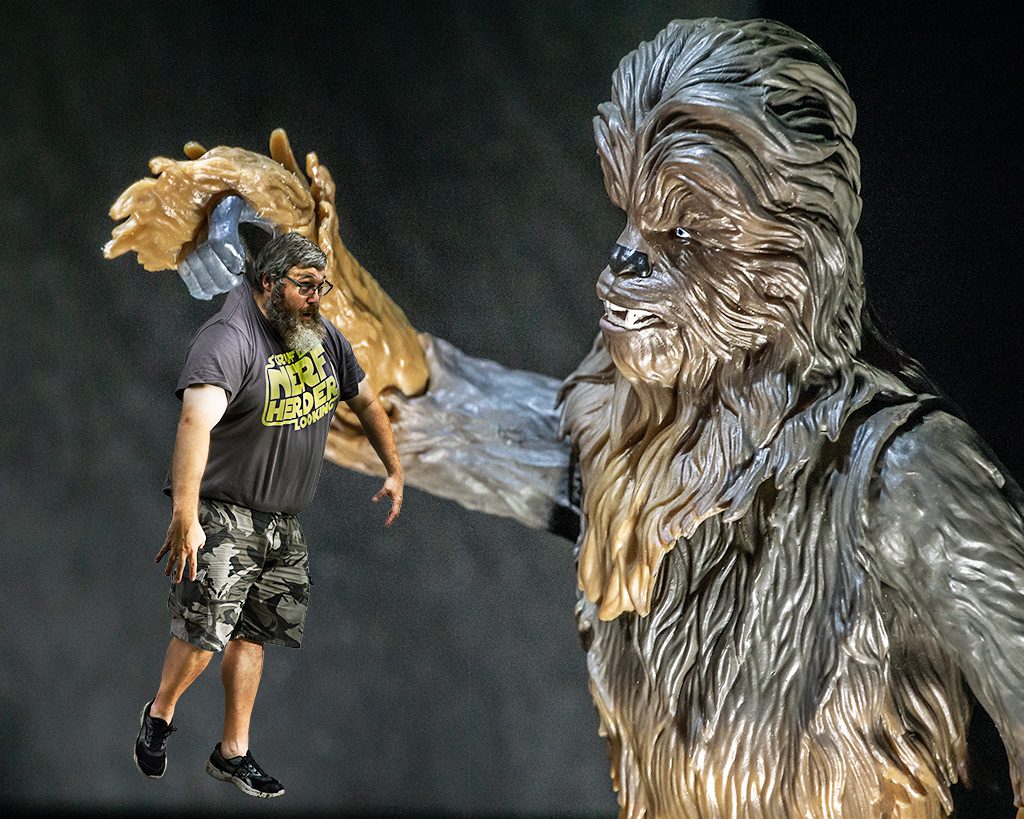
Dave and Chewie combined at last.
Tip #4: Match Colors, Lights, Shadow
Once I combined the photos in Photoshop, some problems became evident. First of all my face is too dark, so I selectively added brightness and contrast to my front. Note that I could have saved myself some work if I had taken more care to place my light properly. It should have been angled to add more light to my face. I tell you this so you can learn from my mistakes.
Secondly the image looked flat, so I added more depth by selectively darkening parts of Chewie, especially the middle part of his arm that is farthest from the lens. I also added shadows to the Dave to match.
When I darkened parts of Chewie I ended up adding a bit of shadow effect to the background as well. Since one of the ways to ruin a composite is to have mismatched shadows, I also added a slight shadow behind the Dave.
Finally I adjusted the contrast on Chewie slightly to match the contrast on the Dave. As a bonus it also brought out a bit of brown tones on Chewies fur.
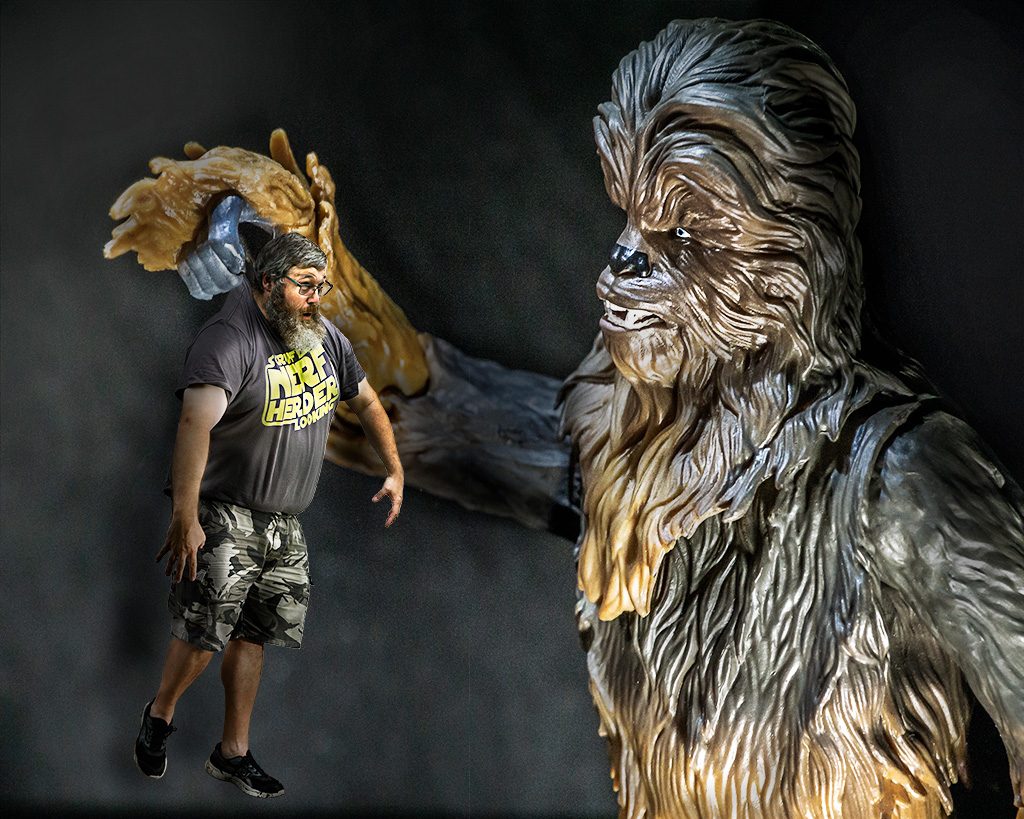
Matching color, light, shadow.
Finishing It Off
The last thing I did was add some textures to the image to give it that rough gritty feel that I prefer in my images. This step is by no means required to create a self portrait/toy hybrid photo, but it does round off the story of this image.
This is the final result:

The final image
Conclusion
So that is how I created this image that combines a self portrait of myself combined with a Chewbacca action figure. I hope these tips will help you create your own self portrait/toy photo of your own. If you do create one, I’d be chuffed if you told me about it in the comments below.
[dave]
Want more toy photography goodness? Subscribe to our weekly email round up so that you never miss a post. You can also listen to episodes of the podcast!


Such a creative idea, brilliant ! Very good sense of humor. 🙂 Thanks for sharing the tips! ??
Thanks, Miss___Feklista! Thanks for reading my ramblings 🙂
Always fun to see the BTS on Photoshop work. Great job, Dave!
Thanks Teddi!