Every DSLR camera owner has his or her preferred camera settings. Many photographers swear by the Manual setting, while others love to use Shutter Priority or Aperture Priority. They each have their advantages depending on what your personal creative vision is.
I know I just threw a lot of terms at your real quick so lets back up and define each of these camera settings before we go on.
- Shutter Priority is where you set the speed of your shutter and the camera decides the size of the lens aperture. This is great setting if your goal is to freeze the action.
- Aperture Priority is where you set the size of your Aperture and the camera decides the shutter speed. This is wonderful setting to use if you’re concerned about your range of focus.
- Manual is what you choose when you want to control all the action yourself.
- Auto – there is no reason to put your camera on Auto, simply don’t go there. If you’re not comfortable with your camera settings yet, choose either Aperture or Shutter Priority to get started.
I prefer to set my camera to Aperture Priority so I can control my depth of field / plane of focus. I choose a fairly low ISO and then I let the camera do the rest of the work (I like to let my camera do the work for me, that’s why I paid the big bucks, right?) Just because I prefer Aperture Priority doesn’t mean I don’t like to adjust my exposure quickly based on the current lighting situation. This is where I rely on the Exposure Compensation wheel or button to fine tune my settings quickly. Sometimes I want to achieve a High Key effect and I move my Exposure Compensation wheel plus 1-3 stops. This also works great when I’m photographing a back lit subject and I want to bring detail out in the shadows. By simply moving the Exposure Compensation wheel plus 1-2 stops, rather than adjusting all the settings, I can bring out important details I don’t want to get lost in the shadows.
Sometimes I’m confronted with a situation that is too bright, like at a beach or a snowy scene, and I want to quickly adjust the exposure so the image isn’t bright and over exposed. By adjusting the Exposure Compensation wheel down (-) I can often bring detail into the highlights and darken the shadows. Below you will see an example of how adjusting the exposure compensation wheel can quickly take an ok image and turn it into something special. The only difference between the two images is that the image on the right is under exposed minus 1.7 stops using only the Exposure Compensation wheel.

The image eon the left is taken with the Exposure Compensations wheel set at ‘0’. The image on the left the wheel was set at ‘-1.7’ stops.
The final image:
If you’re using a DSLR with the Exposure Compensation wheel or button I recommend you give it a try. Especially if you’re an outdoor photographer who is up against fast changing light. You can make quick adjustments to exposure without sacrificing your shutter speed or aperture settings. Who knows what you can create by letting the camera do some of the work and freeing your mental energy to creating fun and inspiring photos.
Besides, who ever said that you had to have perfectly exposed photos to create great images?
~ Shelly
What experience have you had using the Exposure Compensation wheel / button?
Do you prefer Aperture Priority, Shutter Priority or Manuel settings? Can you explain why?
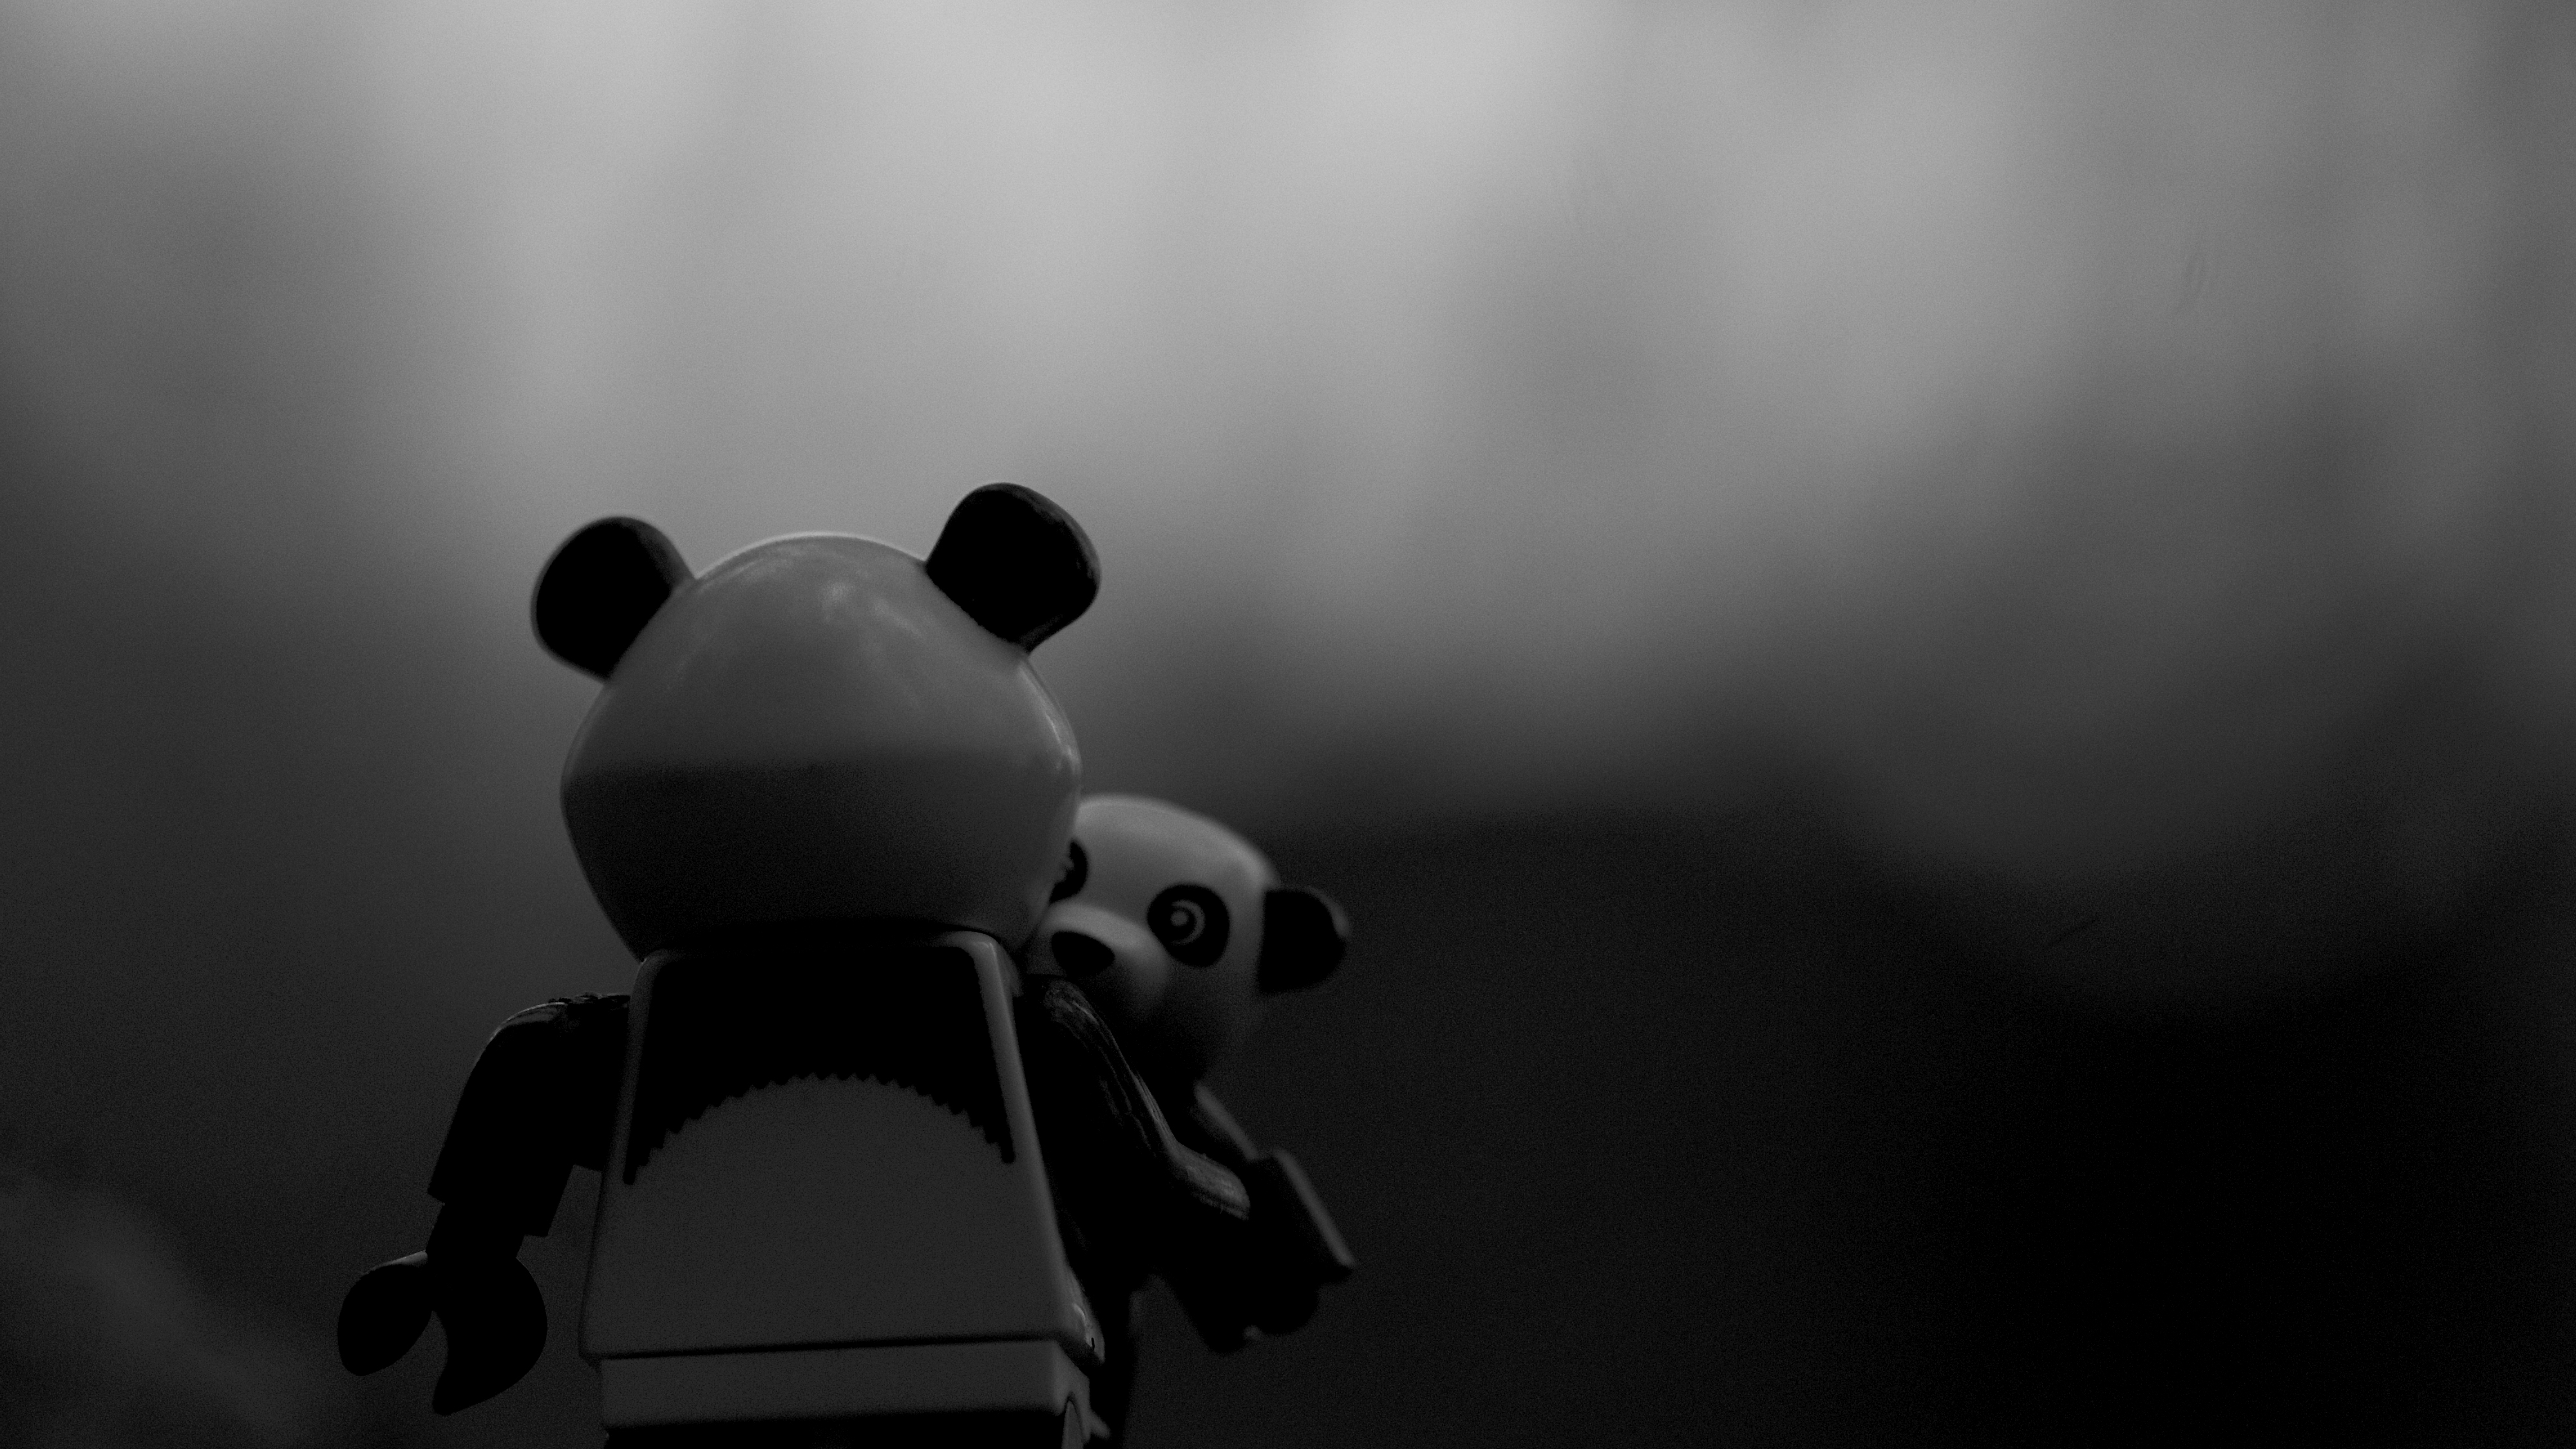
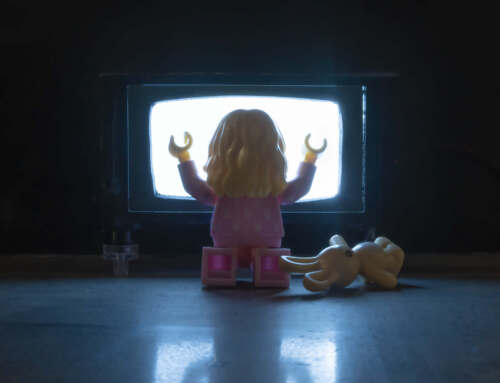
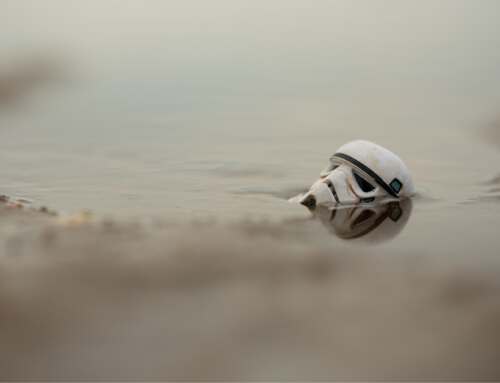
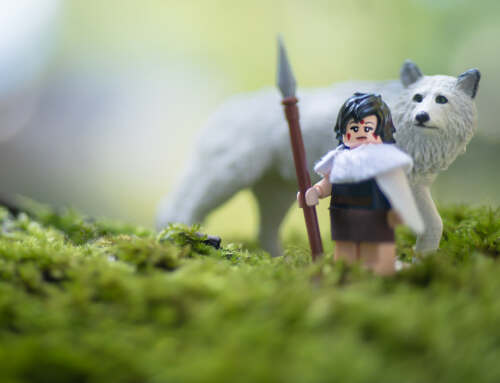
More examples of the results of the Exposure Compensation wheel:





Like this post.
I use Manual so I can control both depth of field and how bright/dark the image will be. This way I feel I have some sort of control.
Stefan, while I respect the users of Manual, I think you would find that utilizing the Exp Com wheel you can get to the same end results faster. Give it a try, you might like it. 🙂
Not afraid to try so I’ll give it a go 🙂
I’m like you… I keep my camera in Aperture Priority and then adjust as needed with the Exposure Compensation wheel. Occasionally I’ll use manual if I have some weird lighting setup but generally I prefer to let the camera do the work 🙂
You are a photographer after my heart! Why this romanticism with Manuel is beyond me. My husband uses manual, but then he uses an 8 x 10 camera. We spend hundred of dollars on these fancy dslr’s and then they to justify a manual setting. Let the camera and all those fancy electronics earn their keep – and use your brain power for taking your work to the next level! 🙂
I’ll attempt to use Manual as much as I can only because I want to learn the real ins and outs of the camera and how to control each individual function separately.
If not I’ll be in Aperture mode as most shots are still toy photography and DOF is more important to me.
Unless the lighting is drastic I’ll usually work with it inside of Lightroom.
Paul there is no shame in setting your camera on AP and fine tuning with either your ISO setting or with the Exp Com wheel. Exposure is controlled by a triangle: Shutter speed, Aperture and ISO. What the Exp Comp wheel gives you is the ability to fine tune your settings rather than starting over. Even if your camera is set on Manual give the Exp Com feature a try. You might find you like the added control you get. Plus it might save you hours of time messing around in lightroom. :))
Another one here! Always in Aperture Priority and sometimes in Manual Mode. Auto ISO only if I don’t have my tripod with me (otherwise ISO 100).
Manual Focus all the time. And I like to underexpose by -0,5 EV. Always. Don’t ask me why. And then Lightroom… 😉
I can tell you why you always under expose -.5 stops. It gives you richer blacks from the get go. Not a bad way to approach your images, I have done that many times. I set my camera to ISO 50 or 100. Rarely above 200 because I’m usually outside. If I need to drop below 50 to get the water to blur I will attach a ND filter. But for toy photography it seems to me that AP is a great place to start. Then you can fine tune with the other settings. But then again, what do I know. :))))
Talking Shop 🙂
My favorite mode is Aperture, as I like my DOF.
I use shutter priority when freezing speed is more important than actual get the DOF right, and I know I need at minimum of shutter speed to freeze the action.
I use Manual quite often in the Studio, especially when shooting low key and work with strobes. Since I on purpose control all variables and I dont want my shutter to go beyond 250 to stay in sync with my strobes Manual is a mode you should not shy away from.
And then to exposure compensation. I love exposure compensation but in a fashion you did not mention here.
Namely High Dynamic Range photography or shortly HDR where you take the same still composition with one over and one under exposure and blend them together in post processing. You have to ask your minifigs to hold their breath though 🙂
Thanks Boris of mentioning this other great aspect of Exposure Compensation. I probably didn’t mention it because we all know how I feel about HDR photography! But then thats why we have comments – so we can all learn from each other. Thanks for chiming in!! 🙂