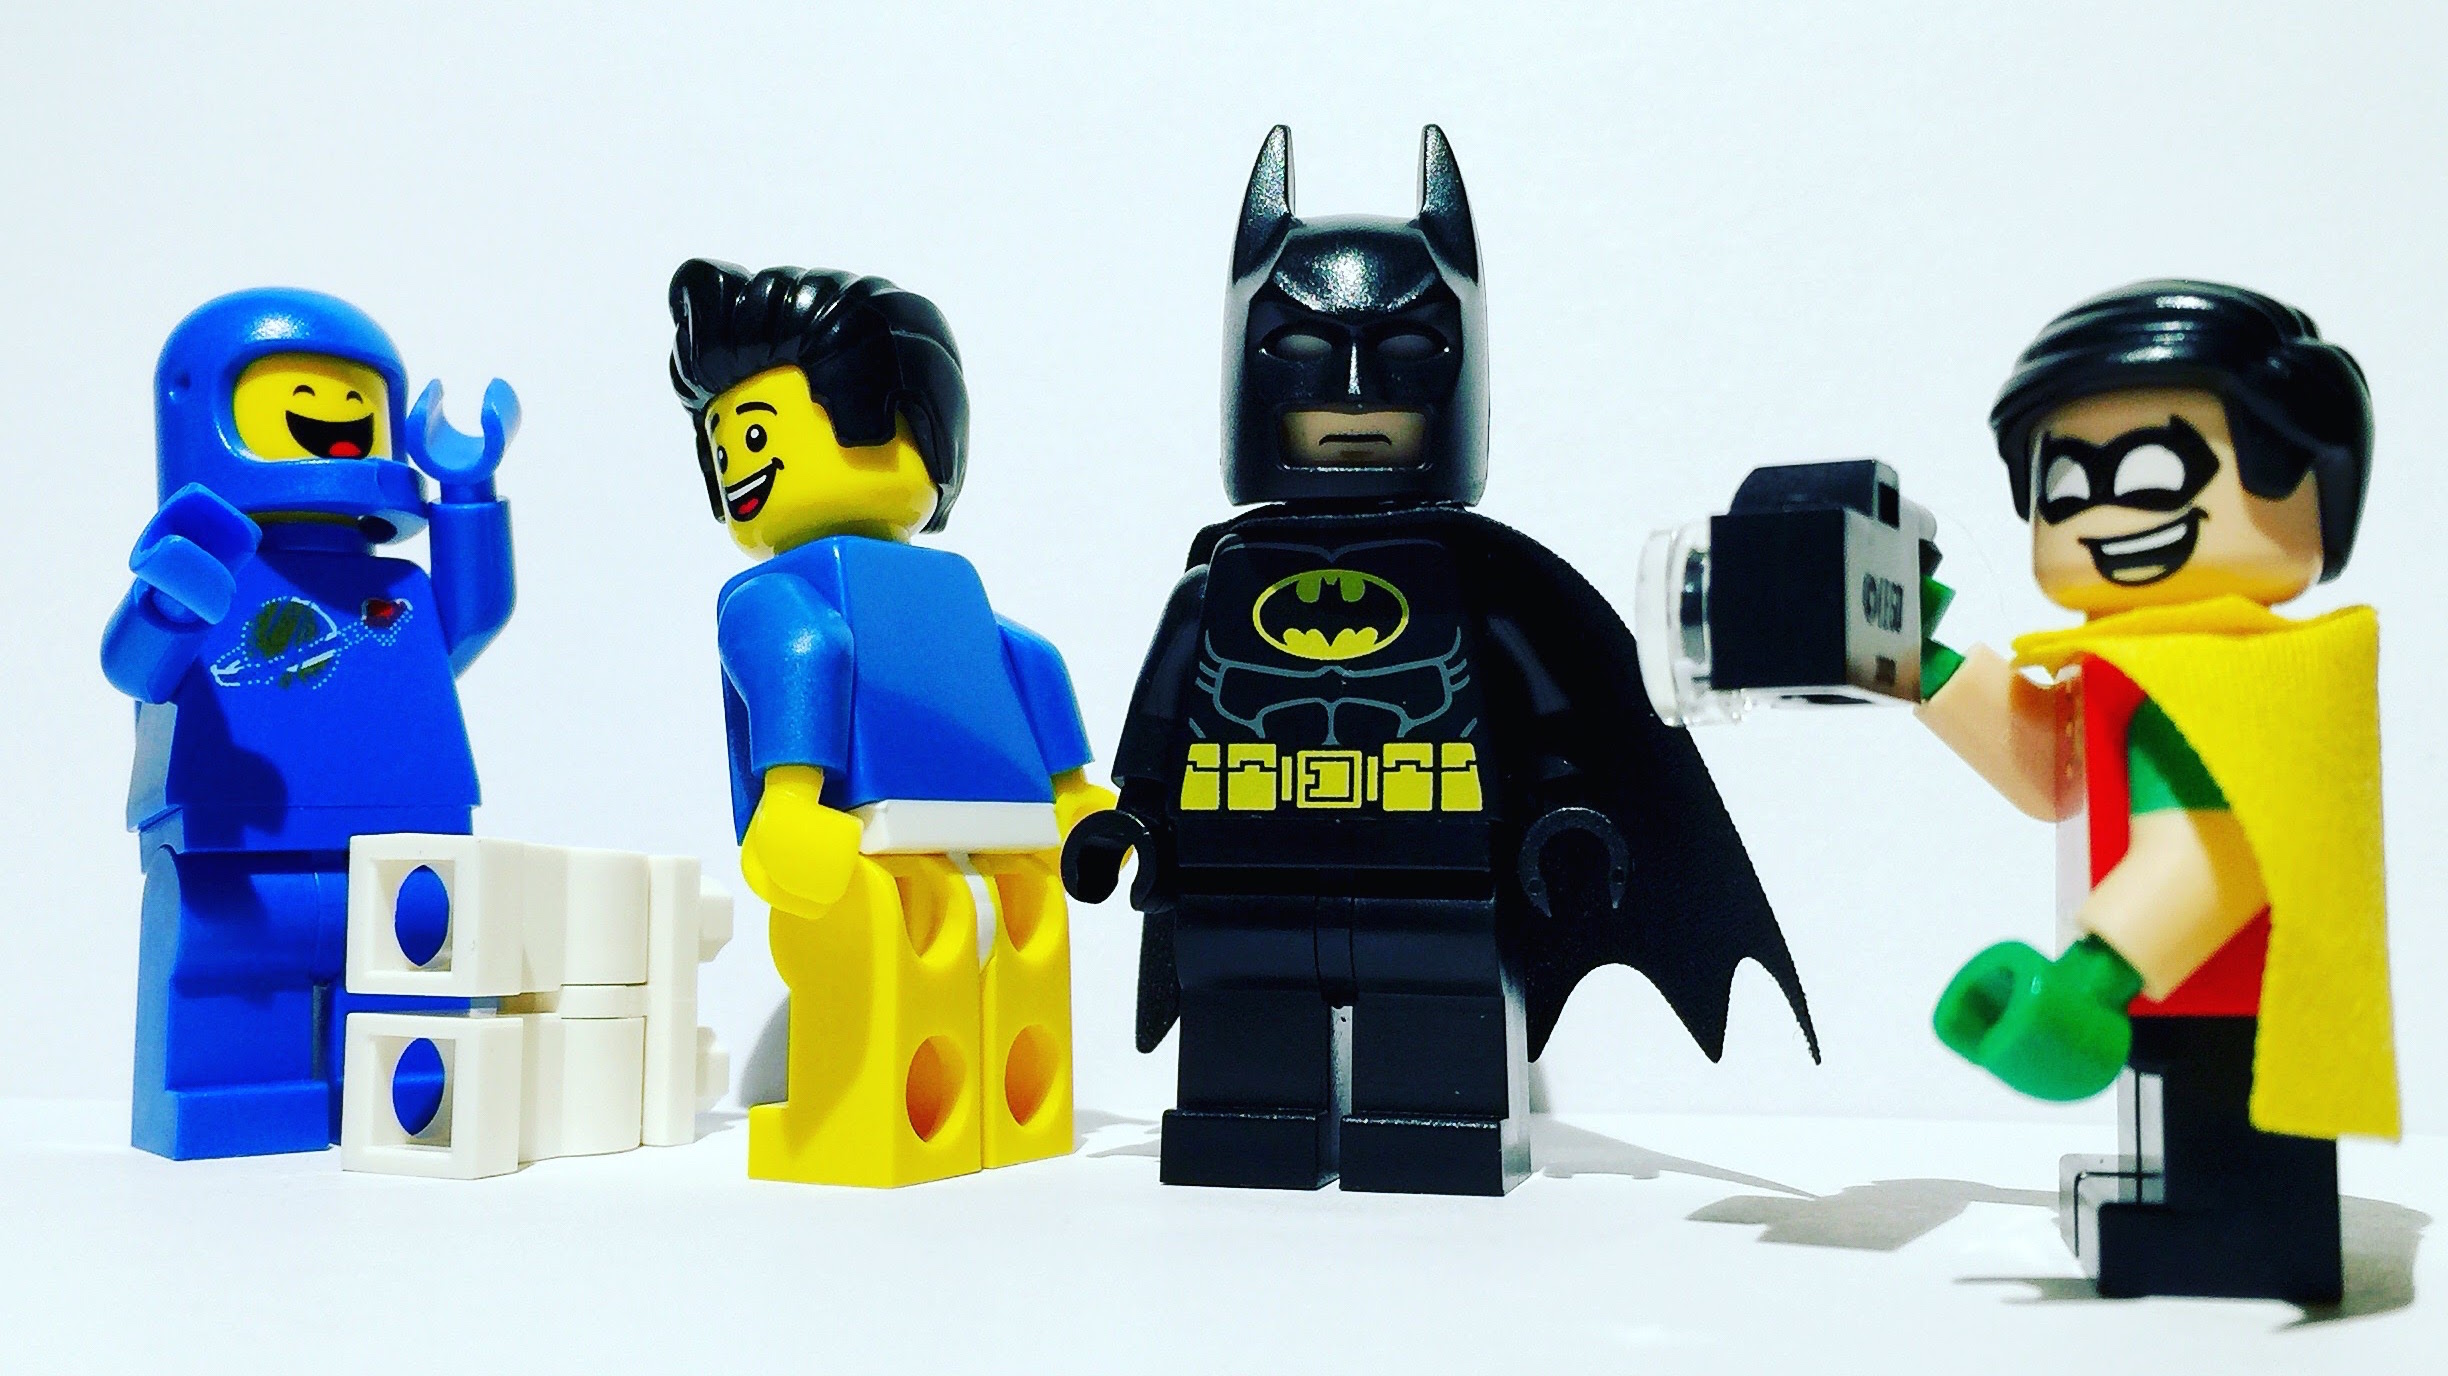
A few years ago when I created my first Lego mini-figure scene with the members of Guardians of the Galaxy, I never would have thought I would be sitting here typing this Post. But thanks to Shelly for giving me the opportunity to write a few thoughts on ‘Why’ I am ‘stuck in plastic’ doing toy photography, I know that I wouldn’t want to be anyplace else.
So why toy photography? Quite simply because it’s fun and creative. Every scene is a yet another idea brought to life. But the process that I follow to create each scene has definitely evolved over time.
Lately I try to follow these Steps:
- Step One: Write down an idea.
- Step Two: Set up a stage made of two sheets of paper and light it with an adjustable IKEA lamp.
- Step Three: Use my Lego Mini-Figure pieces to create a ‘sketch’ of the idea (see Step One).
- Step Four: Take a few photos – adjusting the light as needed – using my smartphone to see what works best.
- Step Five: Edit the photo using the Enlight App on my smartphone.
- Step Six: Publish the photo to social media (Instagram, Twitter, etc.) to, hopefully, spark inspiration in others.
One quick note on why I only use my smartphone to capture my toy photography:
Chase Jarvis once said that ‘the best camera is the one you have with you‘. That really stuck with me because using my iPhone to capture toy photography is something that’s very convenient, it’s always with me. It allows me to capture ideas quickly and edit them without having to upload the raw photographs to my desktop in order to tweak them in Photoshop.
To that end, I have nothing against Adobe Photoshop or desktop image editing in general. I just enjoy the spontaneity and the fun of putting a scene together quickly, editing it and then publishing it for others to enjoy.
But enough about my process. How did I really come to be ‘stuck in plastic’?
Besides growing up in the 1980’s and having a few Lego sets that focused on Knights, Castles and even spacemen (yes, Bennie the Spaceman is one of my favorites), my toy photography really started to take shape one day a few years ago when my wife and I were running errands.
We stopped at Target to pick up a few things, and I wandered over to the toy section to check out the Lego sets. I can remember looking at a display that showed off all of the latest Star Wars Lego mini-figures. The kid in me was immediately intrigued, and I told myself that I wanted to start to collect mini-figures because it wasn’t something that I could afford to do as a kid. So when I picked up set 76021 (The Milano) to get Starlord and 76020 (Knowhere Escape) to get Rocket and Groot, I was hooked.
Things had certainly changed with the quality of Lego sets since I had last bought one with my allowance back in the mid-1980’s. And yes, I’ve definitely collected some Star Wars Lego mini-figures along the way…
I hope that you enjoy my toy photography, and I hope to hear from you on how you feel about it because as I continue to grow as a photographer (toys or otherwise), your feedback is invaluable to me.
Thanks for reading.





I really enjoyed reading your blog post. I also got into LEGO minifigures (and photography) because of Star Wars. I just found your photos on IG – I think they are wonderful and very fun. I totally agree with you about using whatever camera and editing that works best for you. There’s no need to spend hours editing photos if you don’t want to. I enjoyed the spontaneity and fun that comes across in your photos 🙂
Lynn
Lynn:
Thank you for your note. I appreciate it.
I’m curious as to what process ‘you’ follow with your photography. We all have different methods for bringing Lego mini-figures to life (if only for a moment), so what’s yours?
Thanks again, and good luck with your photography.
Regards,
Brooks W.
Hi Brooks,
My process is somewhat similar to yours. Once I get an idea, I set up the photo, decide on lighting (usually 2 flashes) and take the photo. I do have to do quite a bit of editing though. The macro lens picks up every speck of dust and/or flaw on the minifigs, so I fix those later in Photoshop Elements.
Lynn
Lynn,
Good to know I’m not the only one that follows the process above.
Photoshop Elements, huh? I’ll have to try that.
-Brooks
I also found your great account on IG and had to follow it! A really great “Why”, also with the steps you take before a shot! Thanks for sharing!
Sacha,
Certainly. ‘Thank you’ for the follow.
I really enjoy your photography as well.
-Brooks
Hello, Brooks!
Your post is very creative , it was really interesting for me to read your plan for toy photos! Thanks a lot for sharing your story!
Kind Regards,
Ann.
Ann,
‘Thank you’ for reading the post. I really appreciate the feedback.
I am definitely going to check out your IG photos.
Happy Toy Photography!! 🙂
-Brooks
Hello
It was interesting to read your work process. I usally don’t write anything down as a “script”. Most of the time I just go “oh, idea..let’s do it”. Fun to see howw different we work bur we have the same endgoal, have fun and be creative 🙂
Stefan:
Thanks for your comment.
No matter how you (or any of us go about creating our toy photography), I think that the end-goal is always the same: FUN. 🙂
-Brooks
I really love your post! And I really love your Instagram account!
I enjoyed reading about your six steps. Mine are very similar: the biggest difference is that I shot RAW and edit with Lightroom… oops!!
Thank you very much!
I think I need to look into Lightroom to see what additional tools I can use.
Thanks again, and best of luck with your own scenes.