Toy photographers often show the results of their creative efforts, but rarely do we get to see where the magic happens. Some of us shoot mostly outside. Some of us, like myself, shoot almost exclusively in a studio. It doesn’t matter where you create, the important part is the creative process itself. However, seeing where the magic is made can also be enlightening, and provide an interesting insight into the artist’s mind.
Along those lines, this post is a tour of the places where I do the vast majority of my creative work. This idea isn’t mine, but by showing you all my studio space I’m hoping to spark a flood of posts revealing where others do their work.
As you will see, this is a pretty raw tour of my space—I didn’t clean up much of anything. I only hid a few private papers from the camera, and closed a cupboard door that was annoyingly bright in the photos. Otherwise this is how my studio would look if you knocked on my door on a random Wednesday night and asked for a tour in-person. Warts, mess and all.
Welcome to Studio Dave
My studio is spread out across a couple locations in the basement of my house. The basement is mostly unfinished and mostly concrete, but it is quite serviceable for my needs. If you walk down the stairs you will see this view:
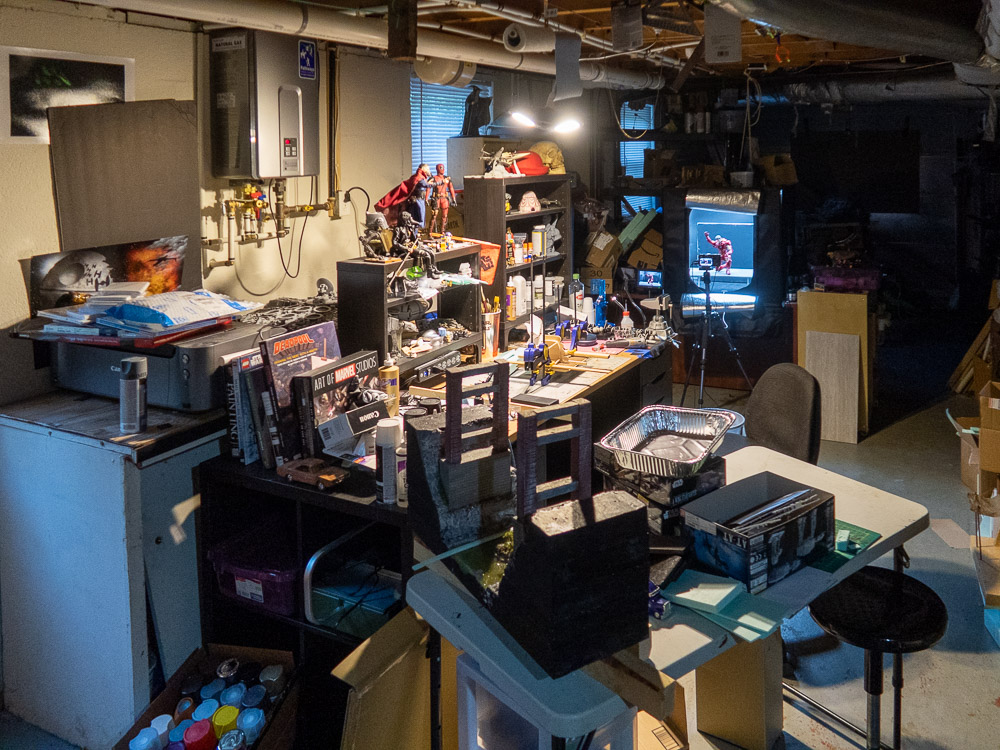
This room is my main crafting area. It contains a desk where I make my own dioramas and props, as well as other things not related to toy photography. Basically if I produce a physical object, it comes from that desk. My kids do some of their own crafting and model making at the table in the foreground. That diorama on the left side of the table is a suspension bridge my son is building. It’s a work in progress.
In the middle background is the lightbox where I shoot most of my scenes. Beyond that, in the shadows, is a very poorly kitted workshop and a storage area for various household items.
If you looked up, you’d see the sign in the header image at top of this post. It is a carving a coworker made for me while he was learning how to use a Glowforge laser cutter in our maker space at work. It’s a nice entry piece for the space.
One more thing to note before I show some close ups: Like I mentioned, my space is in a basically unfinished basement. As such, the floor joists are bare. I use this to my advantage and hang tools and supplies (like shop paper towels) on hooks attached to the wooden joists. It really increases the storage potential of the space, which is a bit sparse for my needs overall.
Crafting desk
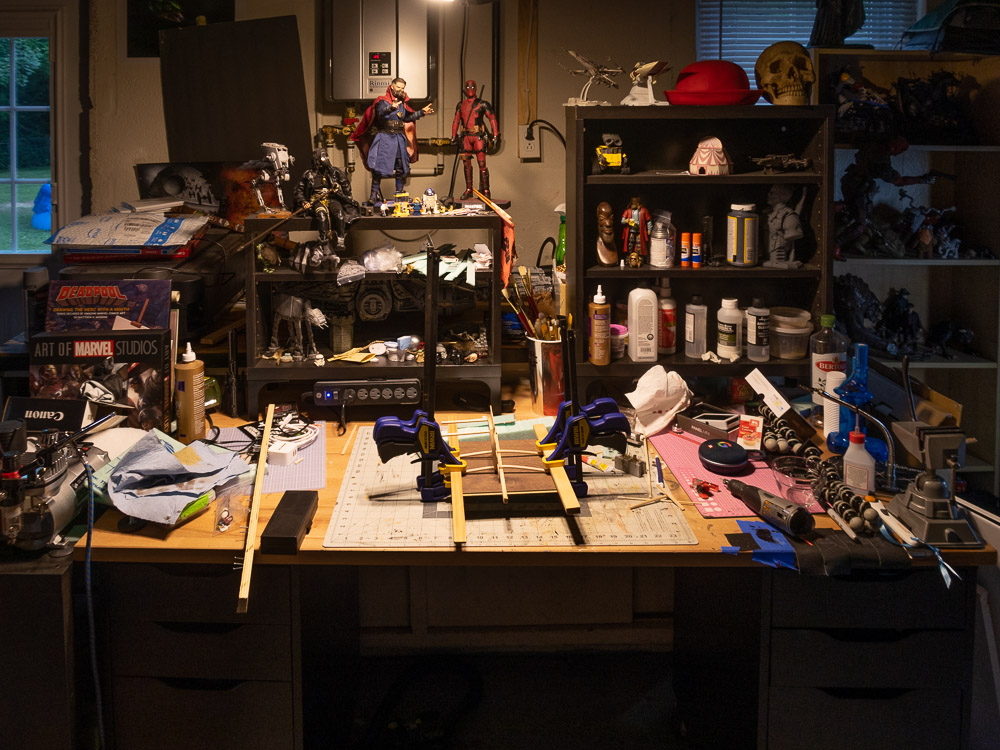
This entire desk is from Ikea. I’ve only had it for a few months. When COVID-19 hit, and I started working from home full time, I replaced the janky old table I had here (an old door on a folding table) with this setup, which better suits my needs. This freed up space in another part of the basement to act as my home office.
The drawers on the sides are full of X-Acto knives, glues, paints and other crafting supplies. The shelves on top are full of toys, as well as other glues and chemicals for the crafting process. A spray paint rig sits permanently on the left side. The bookcase on the far left holds some spray paint cans and a hot-wire foam cutter on the shelves, and most of my art book collection.
Behind the shelves on the desk is a wide-paper printer, the LEGO UCS Millennium Falcon and (just to add to the “basement” ambience) my water heater. The window on the far left is actually the door to my backyard (where you can see the kids’ blow-up pool).
Light box
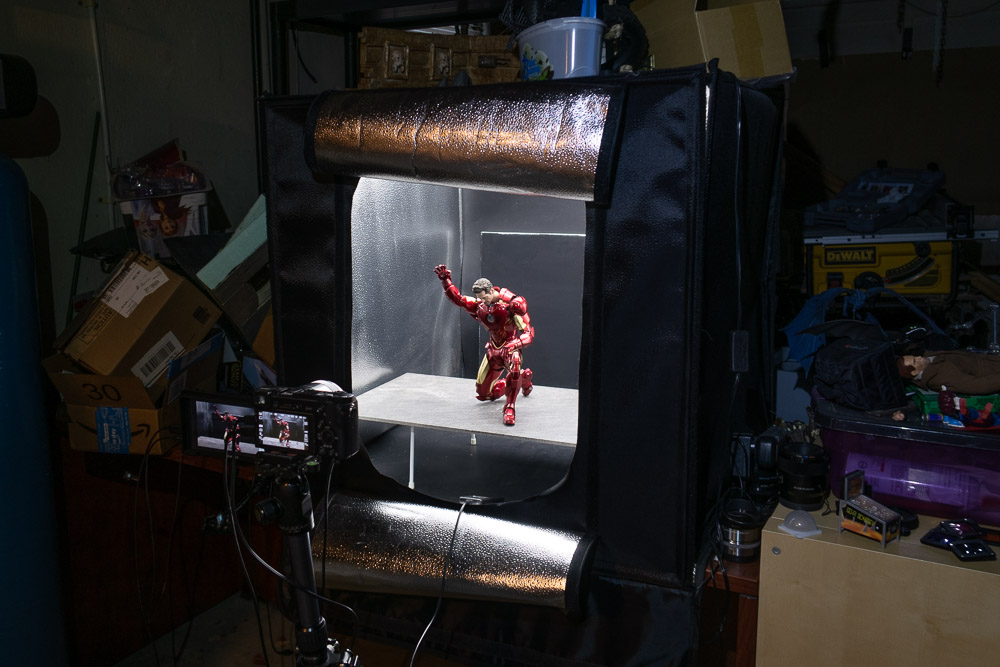
As I said, I shoot the majority of my work in this light box. It is a 27″ cubed space with LED lights on top. I often add additional lights, such as Lume Cubes and the new Panel Mini—whatever I need to get the best shot. The box is large enough to set up almost any scene I want, even at 1/6 scale.
The mess surrounding the box is mostly detritus I didn’t bother cleaning up after previous shoots. Given the opportunity to tidy or to create more, the choice is obvious, eh?
The office space
If you go back to the stairs where we started this tour, and turn right, you will find the space I call my office. I share the room with my wife. She does quilting and I get my geek on.
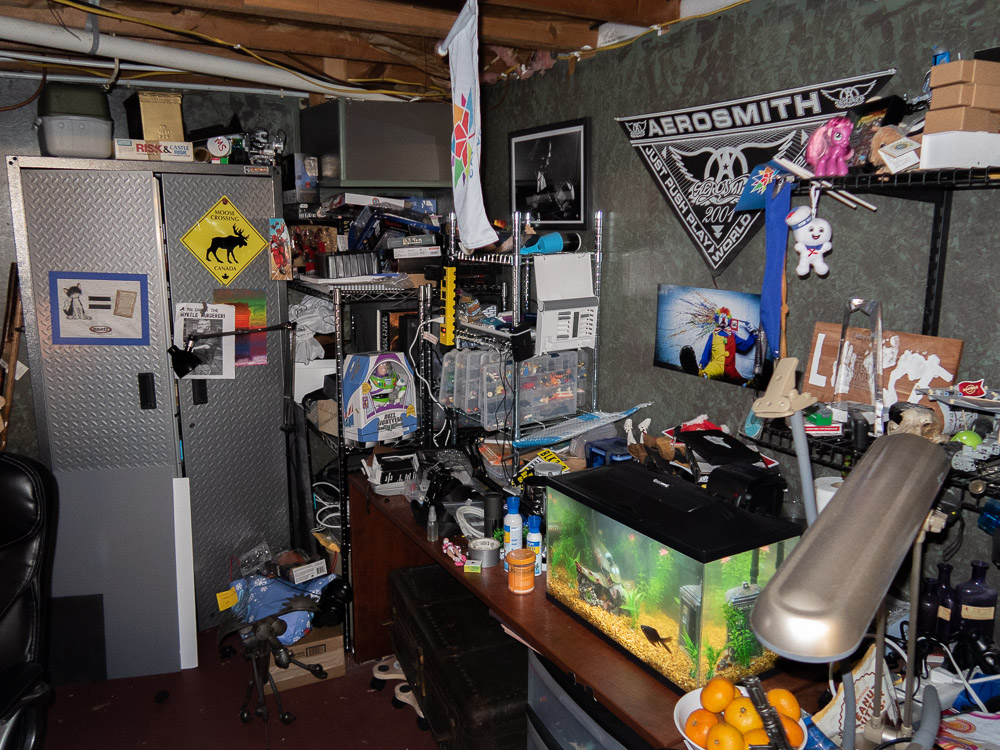
This is the right side of my half of the office space. I used to do all my LEGO shots on the desk, before I got the light box. My work desk is immediately at the bottom of the frame (it’s not shown due to corporate privacy issues—namely, you didn’t sign an NDA and I can’t be bothered to clean up any intellectual property). Everything else is storage—lots of toys and camera gear hidden in this shot.
The fish tank is a brand new addition—only two weeks old at the time of writing this. The fish are my new office mates.
My computer lives on the other side of the space.

This is where I do the majority of my post-processing. The main computer is a 27″ iMac with a 24″ monitor on each side. I tend to keep my browser on the left monitor (also where I write my blog posts), Photoshop on the middle screen, and use the right one for showing videos. I often have a movie or YouTube tutorials playing on that screen.
I keep some of my LEGO sets on the shelves in the back of this image.
The Canadian flag is there to remind me of my homeland.
If you look close you’ll see some random toys amid the mess. I like to keep toys on my desk to fiddle with while I am doing other things. It has led to several ideas for shots over the years.
The sudden but inevitable conclusion
So that is a quick tour of Studio Dave (called that because no one wants to spell my last name all the time, including myself). Thanks for coming along. Don’t forget to tip your waitress.
I’d love to see where you do your creative work, so feel free to post a tour of your own spaces, be it a studio like mine or a dining room table, or the outside places where you like to shoot.
[dave]
Want more toy photography goodness? Subscribe to our weekly email round up so that you never miss a post. You can also listen to episodes of the podcast!
Amazing behind the scenes tour, Dave! Thanks so much! Organized chaos comes to mind 🙂 And your last name isn’t that bad to spell 😉
Great tour! I will have to stop by on some random Wednesday night (after COVID) and see if I can get a tour. I’ll make a post of my studio space in the near future.
Take care!
Cheers,
Wade
Wow, what a plenty of space, where You can leave your stuff and don’t have to worry about cleaning right in this moment!
Thank You Dave for letting us in!