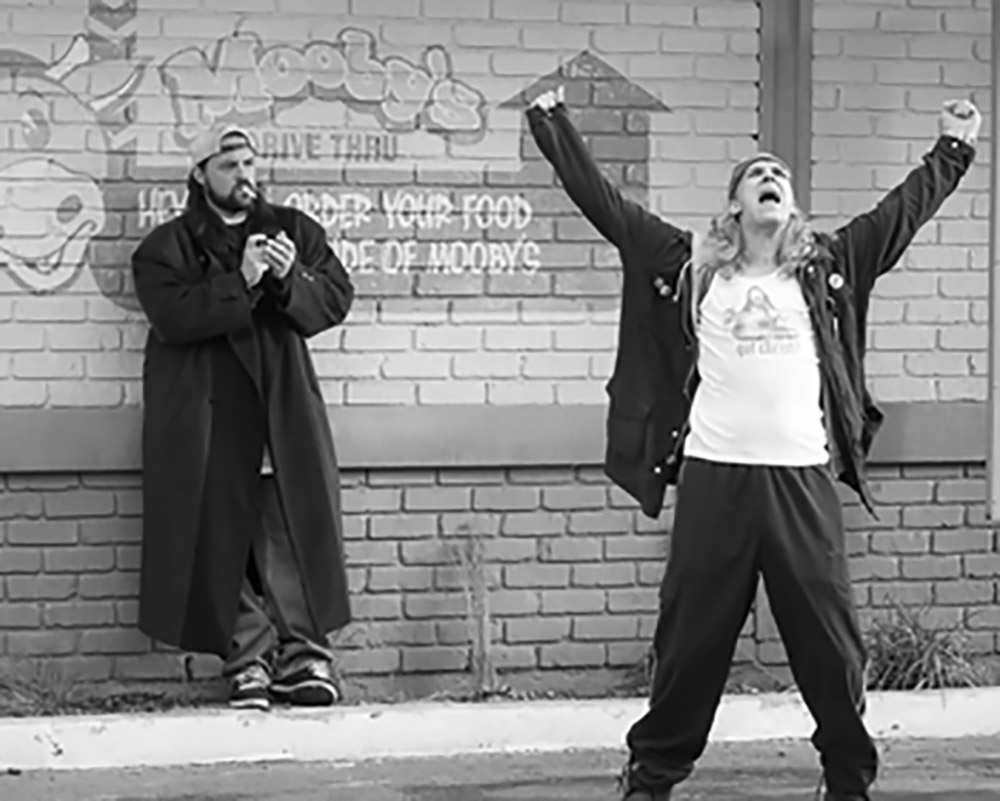
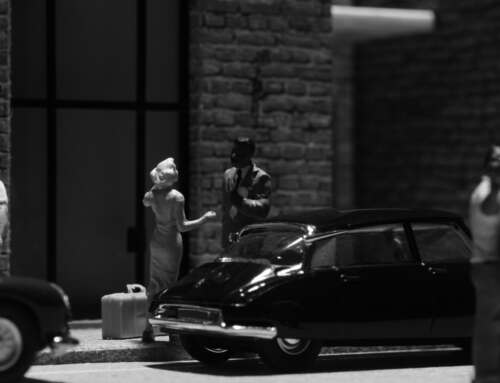
This is the third of a four-post tutorial for making a simple diorama. The goal is to create a brick wall so the Silent Bob action figure I recently acquired can stand in front of it. I’m basing the wall on this Clerks movie still:
In the first post I covered the concept and scaling, and the tools and materials required, and I started the first steps of the build, which was creating a rough brick wall.
The second post covered painting the wall and adding a horizontal bar as a decorative element.
Here, we’re going to cover making the ground element, which is an asphalt parking lot.
Ground base for the diorama
The base can be made from almost anything, as long as it is flat and white glue will stick to it. You can use an extra piece of foam if you have one laying around. I decided to cut up an Amazon box and use the cardboard.
Regardless of what you choose, cut a piece that runs the length of the wall (32cm) and sticks out about 8–10cm from the base. The base should at least run to the edges, but don’t worry if it extends past the wall.
Glue the wall to the base with white glue. I used Aleene’s Original Tacky Glue because it’s stronger, but any white glue will do.
Adding texture
The texture for the parking lot comes from sand. You can get the sand from anywhere—I used my kids’ sandbox, but beach sand will also do. Whatever you use, make sure it is ready to be applied, as this next step needs to happen fairly quickly.
Start by applying a layer of white glue to the base and spreading it around with a paint brush. I used Elmer’s white glue for this, mainly because it’s slightly cheaper. Whatever you’ve got, use it.
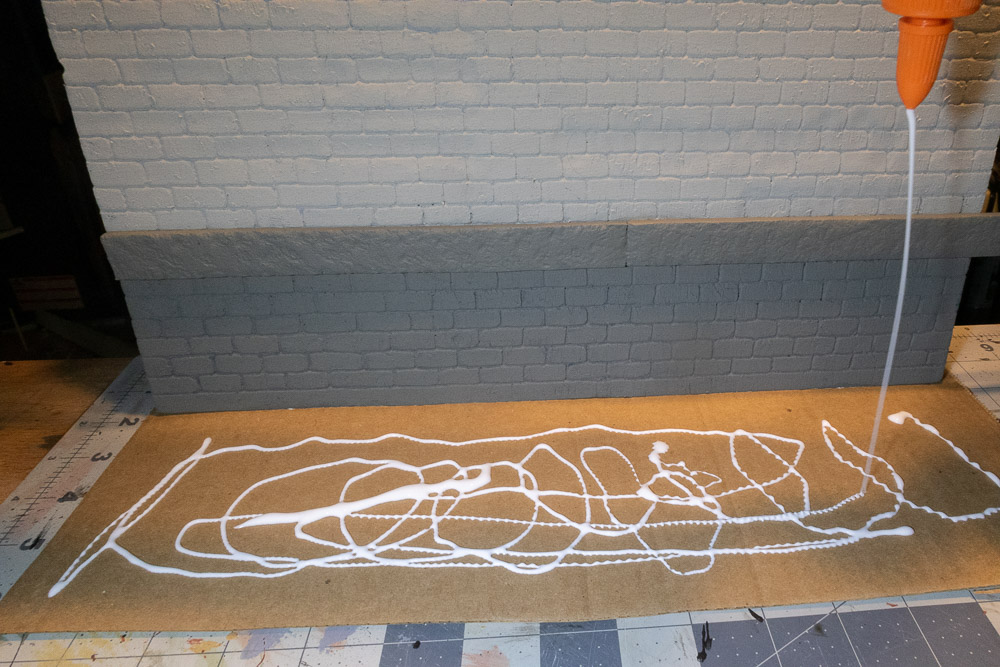
Make sure the glue goes up to the base of the wall, but be careful about getting it on the wall itself. Where there is glue, there will be sand, so keep that in mind.
Once you have the glue layer spread out, immediately start sprinkling the sand onto the base.
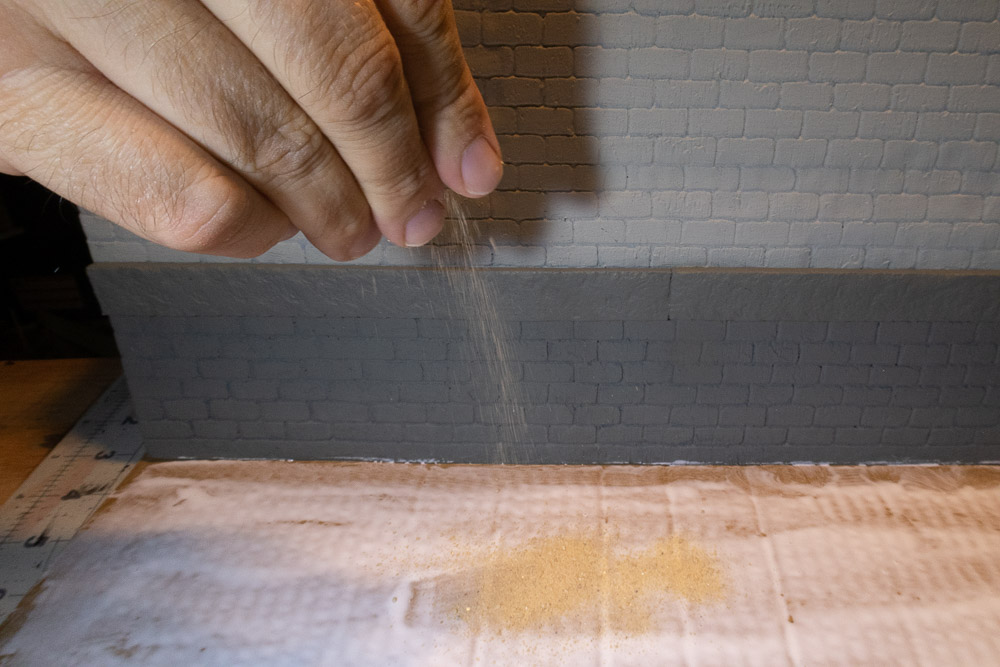
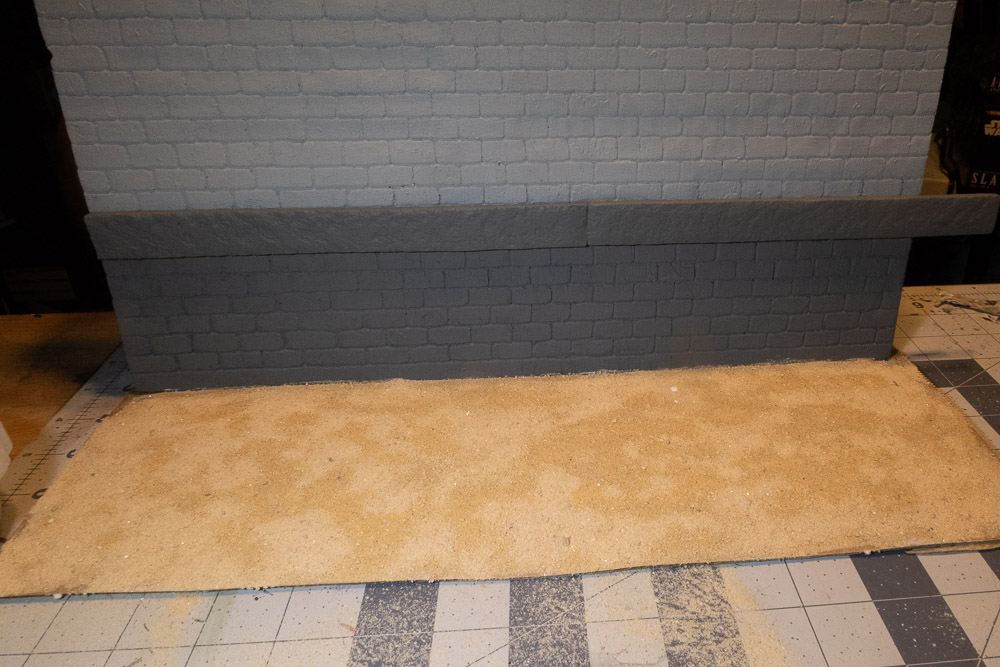
You don’t have to be careful about getting it even, but ensure that the entire surface is covered in sand. It should look like this:
Let the glue dry thoroughly before continuing. In the meantime, wash the glue out of your brush before it dries, or else it will harden and become useless.
Tip: One way to tell if glue is dry when it is all covered like this is to put a drop on a piece of paper and leave it beside your diorama. When the glue on the paper is dry, the glue on the diorama should also be dry.
Removing excess sand
Now that the glue is dried, it’s time to remove the excess sand. This is a simple process of tipping the diorama on its side and then gently tapping the base from behind. All the sand that didn’t get glued will fall off.
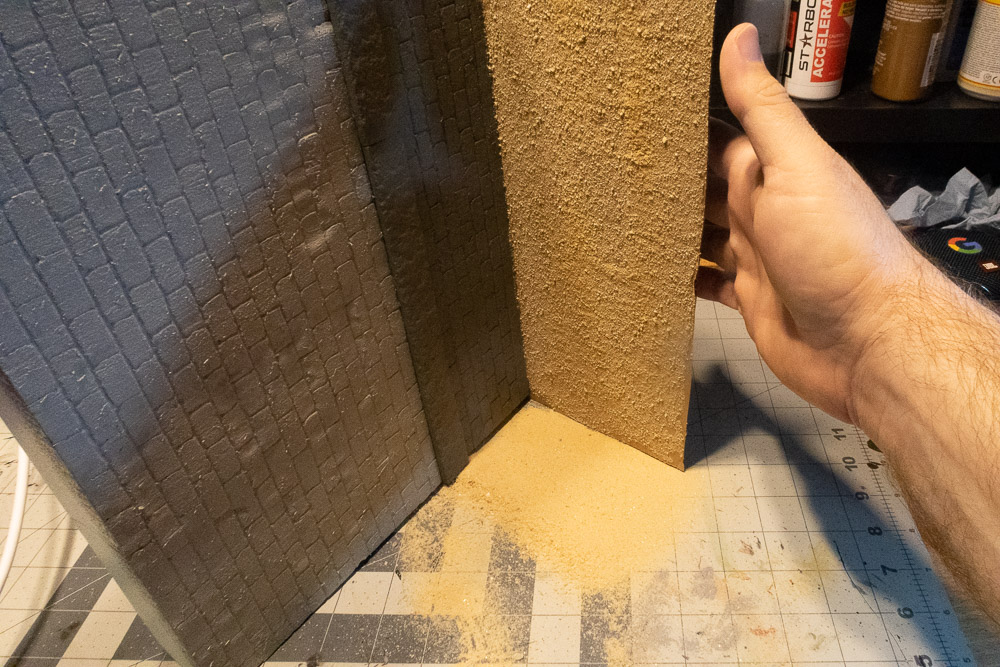
You can then collect the excess sand and either keep it for a future project or return it to your kids’ sandbox (though don’t do it yet, as some sand will come in handy for the finishing touches coming up in Part 4 of this tutorial).
Sealing the base
At this stage you may decide the sand bottom works for you. Or you may decide you want to make it look like an asphalt parking lot. Either way you need to seal the sand in.
If you want to stop here, then make a mixture of 50% white glue and 50% water, and brush that over the sand. This surrounds the sand in a full layer of glue which should keep it solidly locked into the base.
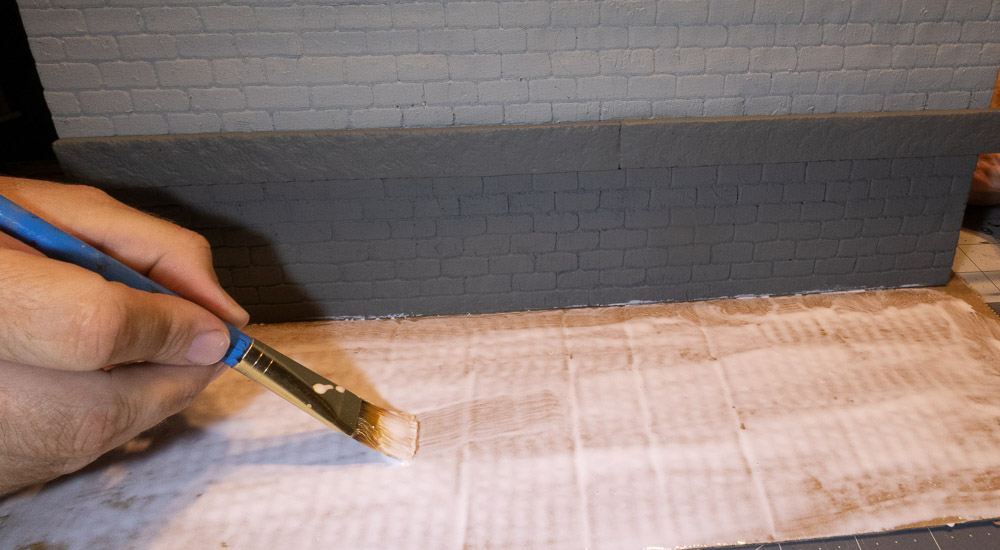
I want to finish this off as asphalt. It still needs sealing, but that is accomplished with the same sealer I used for the wall: Mod Podge and black paint. If you don’t have Mod Podge, substitute white glue.
Either way, apply the mixture, then let it dry.
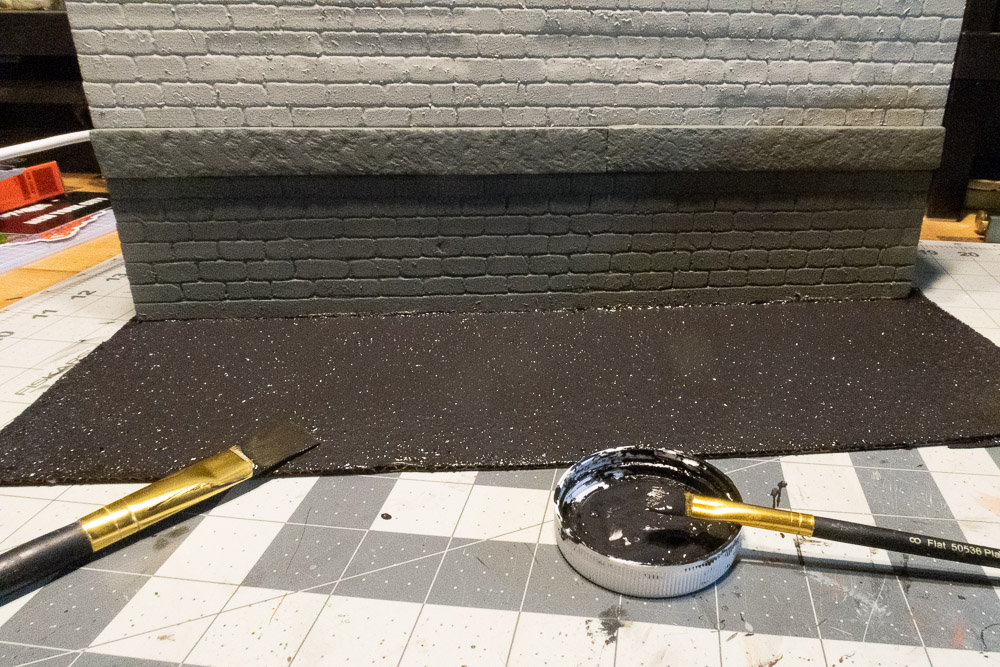
Note that I used a wider brush to get the majority of the base, but switched to a smaller brush to get the fiddly bits along the base of the wall.
Painting asphalt
Getting realistic asphalt is a bit tricker than just putting on a layer of colour. If you look at asphalt, there are a whole range of colours, the black tar, stones, dirt etc. To get this looking true to life, it will likely require more skill than I have. However I don’t need real life, I just need “camera believability,” and that is easier to achieve.
The first thing I did was take some masking tape and masked off the wall. This is simply to avoid accidentally hitting it with paint—I’m not exactly neat and clean with a paint brush.
The basic concept of diorama painting, at least how I do it, is to start with the darker colours and work up to the lighter ones. This way the darker colours fill in the cracks and act as shadows if the lighter colours don’t end up covering everything (in fact, as you will see, I don’t want the lighter colours to cover everything anyway).
The first coat is a super dark grey colour. Solid black doesn’t work, as asphalt is never solid black—it is always a shade of grey. I did this by adding black paint to the dark grey paint until I got a “mostly, but not quite exactly unlike black” shade of super dark grey, and painted the entire base. I wasn’t super careful about getting into every crack or crevice, but at least 99% of the base was covered.
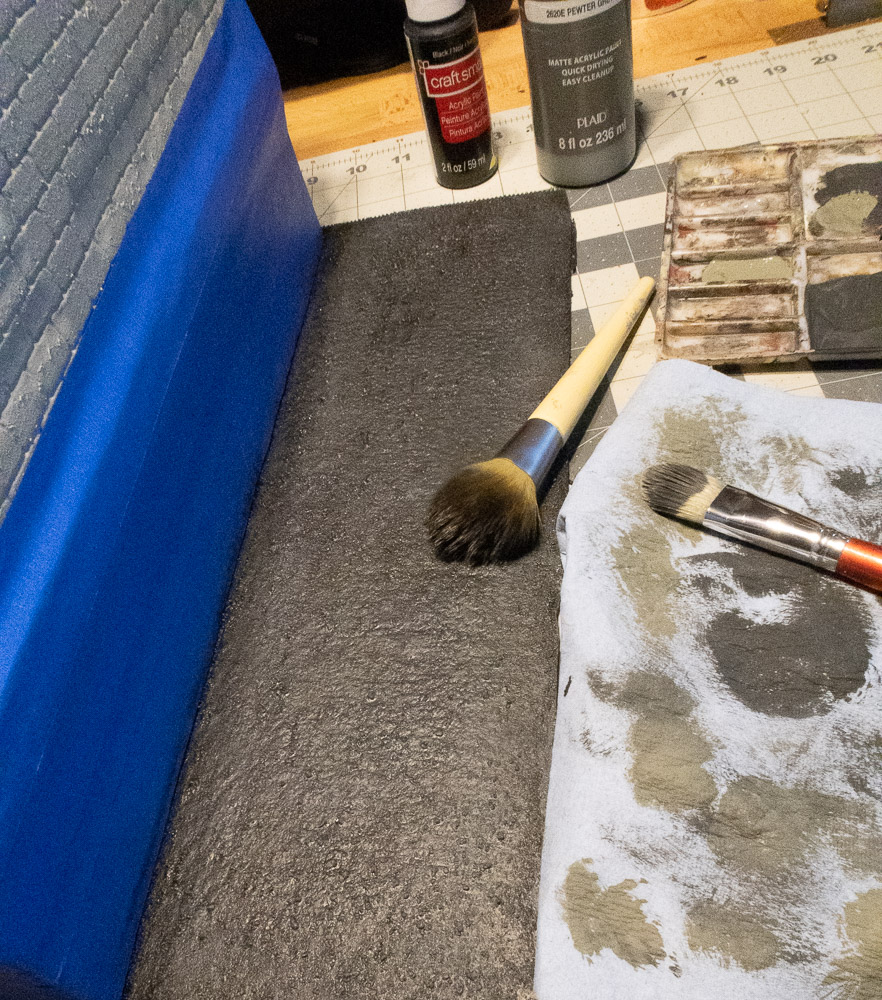
Dry brushing details
Next, to bring out some of the details and to add the lighter colours, I did a technique called dry brushing. This works by taking a super soft, dry brush, dipping it in paint, then immediately taking out most of the paint by brushing it onto a paper towel. The brush will be left with a very small amount of paint on it.
Gently run the lightly loaded brush over the ground. This lets the paint only stick to the higher parts of the texture, creating highlights.
It is a really cool technique, and in practice easier to do than it sounds here. I highly recommend you make a second base to practice on before you attempt it for the first time on your diorama.
I used a couple lighter shades. The dark grey paint from the wall, at about 30% coverage of the asphalt. Then a lighter grey at about 10% coverage.
Conclusion and next steps
At this point my diorama looks like this:
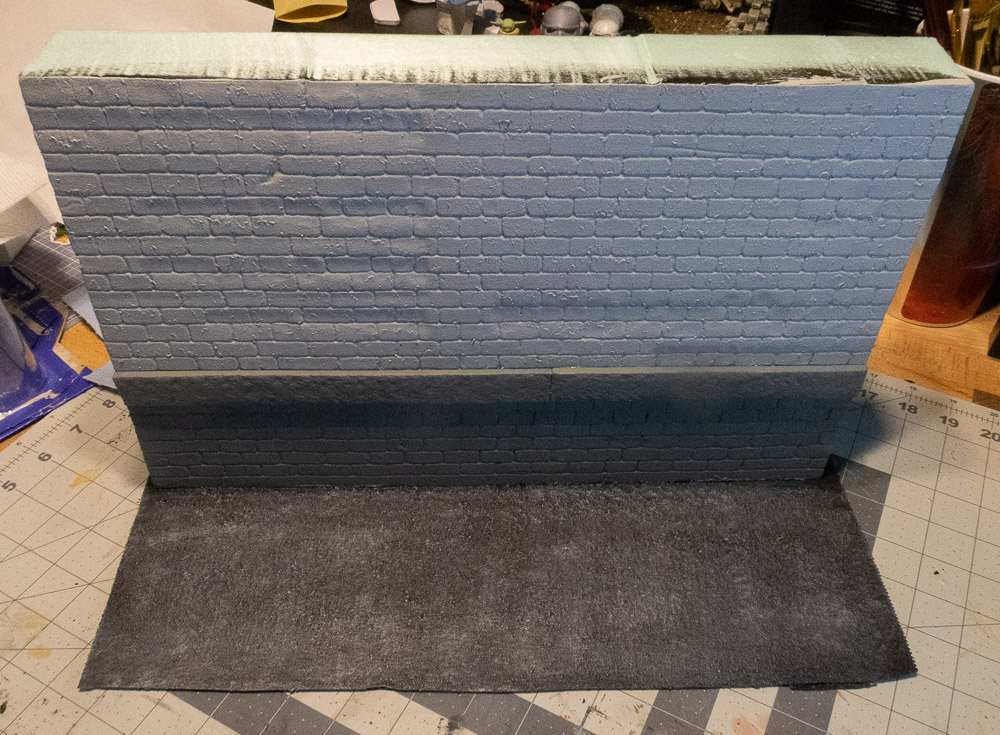
All of the pieces are there and ready to go. This could easily be put in front of the camera and a great shot would result.
However there are a few finishing touches that can really make a basic diorama pop. I’ll cover those in the next and final post of this series.
[dave]
Want more toy photography goodness? Subscribe to our weekly email round up so that you never miss a post. You can also listen to episodes of the podcast!

Great tip regarding the asphalt Dave. I will have to try that out!
Hope it works out for you!