Before I write this, I need to kick proceedings off with a disclaimer of sorts. By no means do I claim to be an authority figure with an extensive knowledge about the finer details of weathering toys. I most certainly did not invent it. Nor am I an innovator in any way.
The basics
The very basic techniques I employ on my LEGO minifigures has been taught to me by other prominent members of the toy photography community. With that being said, I’ve been asked to share my experiences with the process, both good and not so good. I’ll endeavor not to bore you too much and thank you in advance if you choose to continue reading.
Weathering on
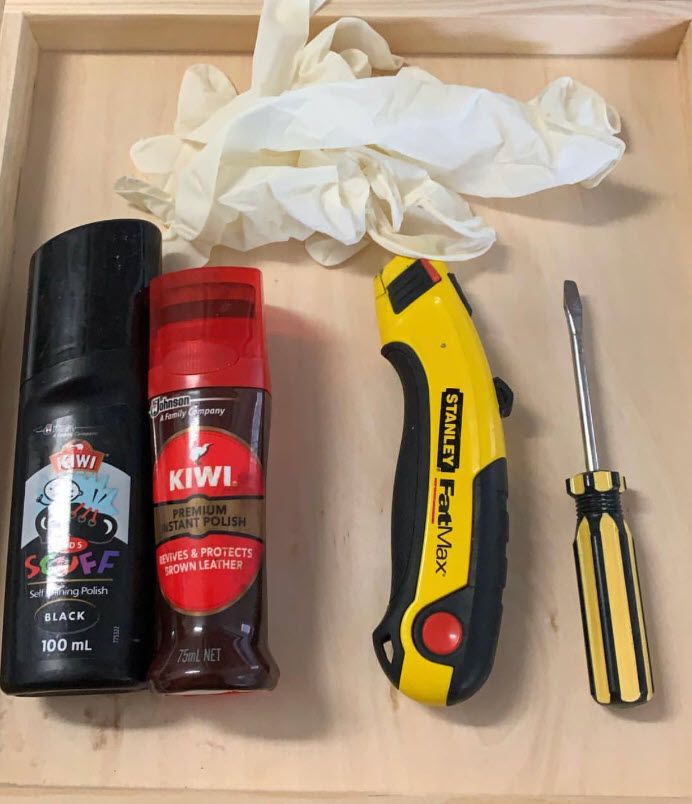
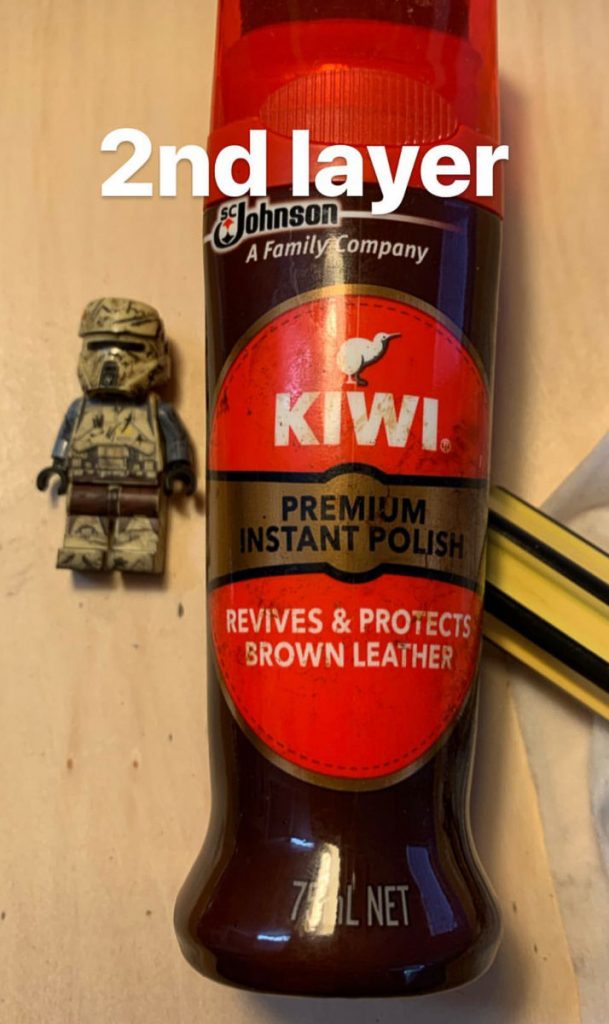
My go-to method is the tried and true black/brown liquid shoe polish technique. A simple and inexpensive (around $4 AUD per bottle) process that involves adding a single layer of black liquid shoe polish to the subject (in my case, usually a stormtrooper minifigure), allowing it to “dry” for around 60 seconds, and then wiping of the excess with a damp cloth.
And on
I usually repeat this process twice further, replacing the black polish with brown for the final layer. By no means is it rocket science that requires an experienced, creative hand to pull off. However, I will provide one very important extra tip. If you are going to try this method, I implore you to follow this one rule, if nothing else. Please wear gloves! Whilst there is nothing toxic associated with the polish, it will prove difficult to wash off skin if it dries and, as you can probably imagine, brown stains are not particularly pretty on the ends of your fingers. As a health professional with more than a few encounters with the real thing, I can assure you it’s not a good look!
Weathering off
It is important to note that one of the main advantages I’ve found with using shoe polish over paint is just how easily it will wipe off, even months later. If you need to change the look or simply don’t like what you have done, a simple damp cloth will take the polish off. A lot of my figs have worn their weathering off just through natural use, and they often require me to add some fresh polish.
Under the knife
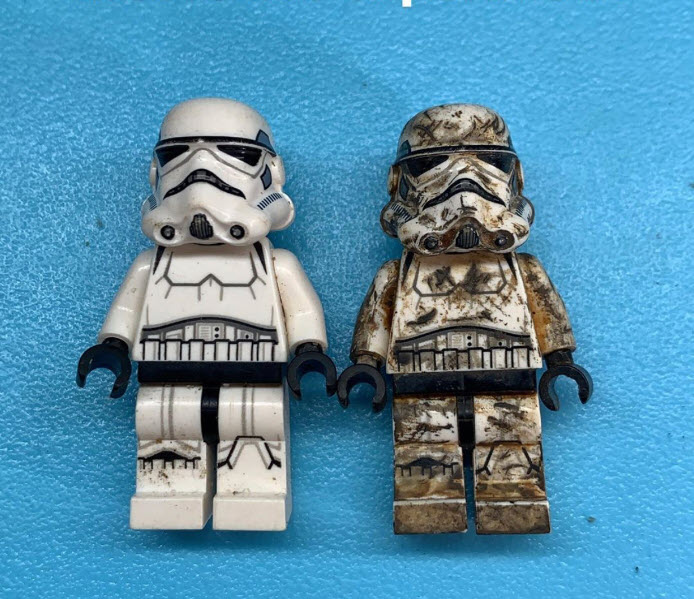
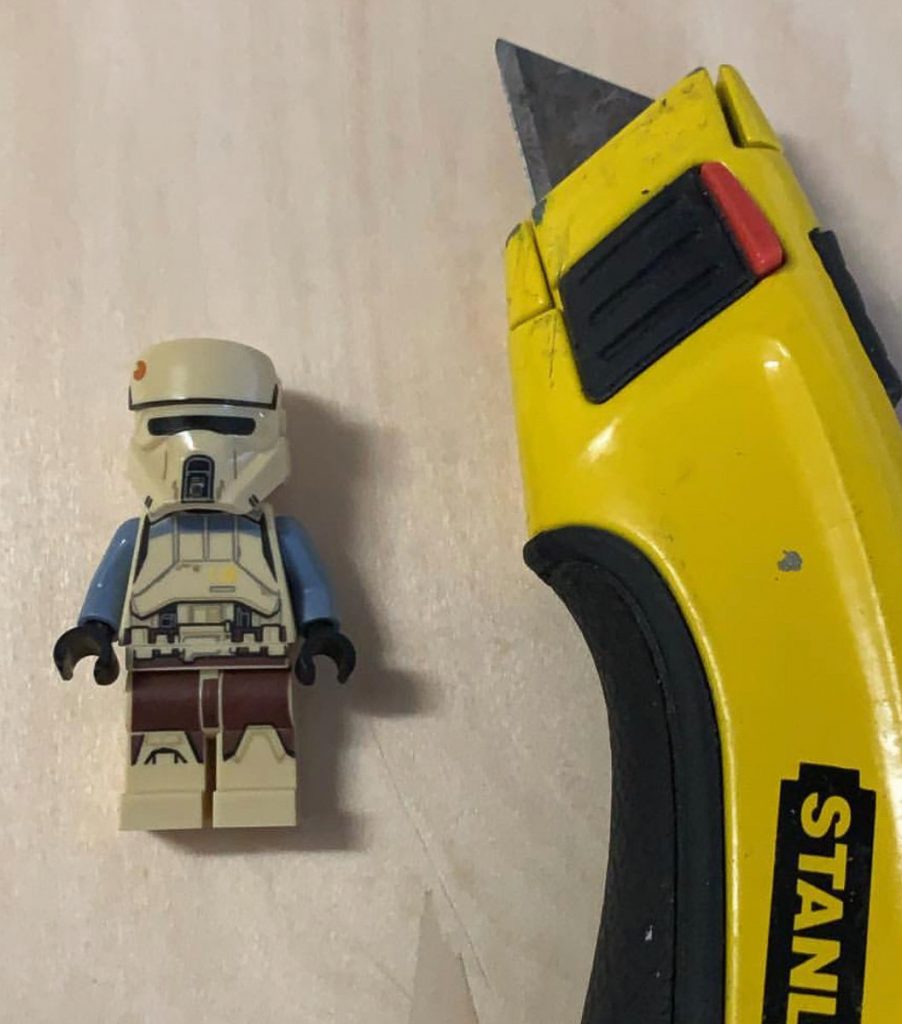
Now importantly for me, I do take an extra step in the weathering department. This is the part of the process that surprisingly scored me a little hate mail in my early days of LEGO photography from some of the purist AFOLs out there. For those of you who aren’t familiar with my photos, I also like to scratch and dent my minifigures before applying polish.
Reaction
To call it controversial is a massive exaggeration, but the reaction I received from a small minority certainly caught me off guard. My short answer to their response is that they’re my LEGO and I can do with them what I want. Personally, I like the extra gritty look the scratching creates. But it’s an individual choice and entirely up to the owner. Taking a blade or needle to a minifigure will obviously make permanent changes that cannot be undone, unlike the shoe polish alone.
Looking back
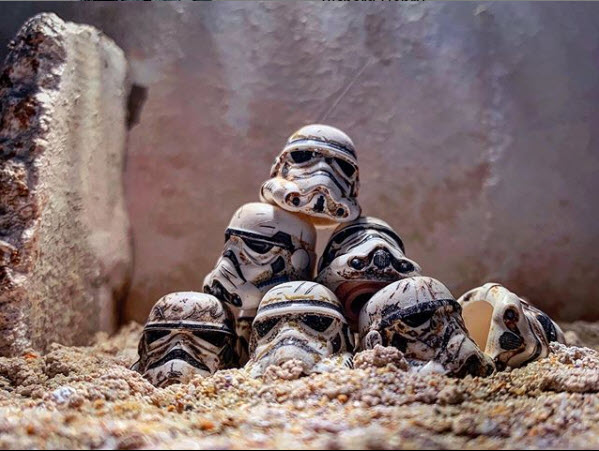
Admittedly, I was a little hesitant at first, but now, looking back at my very early posts without any form of weathering, I wish I’d done it sooner. I find the polish works into the scratches and dents very nicely, adding that extra worn look that I like. My mindset with this is that I view my LEGO as props rather than a collection. I certainly don’t buy them as an investment, and if you saw the condition of a lot of them, you’d certainly agree.
Please feel free to tag me in any posts if you’ve decided to try some weathering. I’d love to see some shots.
Thanks very much for reading and happy photographing!
-Richard (IG: @lego_star_wars_tong)
Fantastic Richard! Always been a huge fan of your style and honored to own a piece created by you. Thanks for the in depth how-to and sharing a bit about your work. Keep making masterpieces!!!
I do this to my Mega Construx Halo figures all the time. Still haven’t quite mustered up the courage to do it to any of my minifigs yet. XD I like the clean aesthetic for Lego. I must say though, your troopers look quite good.
Great article. I will be using this method. Thank you for sharing. You rock.