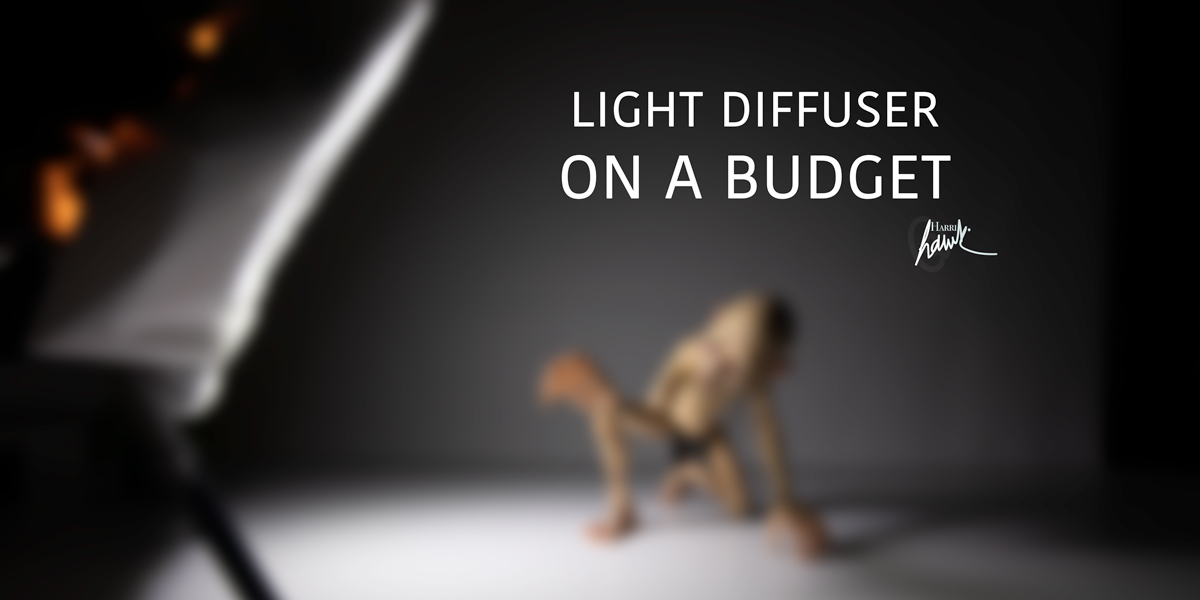
As I have mentioned before in previous posts, lighting in photography is king; without it, we don’t have photos.
Now, being able to use light to one’s advantage is a handy skill to have. Being able to manipulate it to get the desired results is very rewarding and satisfying.
But sometimes to achieve those results, it can become pretty costly. Accessories for lights, and lights themselves can be an expensive investment. So today, I wanted to show you a very cost-effective way to create a diffuser for your light.
What’s a diffuser?
Before we get into that, what is a diffuser? A flash/light diffuser spreads the light source, giving a much larger light surface. In effect, the light will not come from one concentrated source (like a spotlight) but instead will spread out and bounce from reflective surfaces and objects, thus getting rid of harsh light, and hard shadows. Basically, you are making the surface of light more significant.
Here’s how to make a simple, inexpensive diffuser/softbox.
What you’ll need:
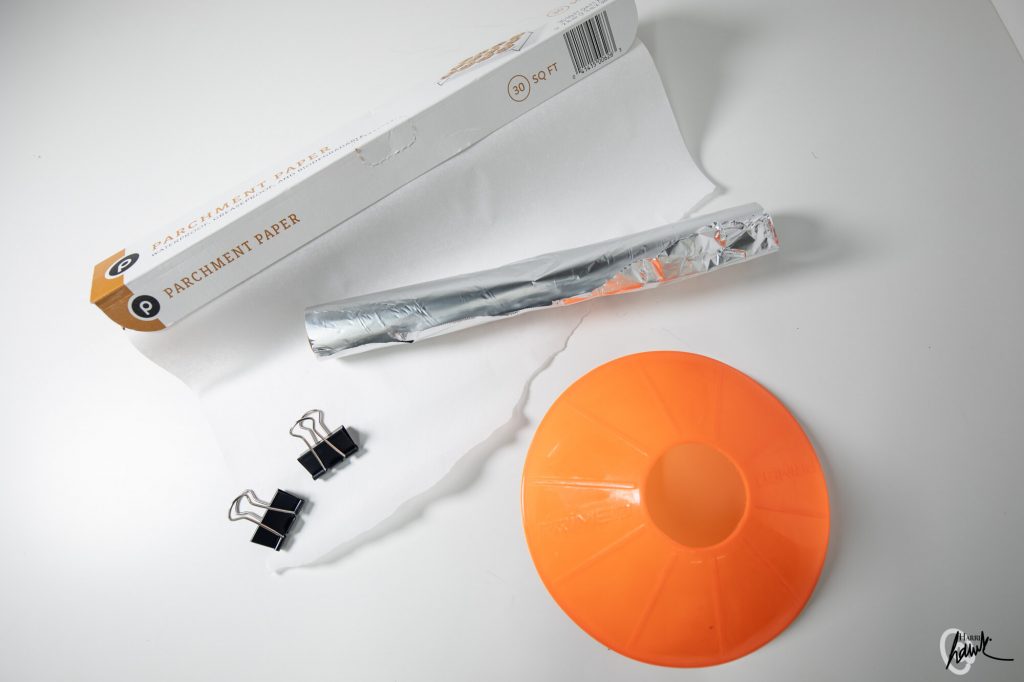
A soccer cone
Aluminum foil
Kitchen parchment paper (or grease paper)
Clipboard clips, aka binder clips ( you can also use adhesive tape)
Now to make the soft box/diffuser
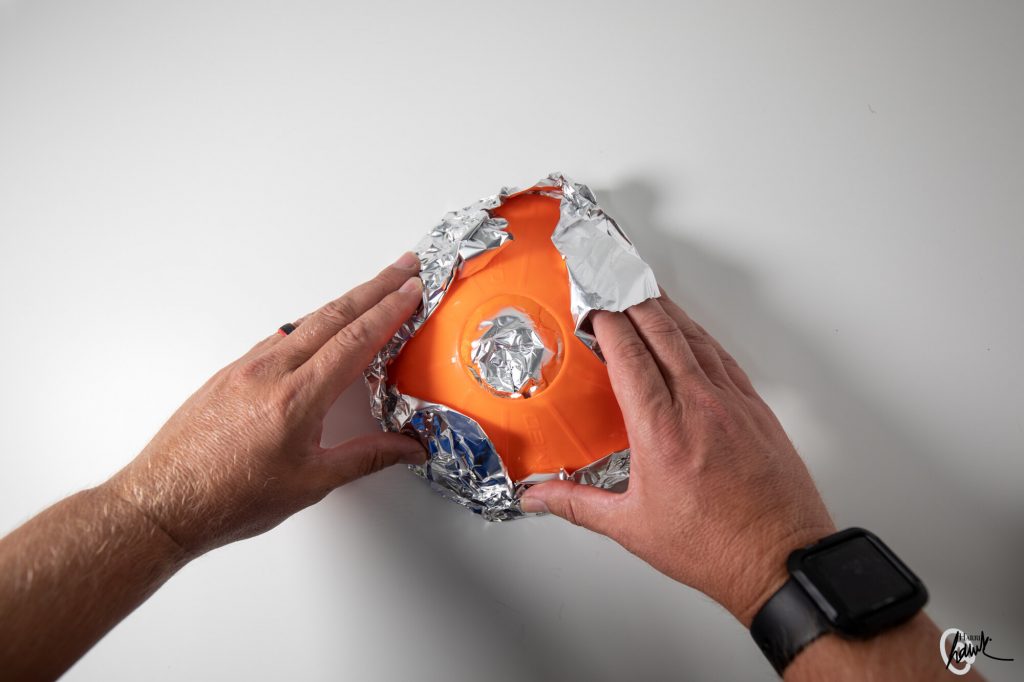
Step 1: Cut out a reasonably sized piece of foil, enough so you can fold it around the cone’s edge. The reason we are adding foil is to give the inside of the cone a reflective surface, making light bounce off it and fill the funnel with brightness. Make sure to keep the shiny side of the foil facing out.
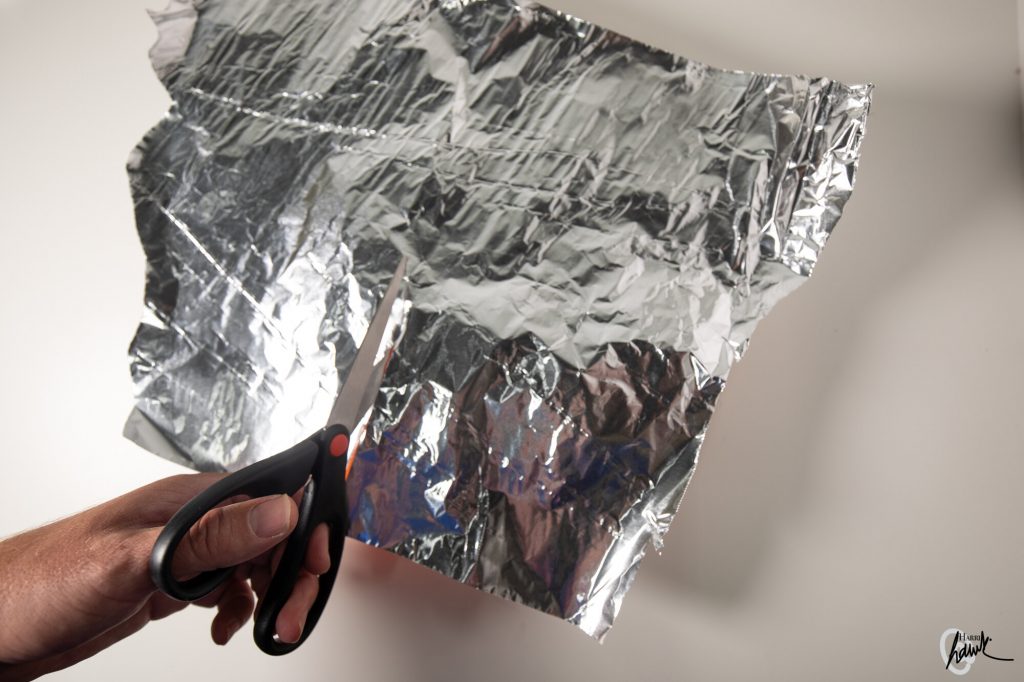
Step 2: Cut a straight line into the foil. This helps when molding the foil into the inner circle.
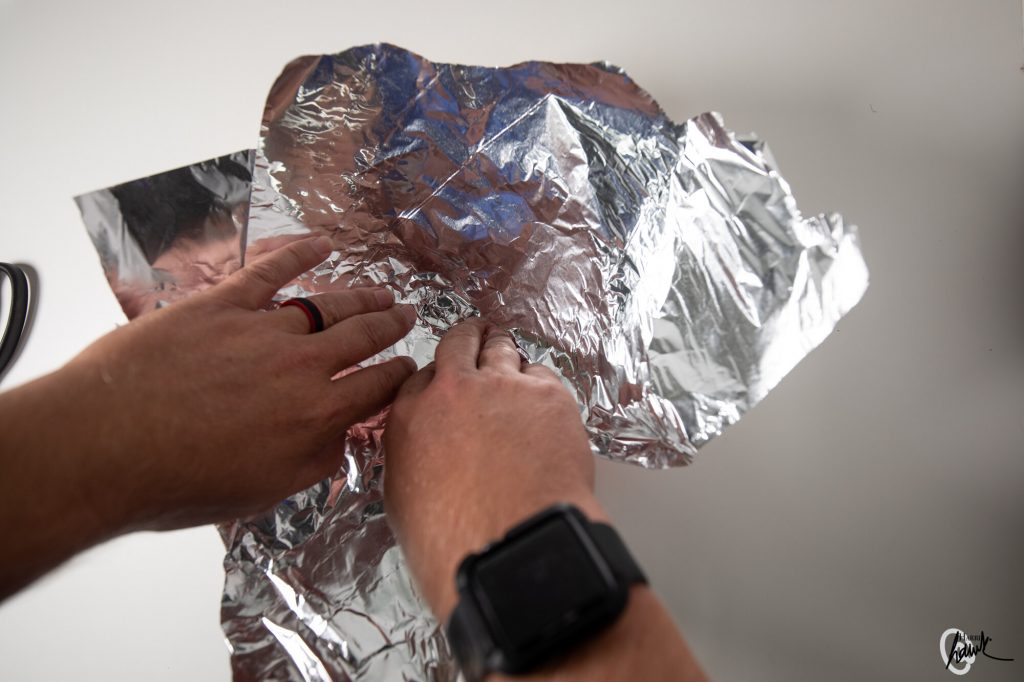
Step 3: Mold the foil into the cone. You’ll be glad you cut that line, it makes this process a lot easier.
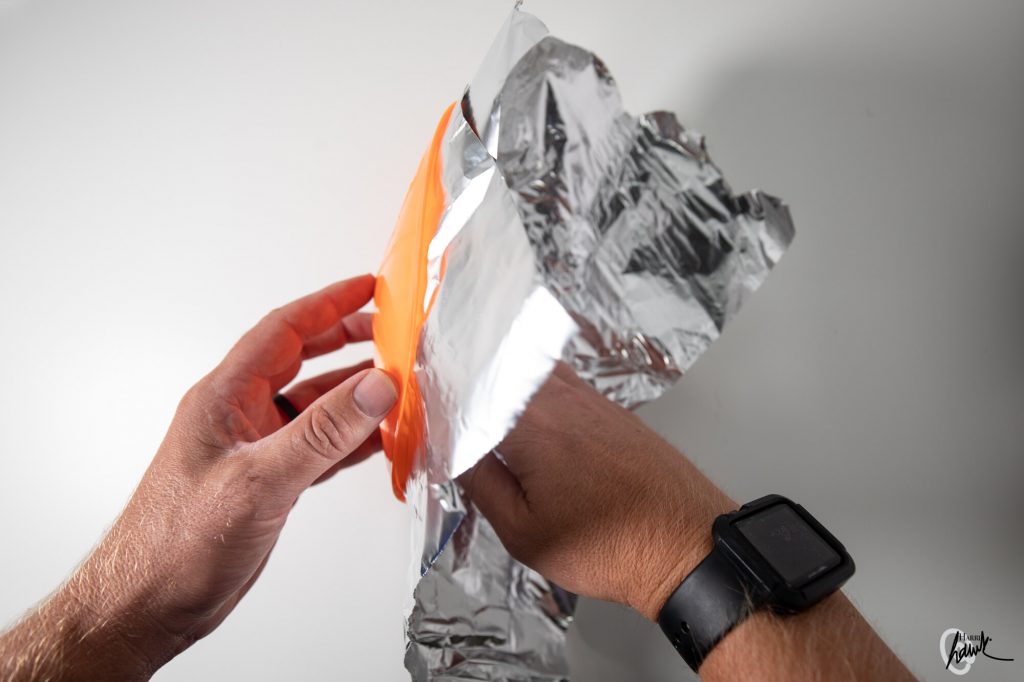
Step 4: Bend the foil back over the outer edge of the cone. It should stay in place if you have given it a lot of extra length.
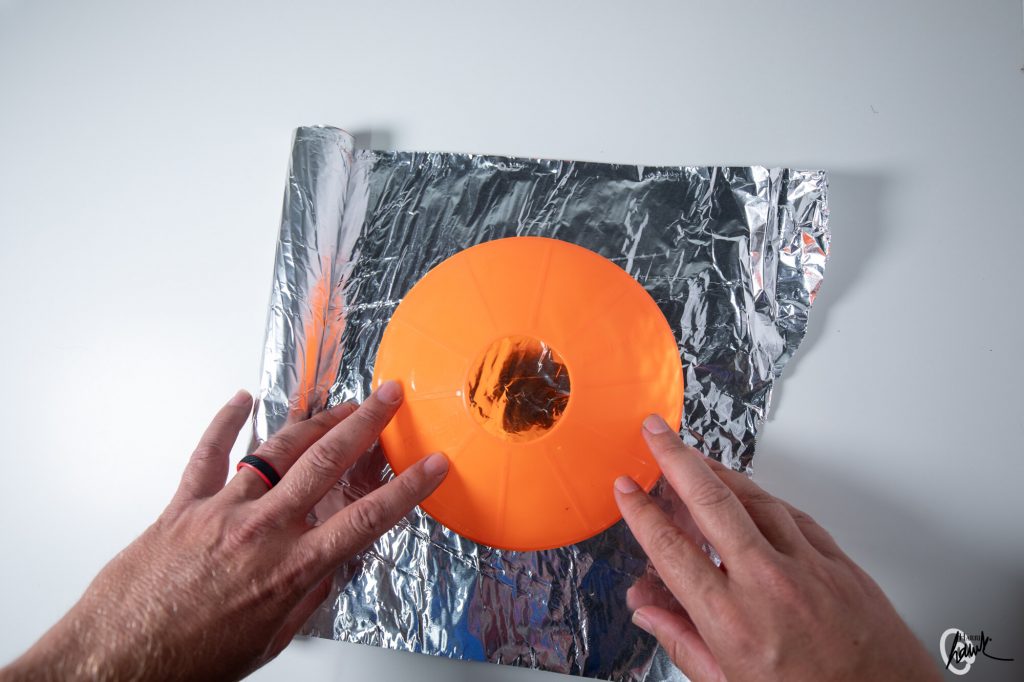
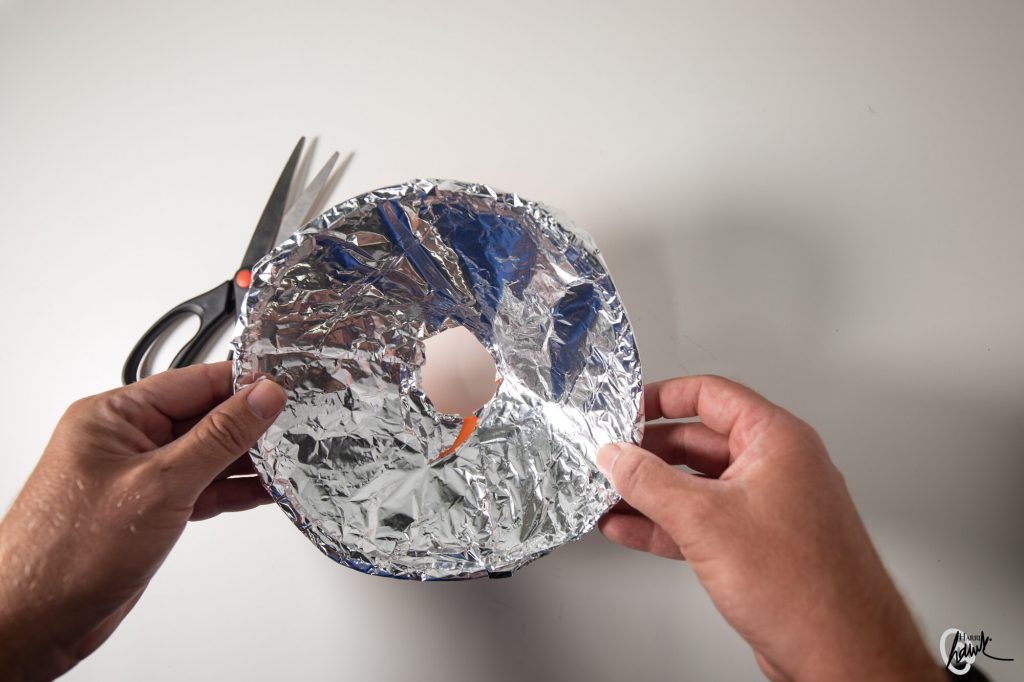
Step 5: Cut out the inner circle of the foil. Make a hole and then fold the aluminum back through it.
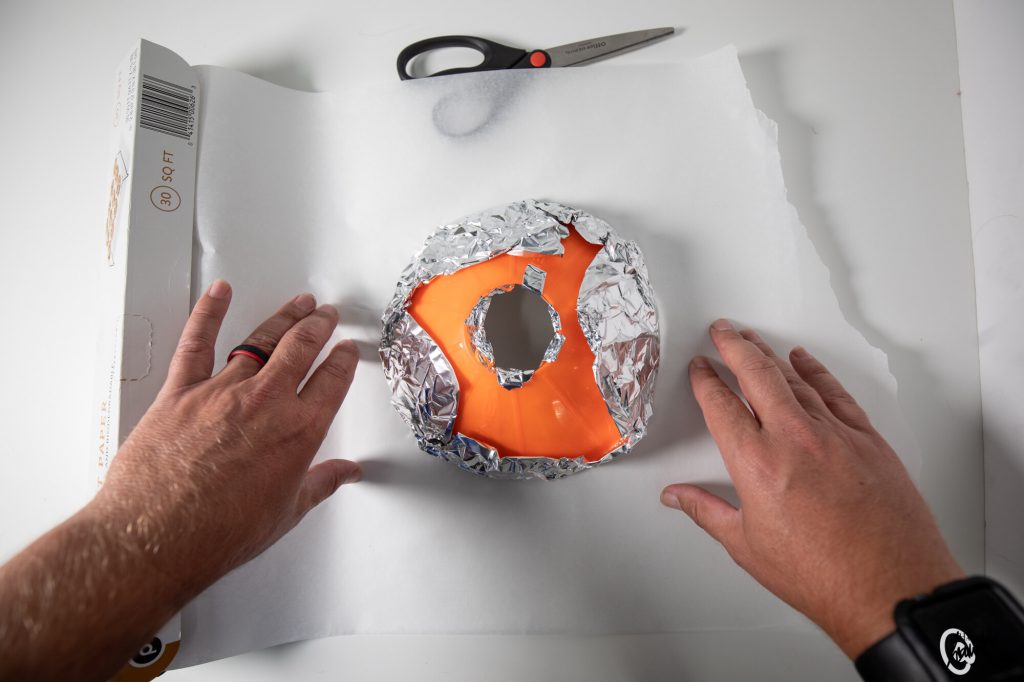
Step 6: Cut a generous piece of parchment paper. You want enough so you can clip it on the back.
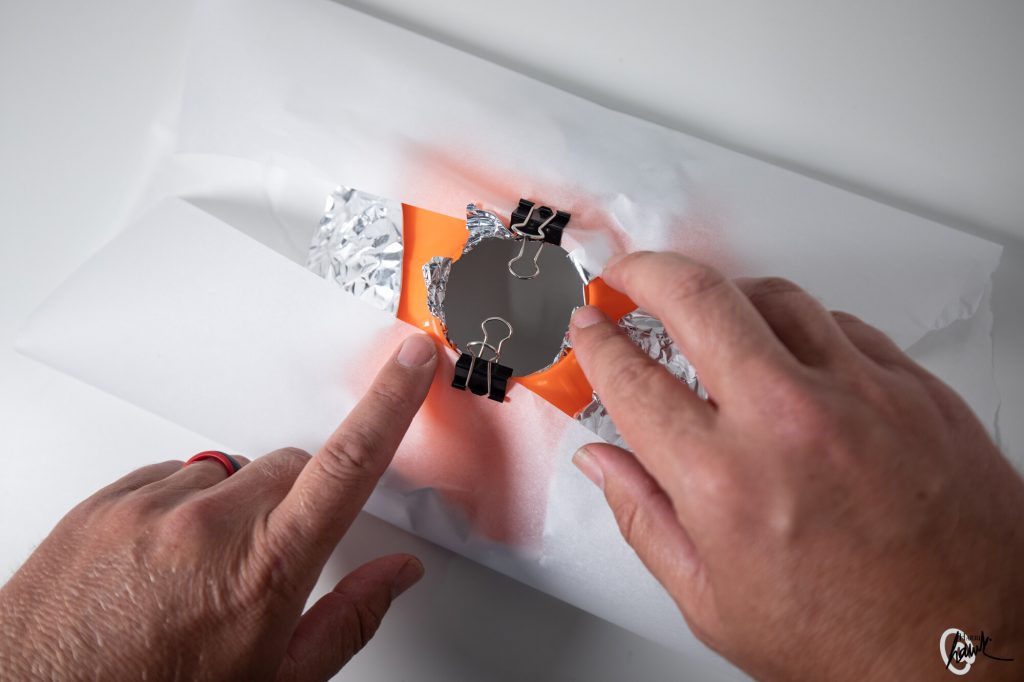
Step 7: Using the clipboard/binder clips, secure the parchment paper. As mentioned, you can use adhesive tape for this.
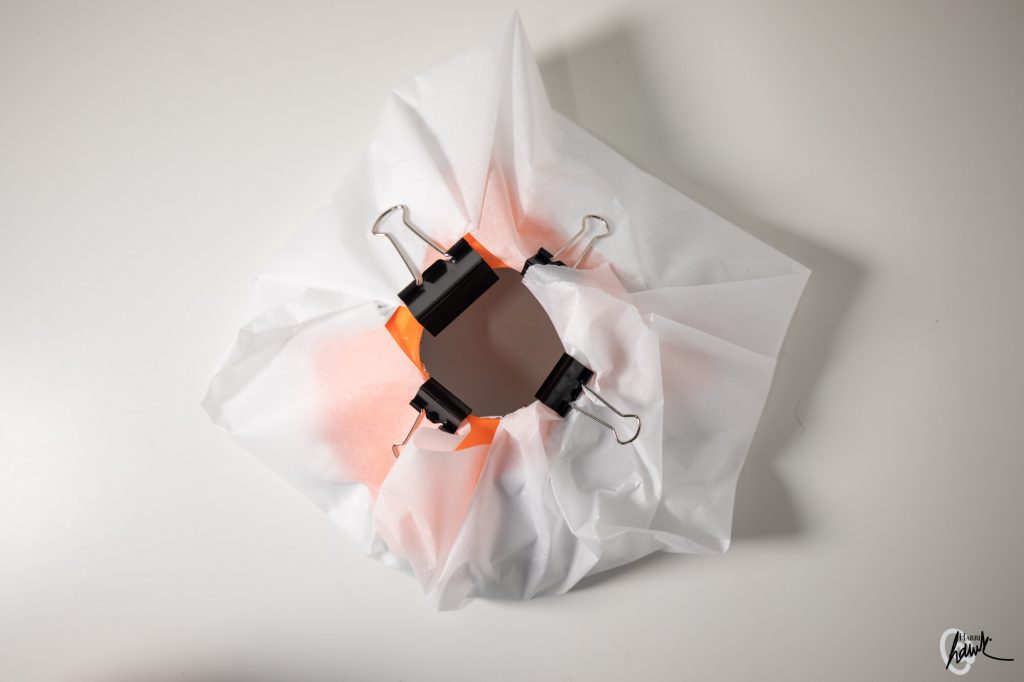
And VIOLA! You have made a perfect diffuser for most lights.
You can use different shaped cones.
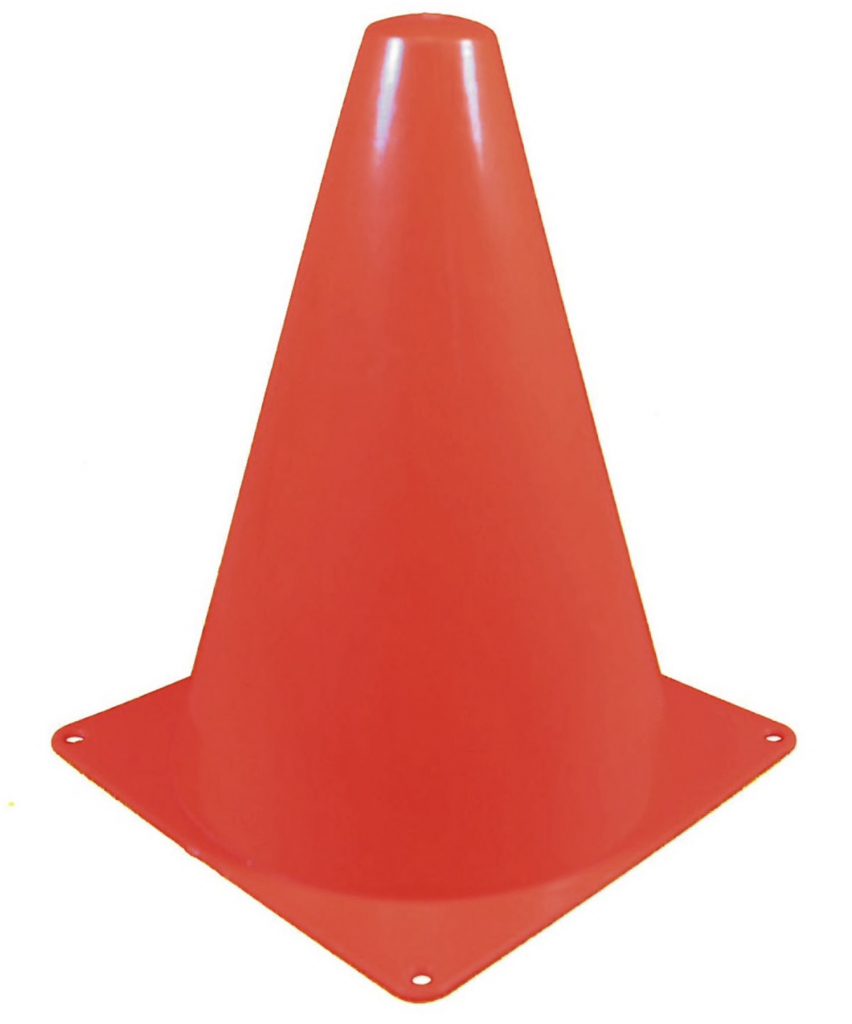
This marker cone will probably give you more concentrated light, due to its narrower
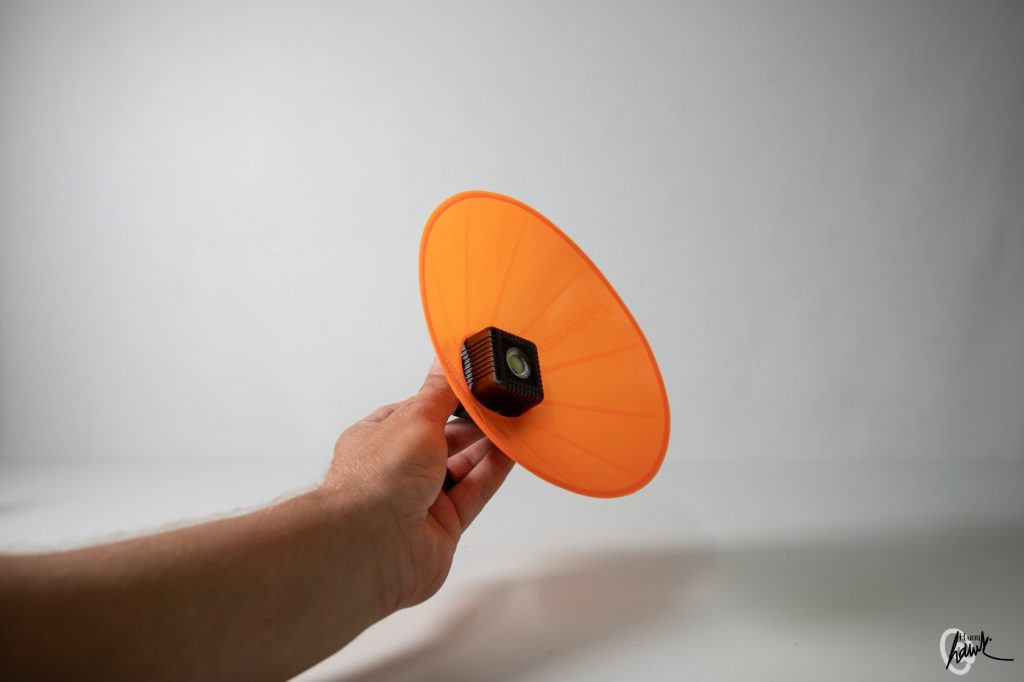
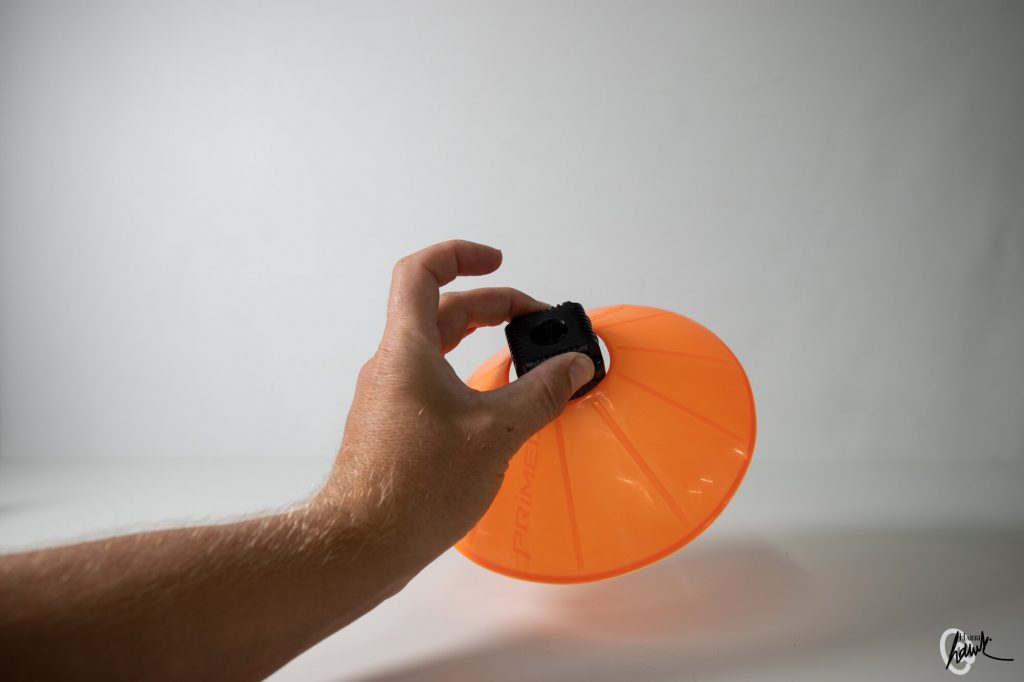
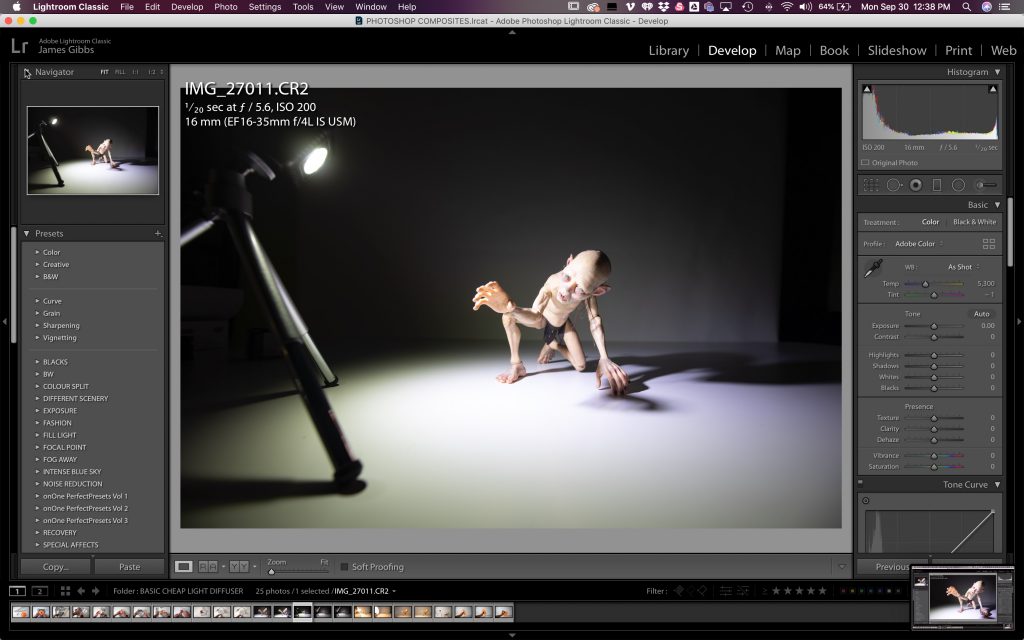
Some test shots… First, the Lume Cube
Let me show you some shots with the diffuser in action.
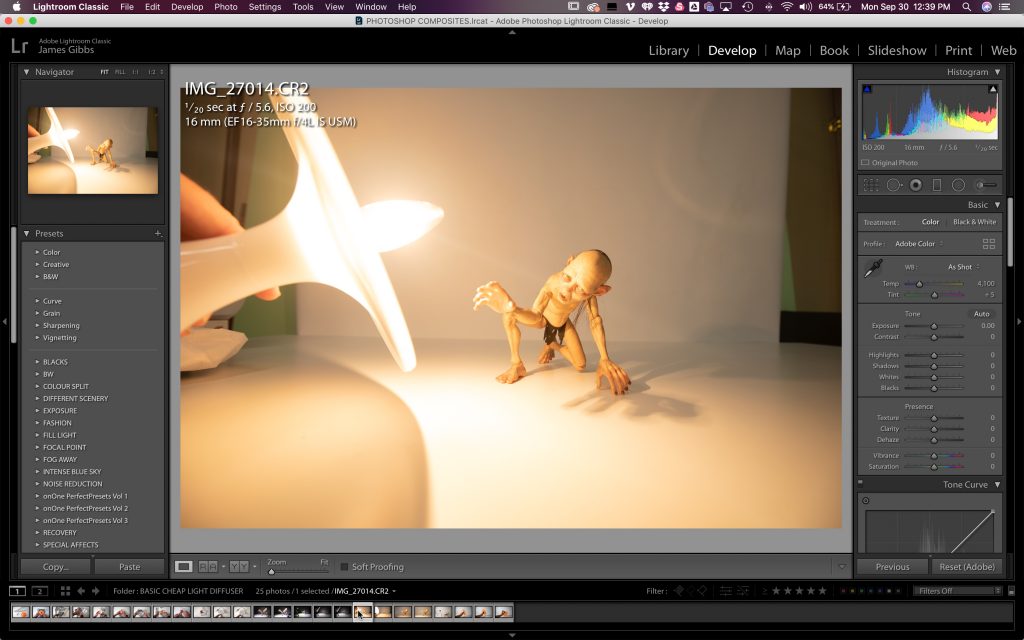
I am a massive fan of the Lume Cube lights. I use them almost all the time for my toy photography. The brilliant thing about putting the Lume Cube and cone together is that they fit pretty perfectly. No need to tape it in or anything. So, Lume Cube, if you reading this, you might want to take note of my hack. 🙂
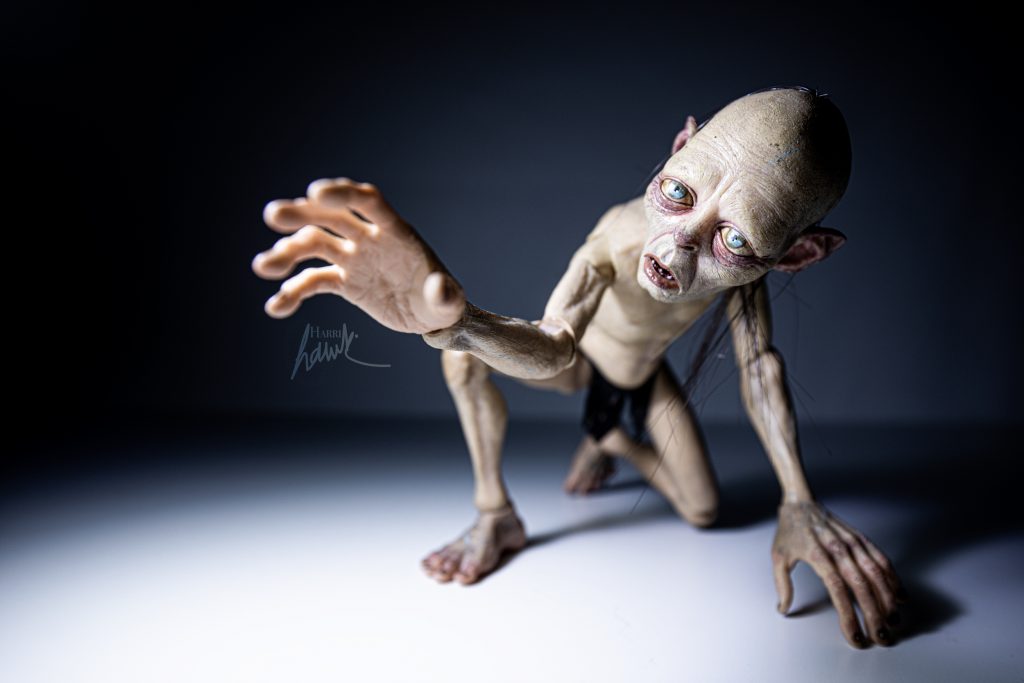
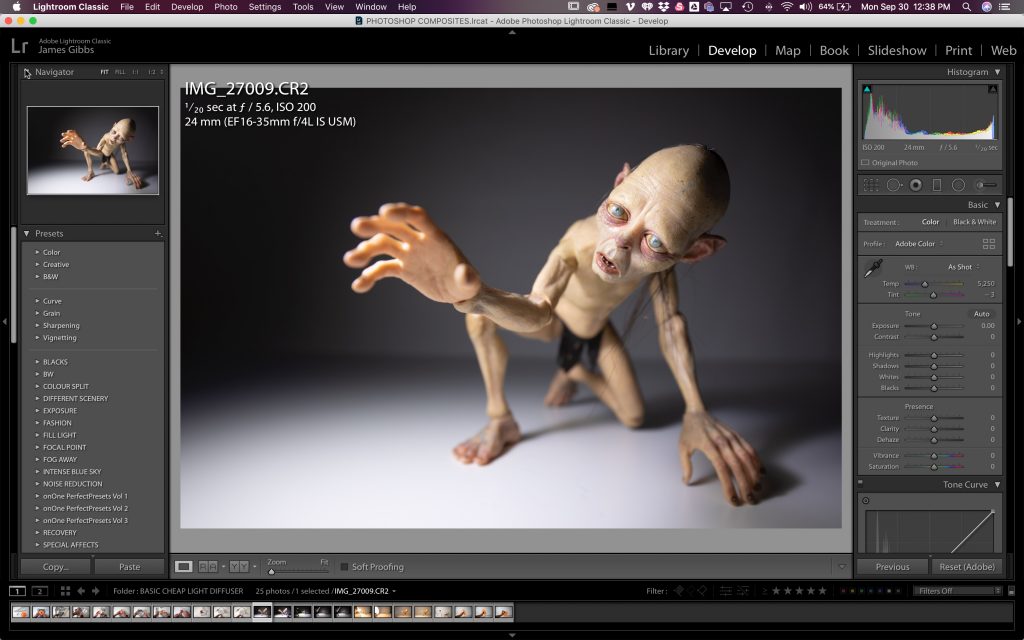
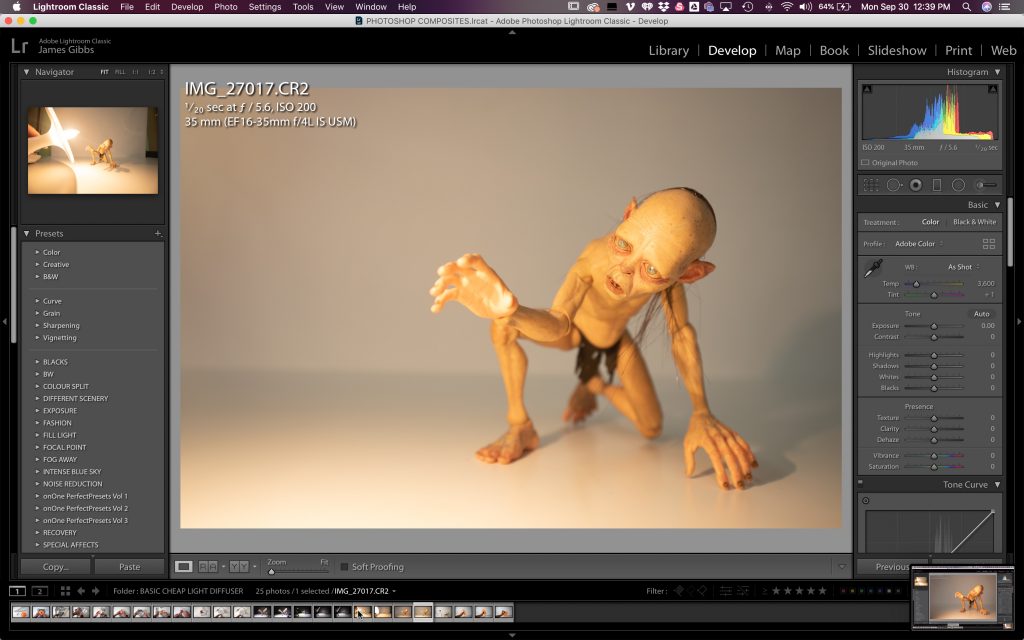
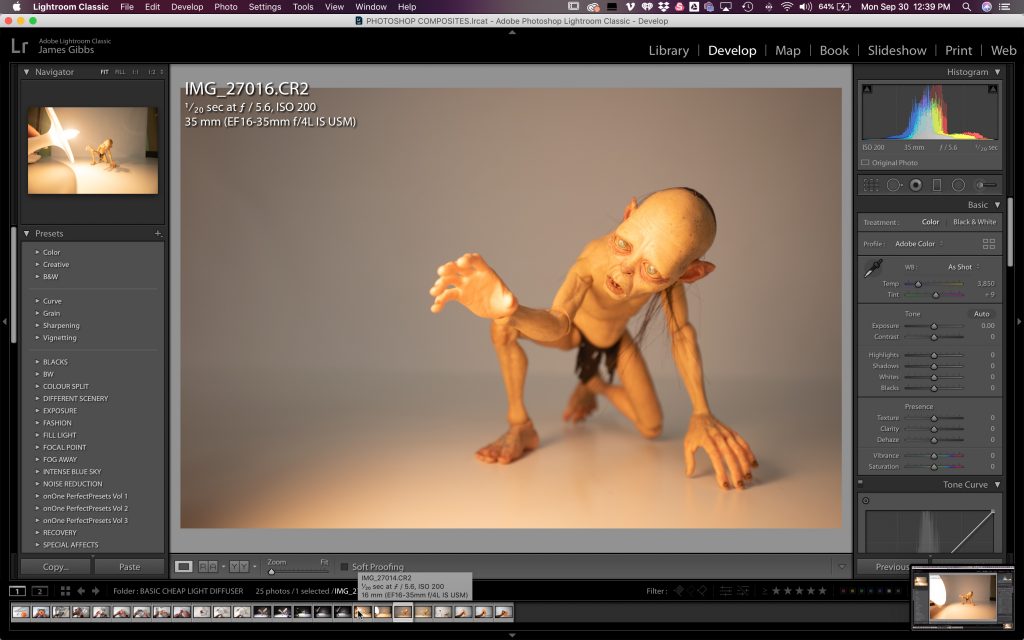
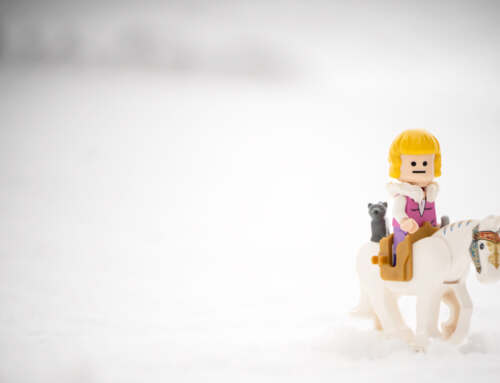
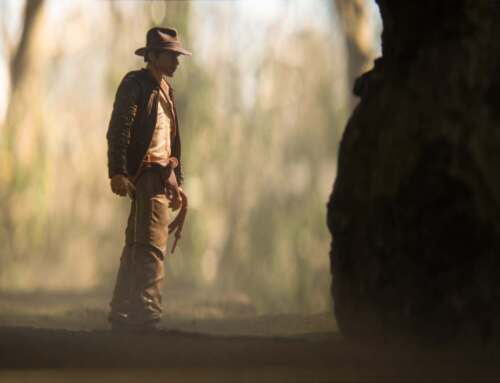
For this test shoot, I am using Smeagol (from the Tolkien books), made by NECA. I am using my Canon 16-35mm F4 IS L series lens at 24mm. I wanted to use a wide lens to exaggerate perspective. It allows Smeagol’s hand to look larger than it is as it’s closer to the lens (I’ll be doing a post soon on different focal lengths).
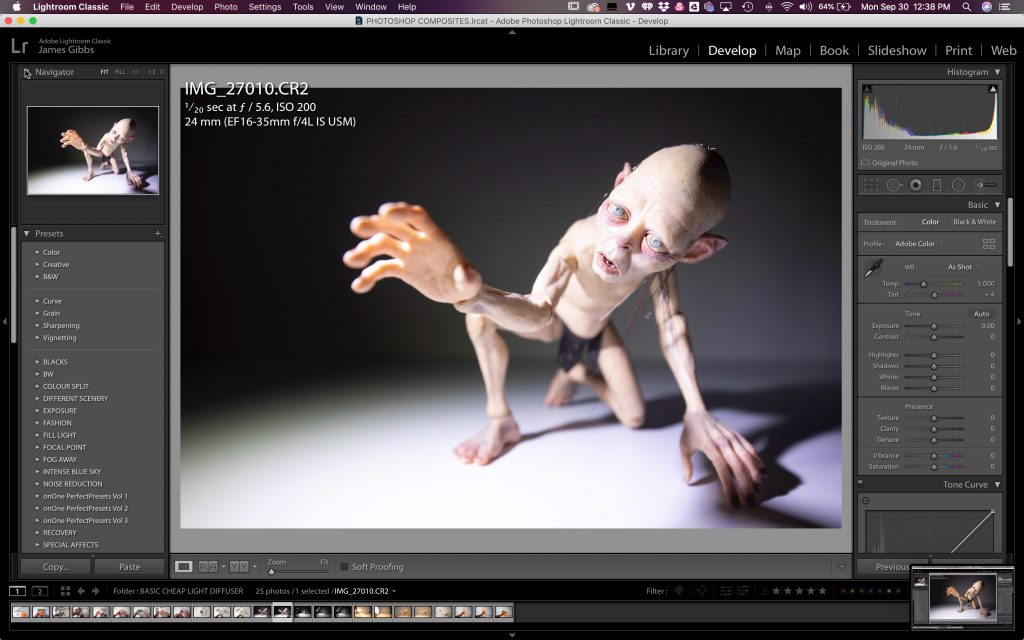
Now, without changing the power of the Lumecube or any setting on my camera, you can see the first shot is very bright, and the light is pretty harsh and direct. Notice the shadows behind Smeagol? Hard, bold edges.
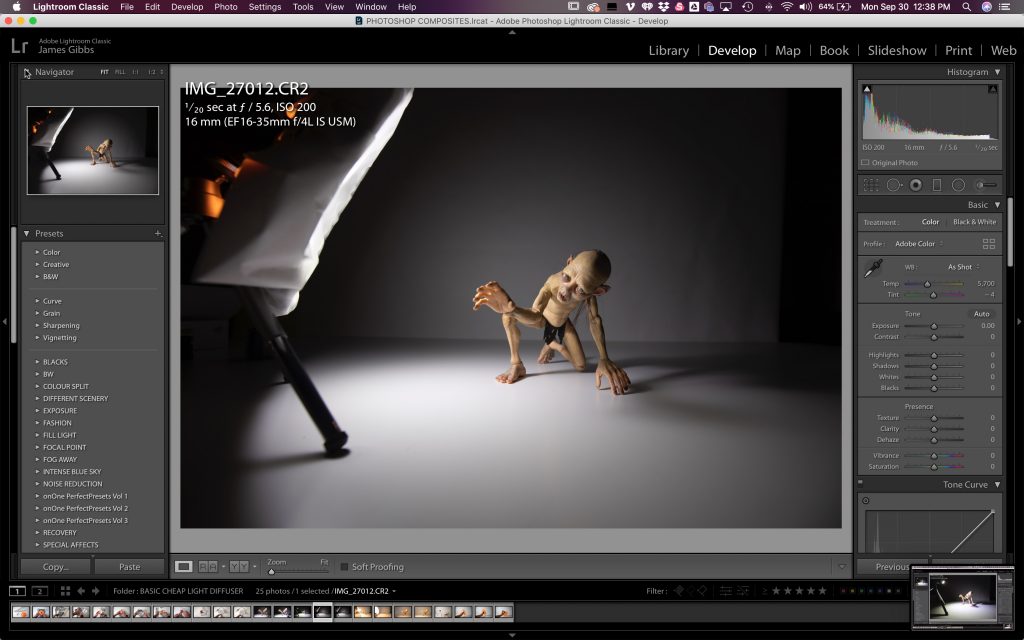
Let’s add the cone now. Again, I haven’t changed the power output of the light or the camera settings. The light seems a lot broader and softer with more of a gradual distinction between the bright and dark areas. If you look at the cast shadows in this picture, they are gentler and not as direct and abrasive.
Any lamp or bulb can work
Not everyone has Lume Cubes. Thankfully this diffuser has a large enough hole to put just about any bulb through it. In this example, I have used a side lamp.

So, my fellow plastic junkies, that’s it. A quick, inexpensive softbox that is the perfect size for toy photography. It allows for a broader, softer light that can give your images a little more of a professional look and can take out the harsh effects of bare light.
Till next time, keep snapping!
Gibbo
Awesome post, Gibbo! Like you I almost always use a LumeCube in my shots, and have a collapsable circular fabric diffuser that I use for most of my shots. It can often be a pain placing it next to my light source or securing it in place. Your cone trick is ingenious!
Cheers, thanks J. I think the use of a more pointed cone might be even better. Will have to give that a go
Really cool ideas, Gibbo. I‘m sure I‘ll build one for myself! Thanks a lot ??
Excellent tip!!! Thanks, James!
Thanks for your post, Gibbo! Have you tried to use the diffusers that Lume cube sells as accessories? I’m wondering if they are any good, or if this DIY method adds more surface area to the diffusion…
Hey Julie, I used the lume cube as an example and does help make a larger surface area. The bigger the light source the softer the light