First of all let me tell you that I am not an expert on model kits, in fact it is exactly the opposite: I am a newbie.
As you may know, my main subjects for photography are LEGO. However, I would like to experiment more with action figures. At the same time, I am looking for another way to express my artistic side.
I came across the idea of buying a model kit several times but I was a bit reluctant not knowing if I was able to do a decent job or if I would end up with a bunch of plastic pieces not usable for photography.
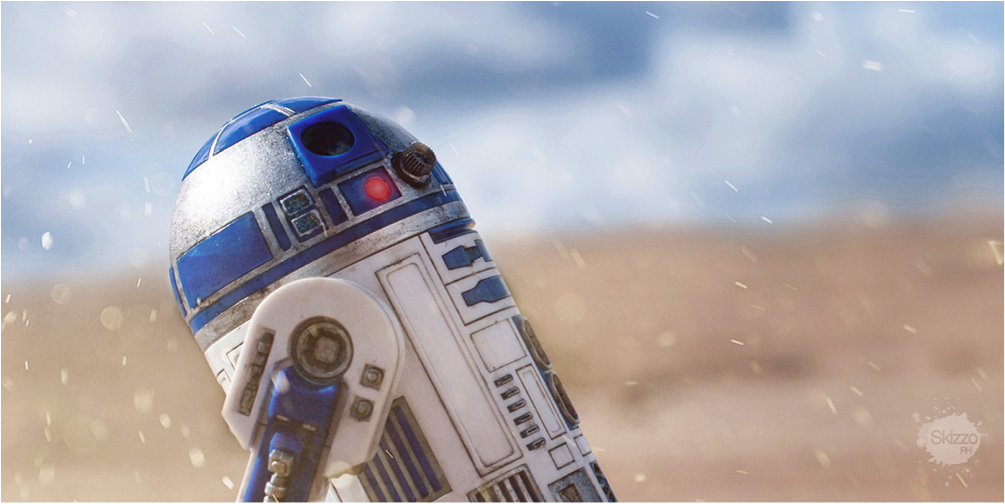
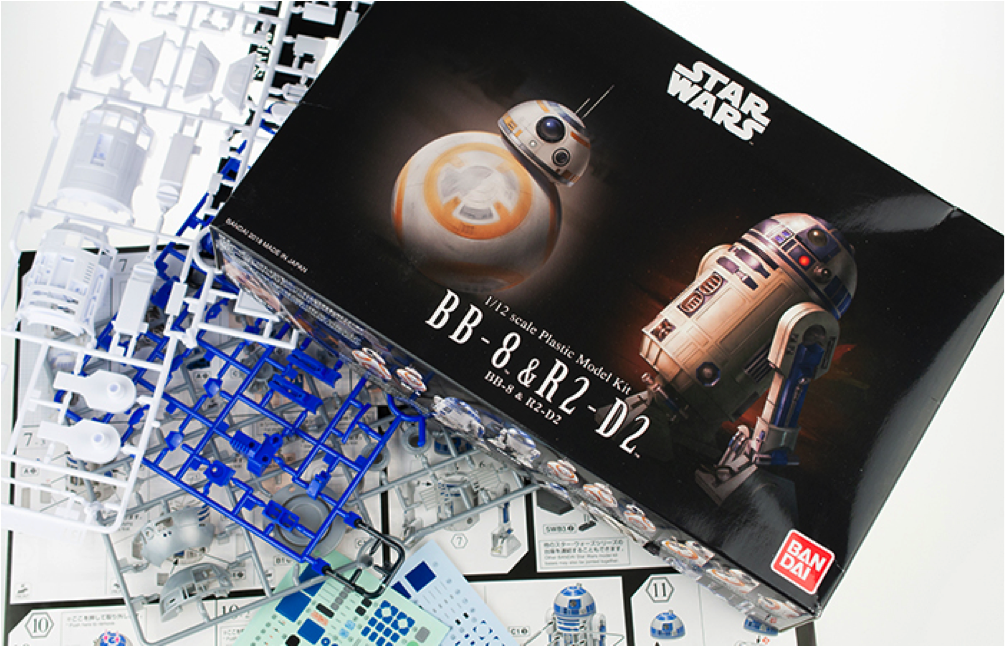
I finally decided to give it a try and I bought a Star Wars Bandai model kit: BB8 and R2D2 1:12 scale. My favourite character between the two is R2D2 and I am happy to share with you the creation of my own Artoo.
Materials:
The Bandai model kit comes with coloured plastic parts attached to the sprue, a sheet of decals, a sheet of stickers (to use if you are not feeling confortable applying decals) and instructions.
The essential materials for the project are: a cutter and a precision knife.
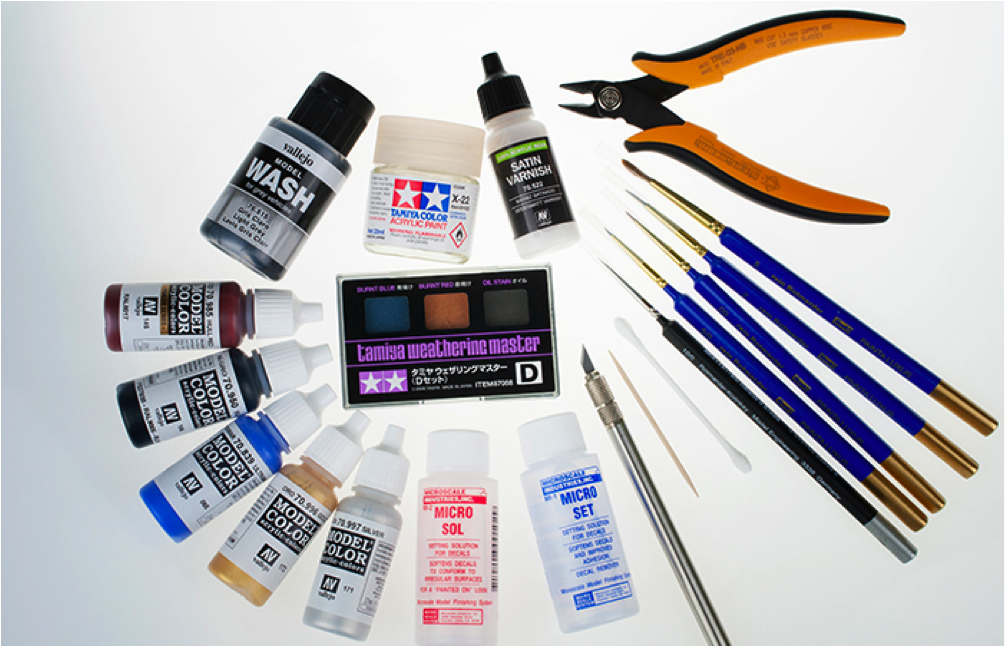
If you are applying decals you will need a brush and precision forceps (yes, I forgot to add them in the photo). You can use just water or you can buy specific products like Microscale Micro-set and Micro-sol that soften and enhance adhesion of decals.
It is quite a personal choice if you want to paint and weather the figure or not. You can leave the figure as it is without painting and using only the decals or stickers to give some essential details to the figure. I have painted some parts and weathered my R2D2 using Vallejo and Tamiya products, with the help of different sizes of brushes, cotton swabs and toothpicks.
The build:
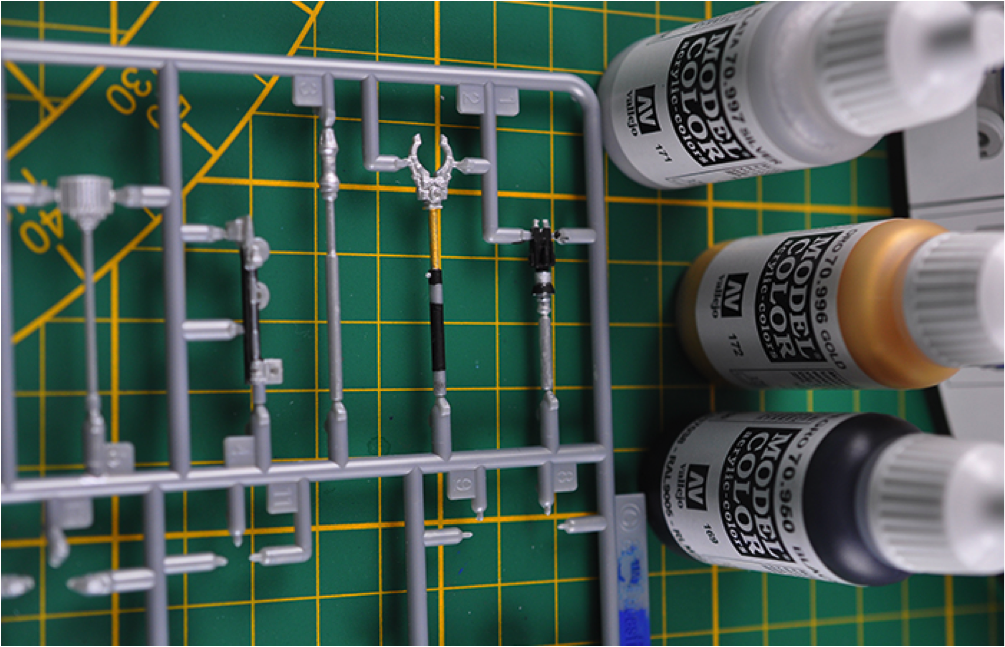
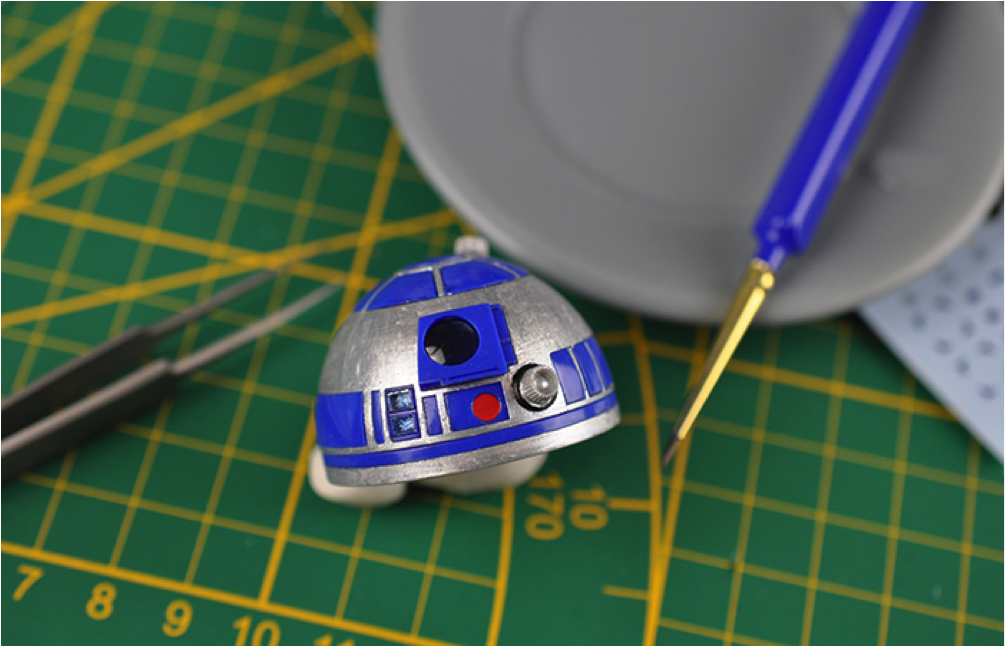
As first step I have painted some parts still attached to the sprue using silver, black, gold and blue acrylic paint.
I have kept the original white and blue colours the kit is modelled in. However, I felt the need to paint all the silver parts since the plastic was more of a greyish colour than metallic.
Bandai kit is a snap together kit that does not require glue, so I had to take care that the paint would not interfere with the connection between parts. For this purpose I find toothpicks to be an excellent help for a cleaning the edges.
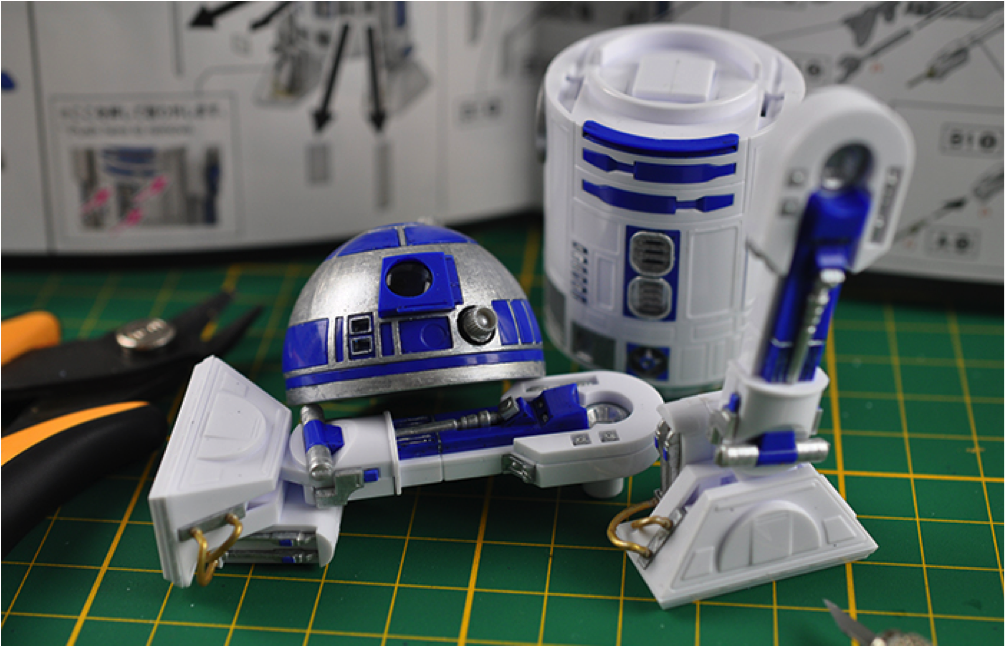
Then I cut out the parts from the sprue and started the assembling.
 After the assembling of the different parts was finished it was time for detailing.
Since I have hand painted the majority of the details in the figure, I had to apply only few decals. Let me tell you that the decals for the pixel lights were a pain to apply, but they were really essential for achieving the final look. I used Microscale Micro-set and Micro-sol for soften the decals and give a painted on look.
I have started the weathering with a Vallejo grey wash to bring up the details present in the sculpt and get rid of the bright white. In some points I added to the wash a drop of black or red to give a more weathered look. I used cotton swabs to clean the model and remove the excess of paint.
I then used Tamiya weathering master for the last weathering step: I have focused my attention mainly on the lower part of the figure and on some panels.
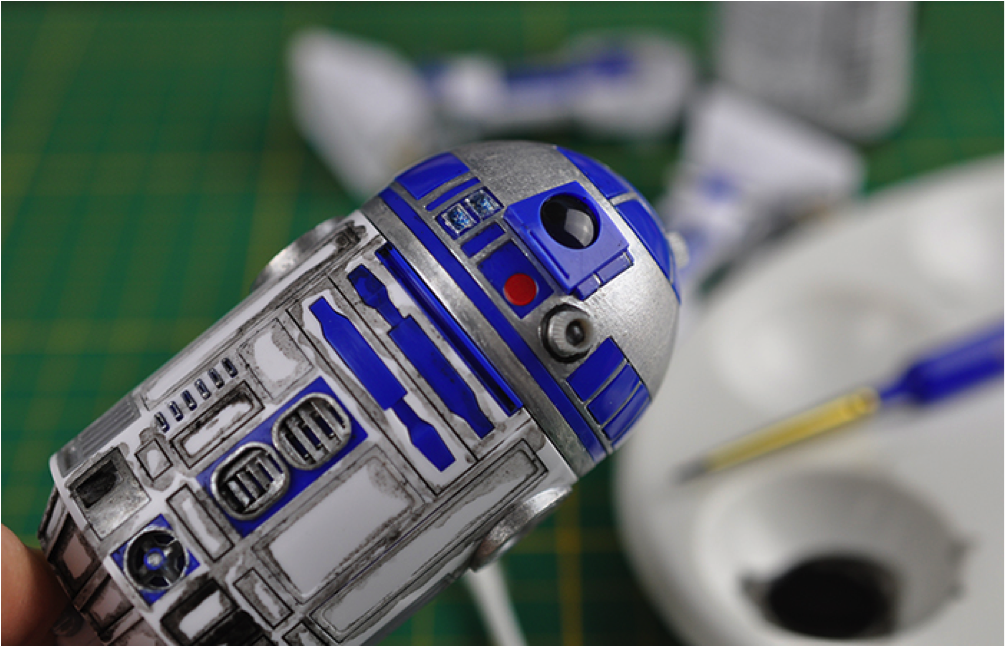
In order to protect the figure and give a bit of variance in the level of shine of the different materials, I have used Vallejo satin varnish on the white parts and Tamiya clear for the rest of the figure… Ready for the big reveal?
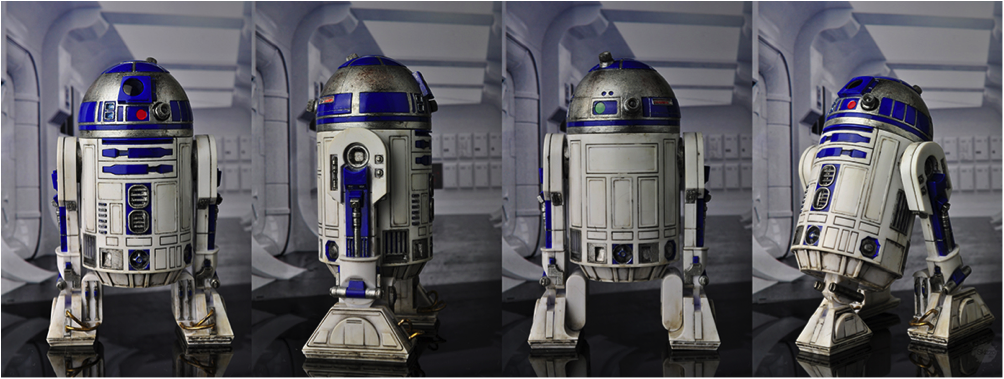
The finished product:
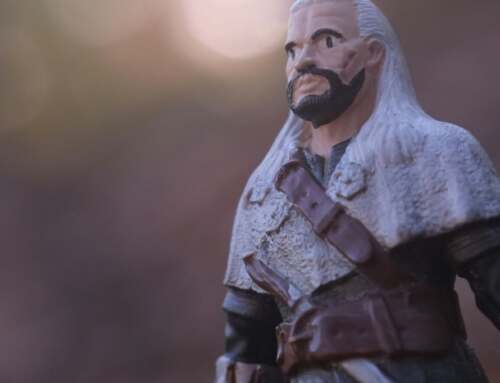
So finally here it is: my Artoo is completed. I have made some research but there were so many R2D2 used in the movie that it was difficult to make a screen accurate version of the figure. So I decided to go for a middle version: not too clean and not too dirty, that could fit in different settings.
Is it worth it?
The kit is not too expensive considering that you have two droids in it: I found it at 22.75 euro. You can customize your own Artoo as you want but you have to invest a bit on materials and time.
The downside of having a model kit is that the figure is fragile compared to classical action figures. So when you are going to photograph it outside you have to take care, especially during transportation (I put my R2D2 in a jam jar inside my backpack).
I love this figure but, if I have to be picky, I would have liked to have also a restraining bolt to be able to attach or remove on the front panel depending on the scene.
A part from these I cannot find any other negative point.
The sculpt is nicely detailed and with a simple wash it is easy to make those details pop.
It is a droid so articulation is not very complex but it has all you need. The dome can rotate 360°, the figure can stand on two legs, making the third one disappear inside, or you can lift the dome and push out the third leg so that R2D2 will stand on three legs.
One panel in the back and four panels in the front can be removed.
The figure comes super accessorized: seven accessories with five extra panels to display the model with opened panels.
With all this accessories it gives infinite options for photography.
~ Chiara

Well done Chiara, expressing creativity through different forms is challenging but satisfying!
Thank you Marco! Indeed it is challenging, but the feeling of accomplishment at the end is fantastic 😉
Well done … and I think it takes a lot of patience … I‘m sure I would not have 😉 BUT your build looks great Chiara ???
Thank you Astrid! It is true, you need a bit of patiance for this, but It is also a lot fun. ?
Such a cool project and awesome outcome. Thanks for sharing your process with us Chiara. Brava!!
Thank you so much Doug!!! In the meantime I have built another figure: it is so fun! Looking forward to take it for a trip outside.
All in all, this sounds like building was fun. And I love the result, especially the result of the weathering. And thanks for the warning considering the fagility of the figure! I had considered getting some from this series, now I am reconsidering (I am already afraid of breaking the simple figures I own).
Thank you very much Tobias! Indeed they are more fragile but they are super posable! I have just finished building Boba Fett kit and it is absolutely amazing, a completely new level compared to the few actionfigures I have: the posability is like a dream! I will bring it outside asap and post some photos on IG.
It looks really good Chiara! Well done with the painting and assembly. I’ve seen these kits around, including the Yoda one which looks pretty good, but have not been able to commit the time to it.
I’ve researched on the Tamiya weathering before and found it really interesting with the effects it has.
Nice work!